|
Hut for Canoe
|
Building a Hut for an Outrigger Canoe
by Eric Newman
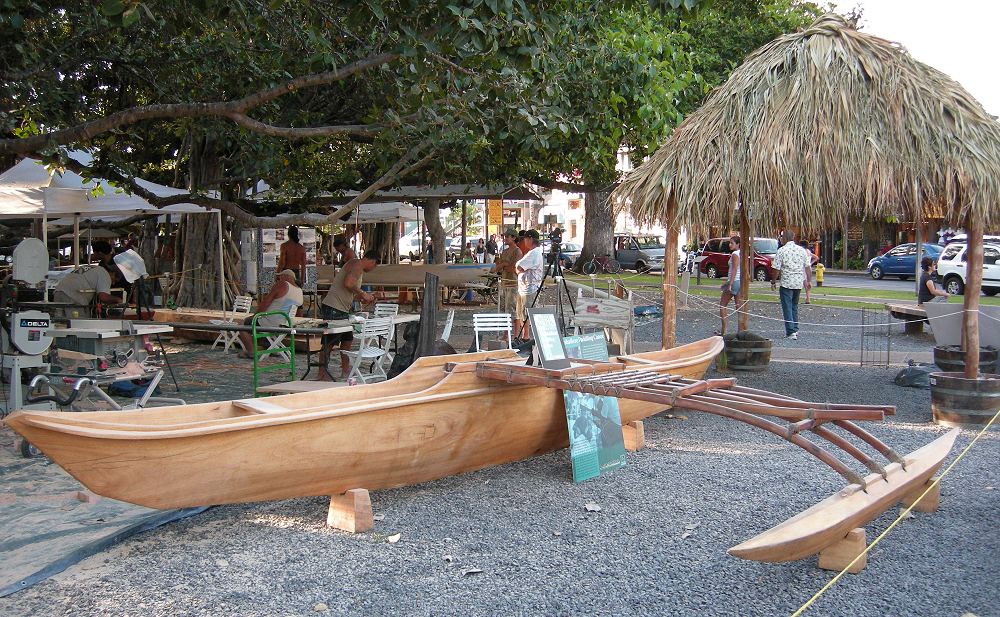
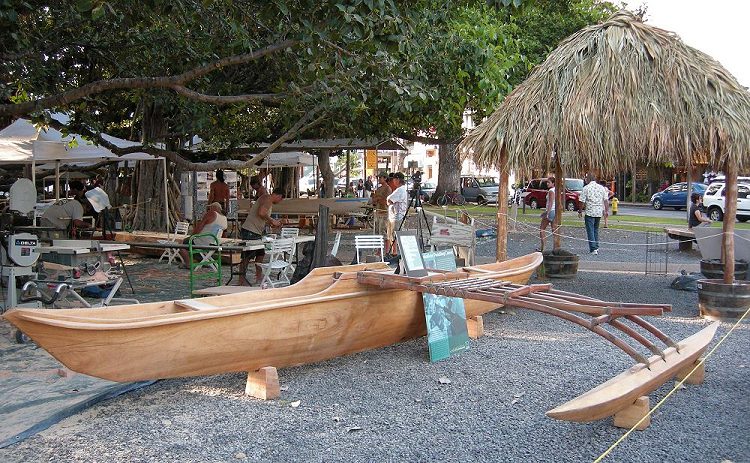
The "Outrigger Canoe" link to the left describes how we "won" a hand carved outrigger canoe at a charity auction during the
International Festival of Canoes in Lahaina in 2008.
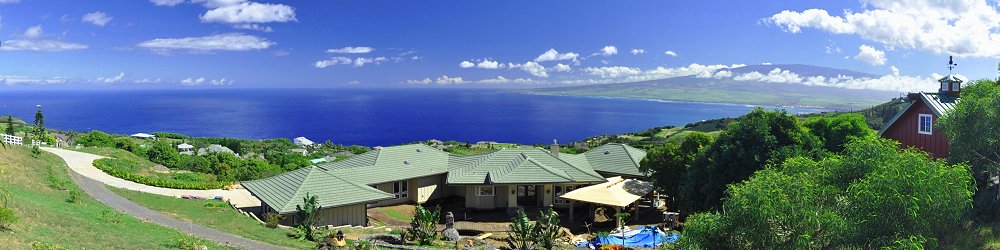
The plan was to put the canoe in a koi pond, sheltered by a semi-Hawaiian style hut.
Silent Charity Auction for Lahaina Cultural Heritage Programs
2008 International Festival of Canoes in Lahaina
|
I studied traditional Hawaiian Hale Huts, and some not-so-traditional resort-style huts.
I visited all the Maui resort hotels and looked at their Hawaiian style huts.
A thatched roof was clearly the roof of choice.
Then in May 2010, thirteen thatched umbrellas
at the Tropica Restaurant at the Westin in neighboring Ka'anapali went up in
30 foot flames.
These thatched umbrellas were generously treated with fire retardant chemicals per the fire code.
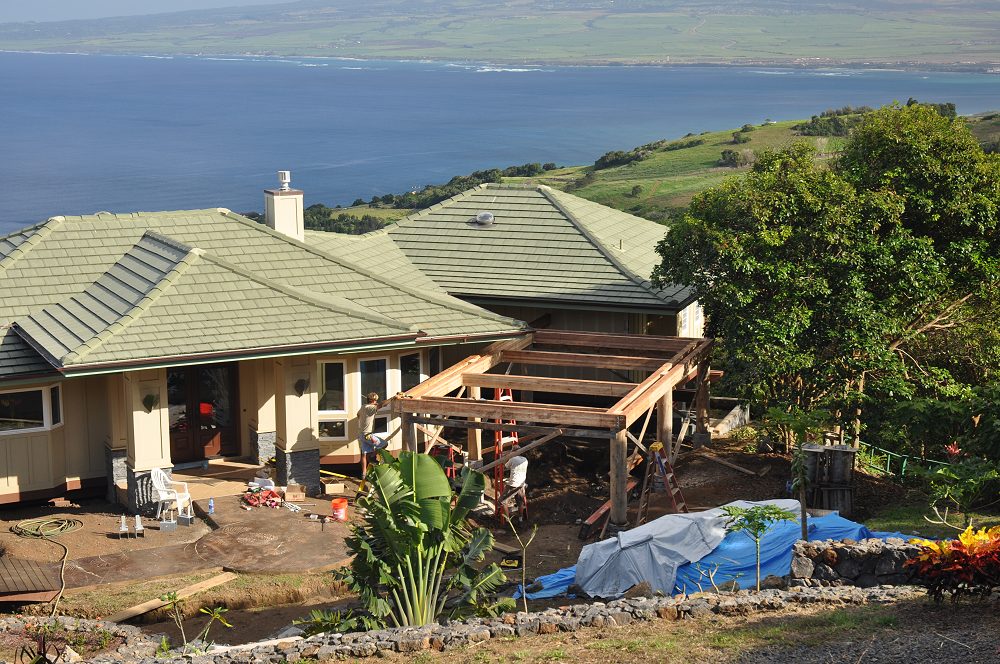
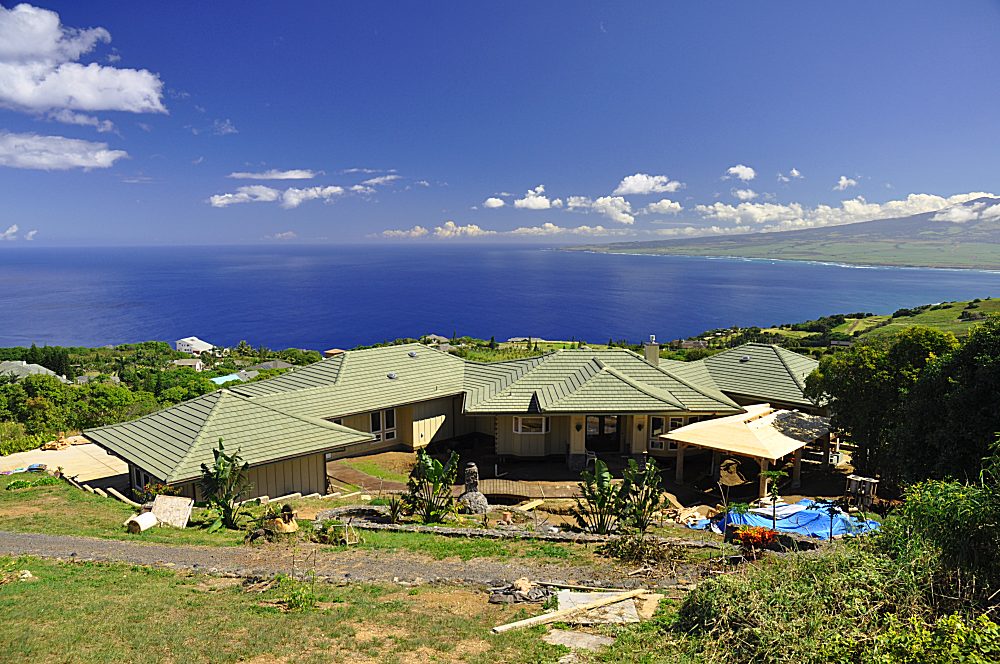
My canoe hut structure would be just a few feet from our dining room.
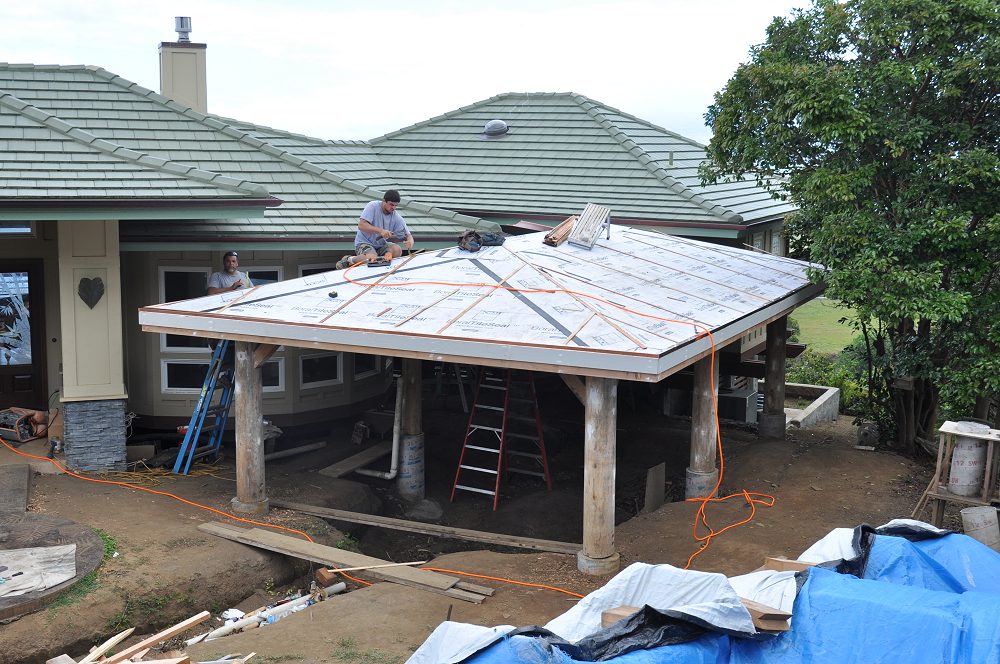
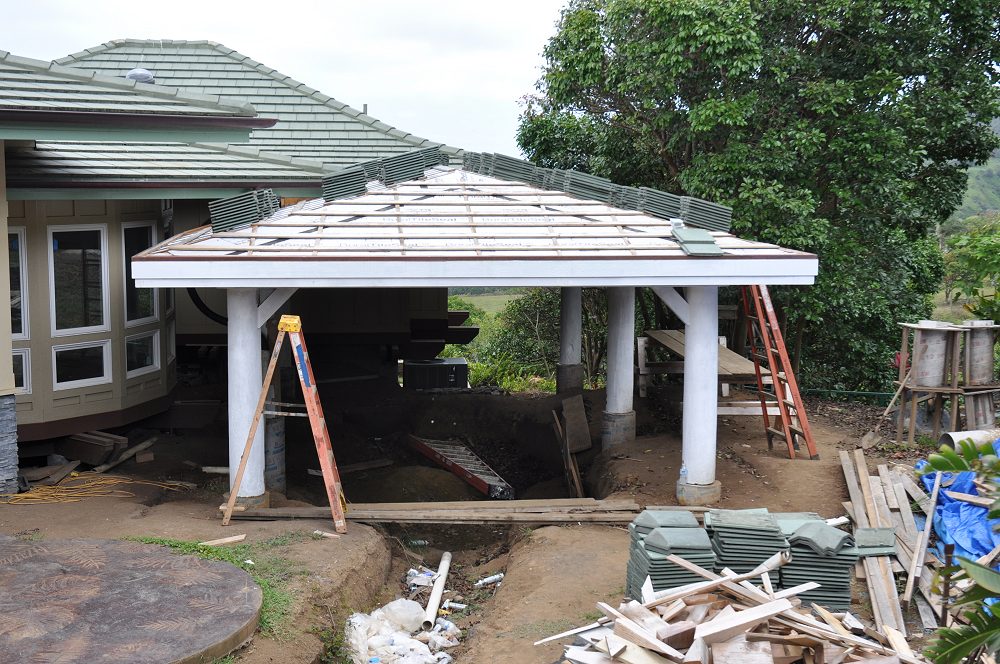
A very non-traditional class-A fireproof Monier concrete slate roof that matched the house was chosen.
|
|
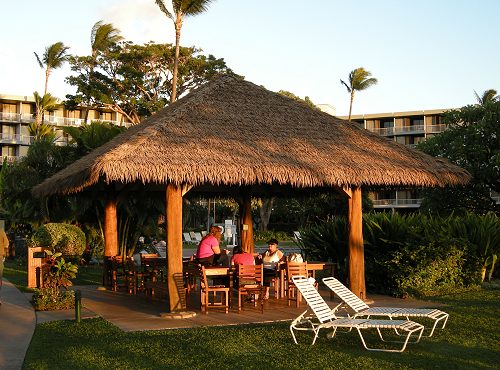 |
Hut in a Maui Resort Hotel.
This Design is Similar to our Hut.
|
|
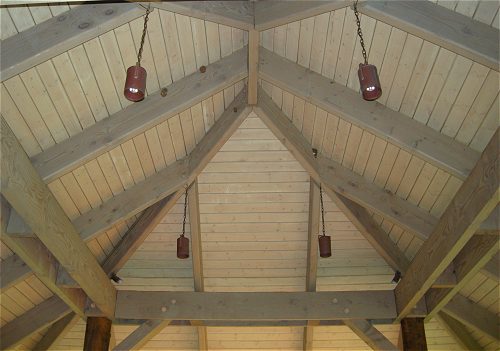 |
Roof of a Hut in a Maui Resort Hotel
|
|
The County of Maui Building Department had a big problem with a structure being only a few feet from the house.
The fact that this structure would have no walls, no floor, no electricity, fireproof class-A roofing,
and be completely surrounded by 10,000 gallons of water did not matter.
The fire department needed room to fight the fire.
They would have to get in between the hut and the dining room, so they couldn't have the hut
just a few feet from the house.
No way, no how.
There was no way around this rule.
|
|
Could I simply attach the hut to the house?
Hell yeah, that would be fine.
How did it have to be attached?
It required a "substantial attachment."
Like a 4x4? - that's substantial.
No, not substantial enough.
Three or four 4x4s?
No, they needed at least a four foot connection of the hut's roof to the house.
Could I find this four foot attachment rule in the code book?
Who's ass was this four foot connection pulled from?
Don't ask.
One of many examples of something being made up on the spot.
It was my fault anyway.
I probably said "4x4" too many times that the "four" was still hanging in the air.
I should have suggested 22 2x2s.
And would this attached hut make it easier for our fire fighters to navigate between the house and hut?
No, but only slightly harder.
|
|
 |
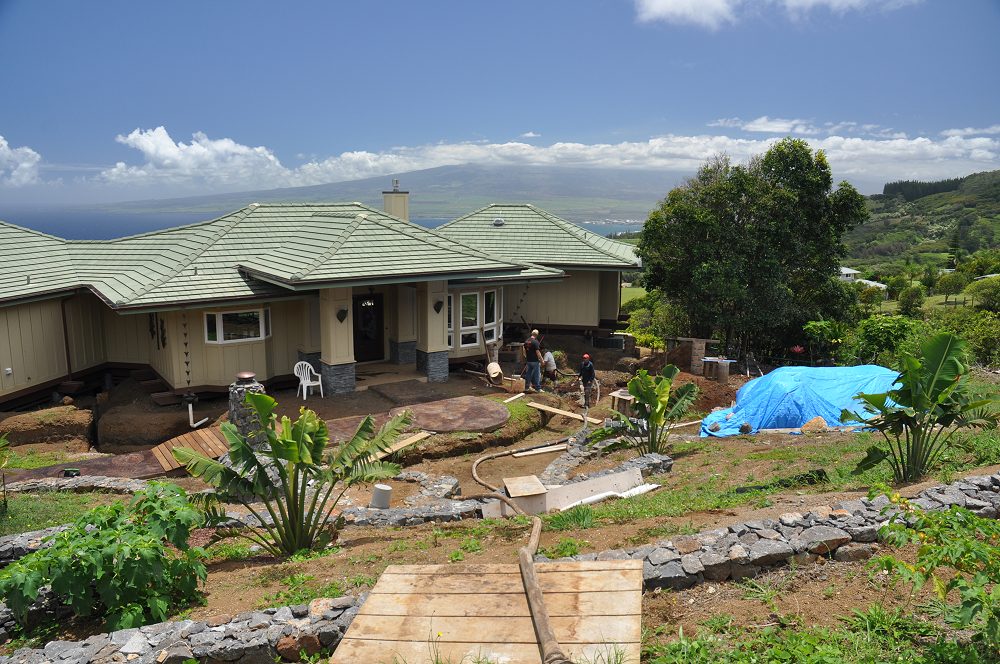
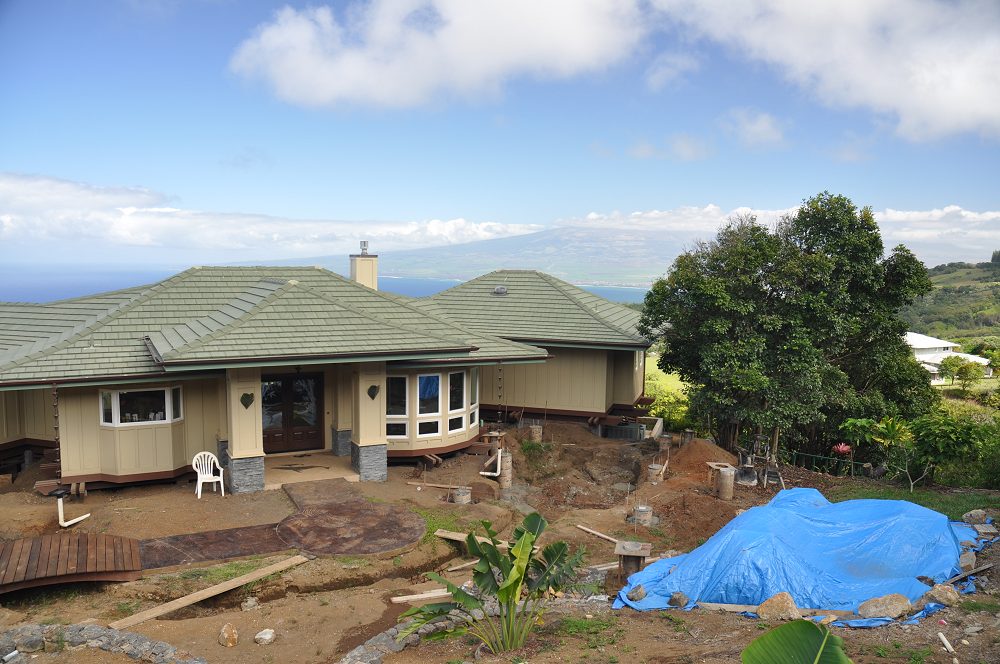
Where will the Canoe go?
(to scale)
|
|
 |
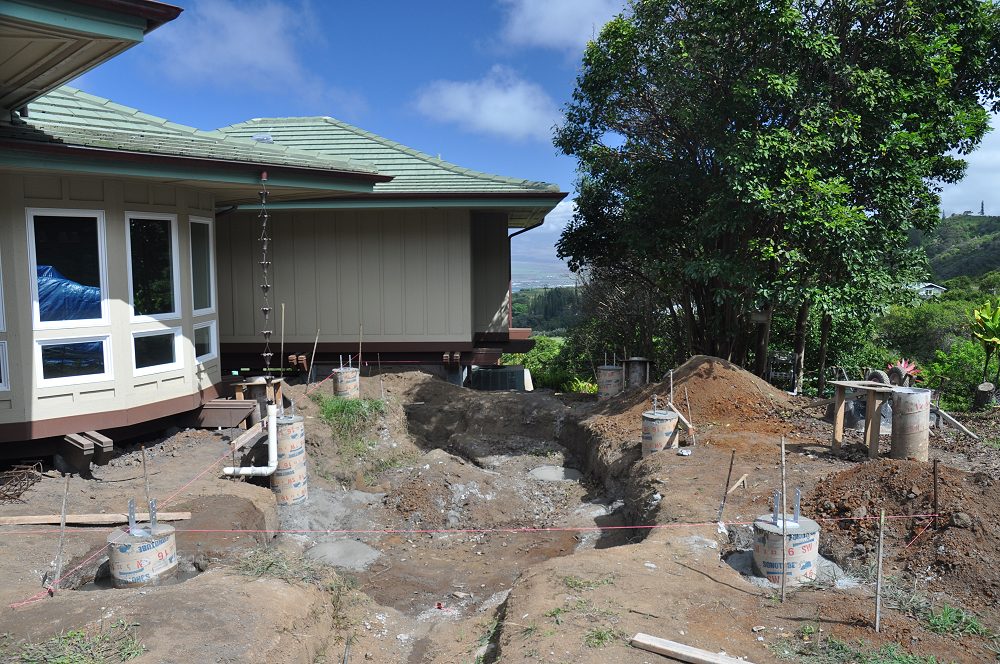
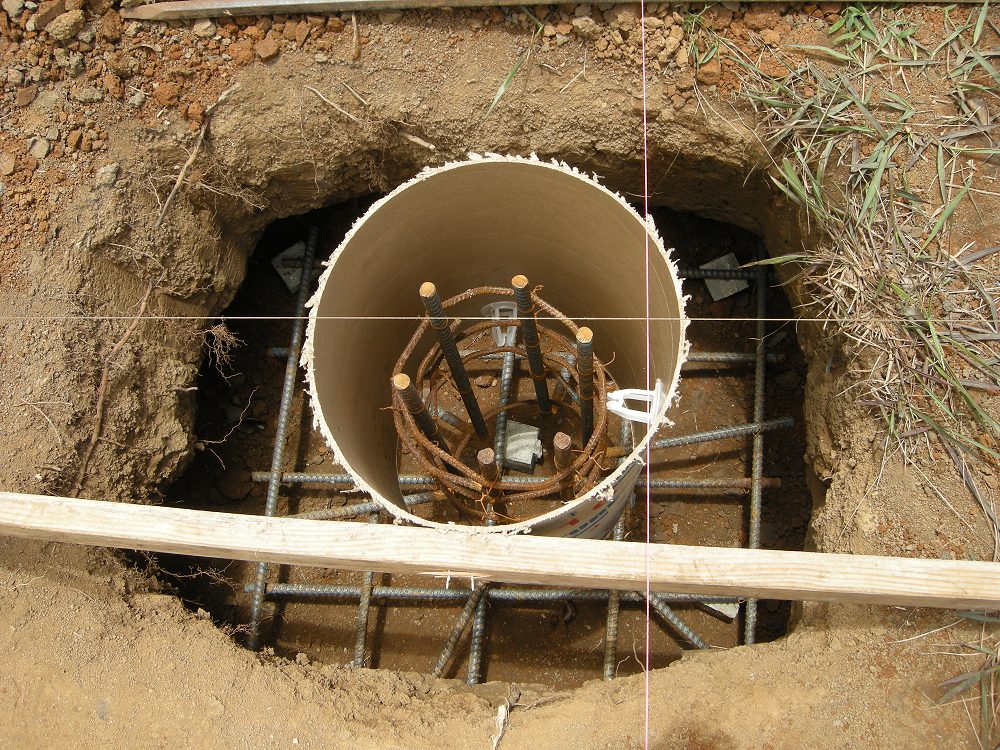
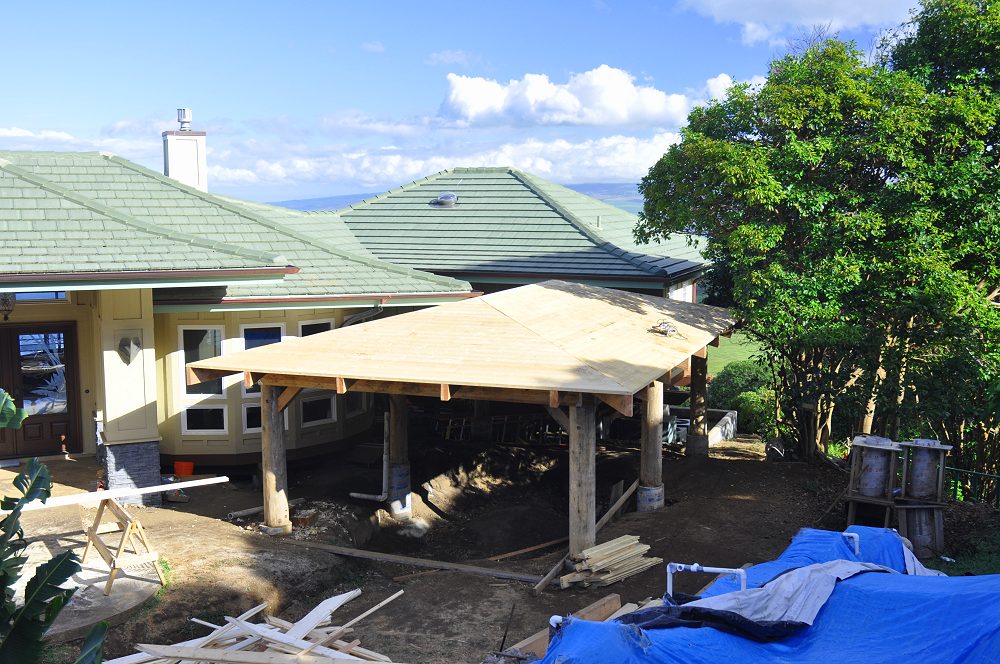
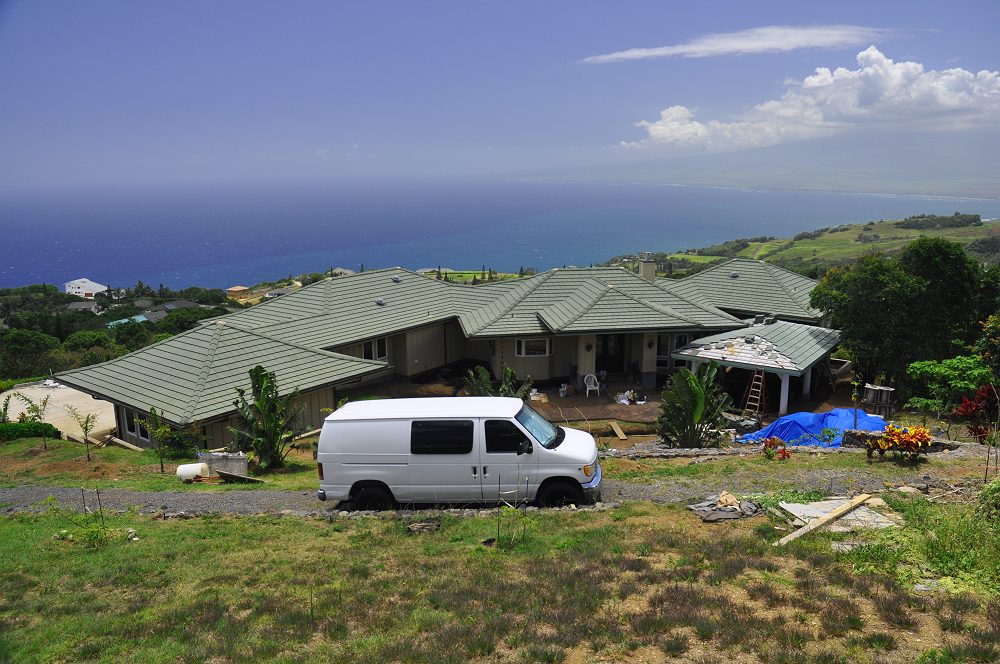
Future Koi Pond and Footings for Canoe Hut
|
|
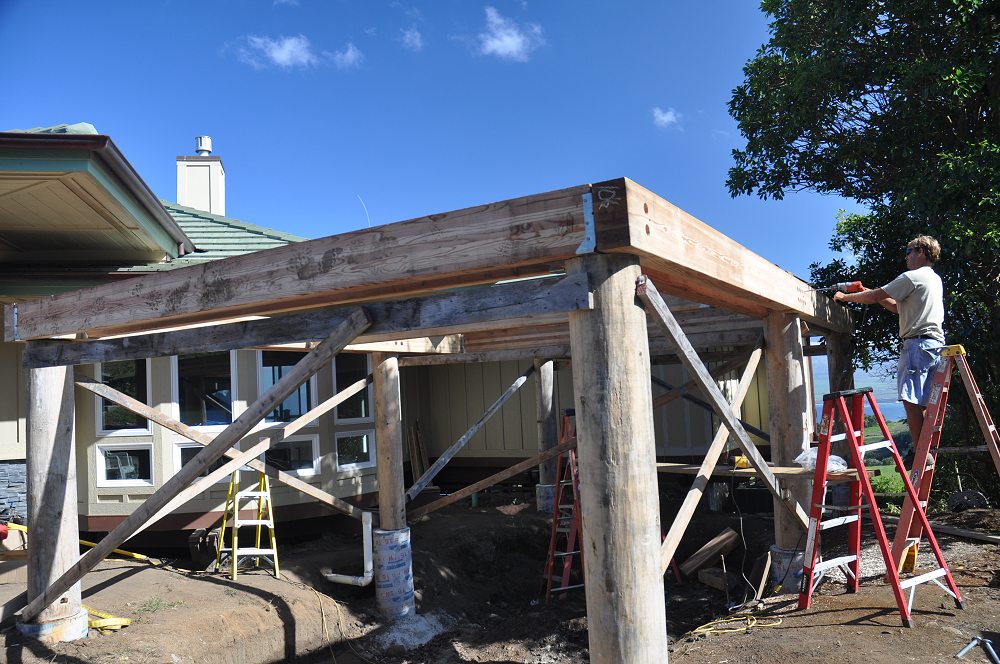
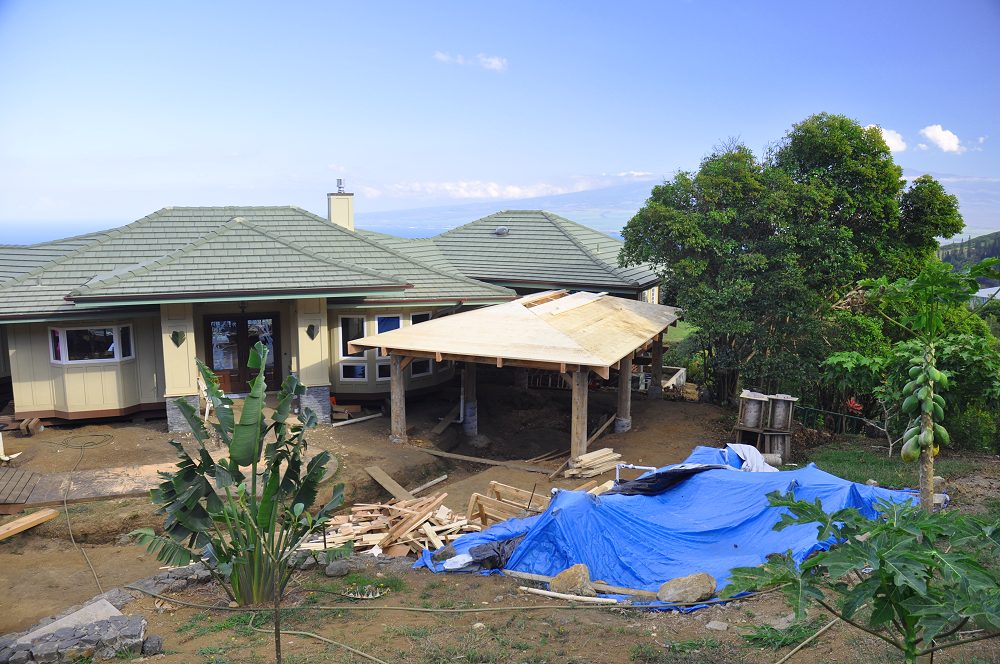
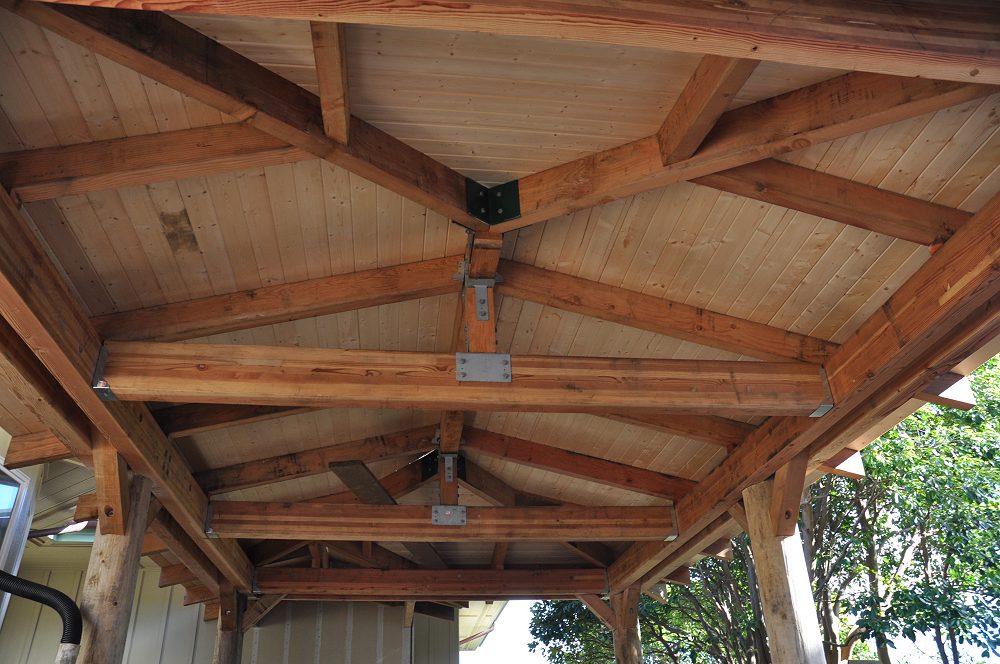
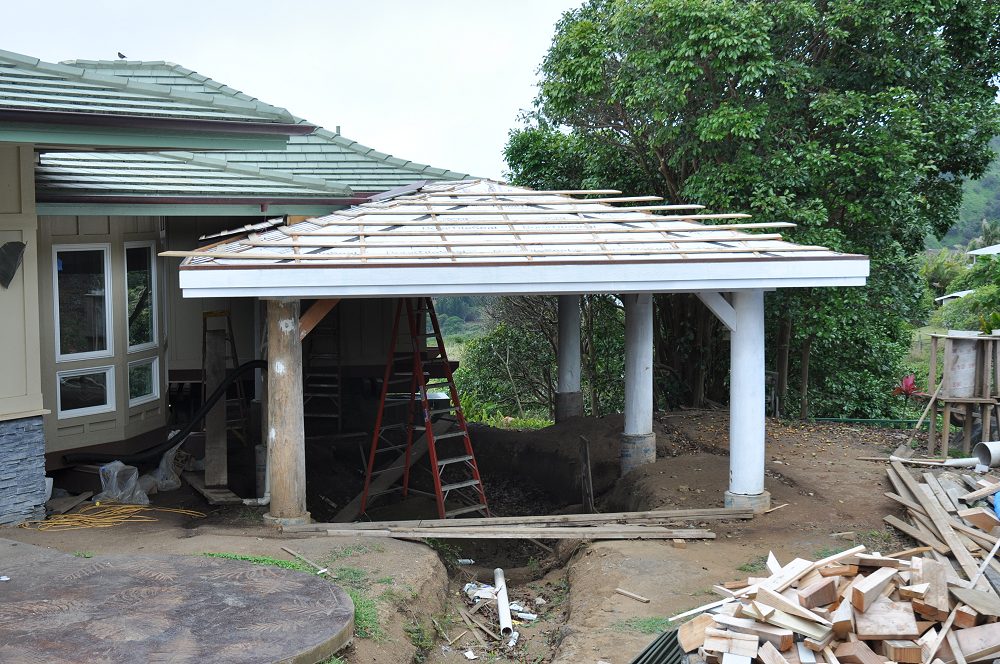
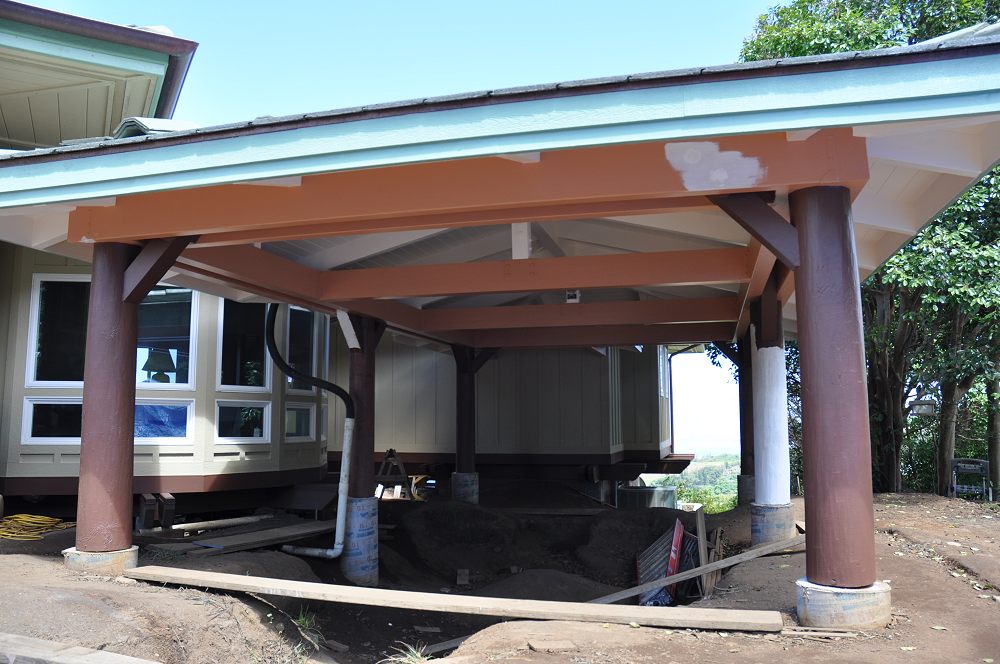
Plans for a sturdy hut with six massive 12-inch diameter columns and heavy double beams were drawn up by an engineer.
The hut attached to the house near the master bedroom.
Six months later after submitting the hut plans, a revised farm plan, fire protection plan with the location of the closest
fire hydrant, the location of the septic system, and the location of the barn, the plans were approved.
|
|
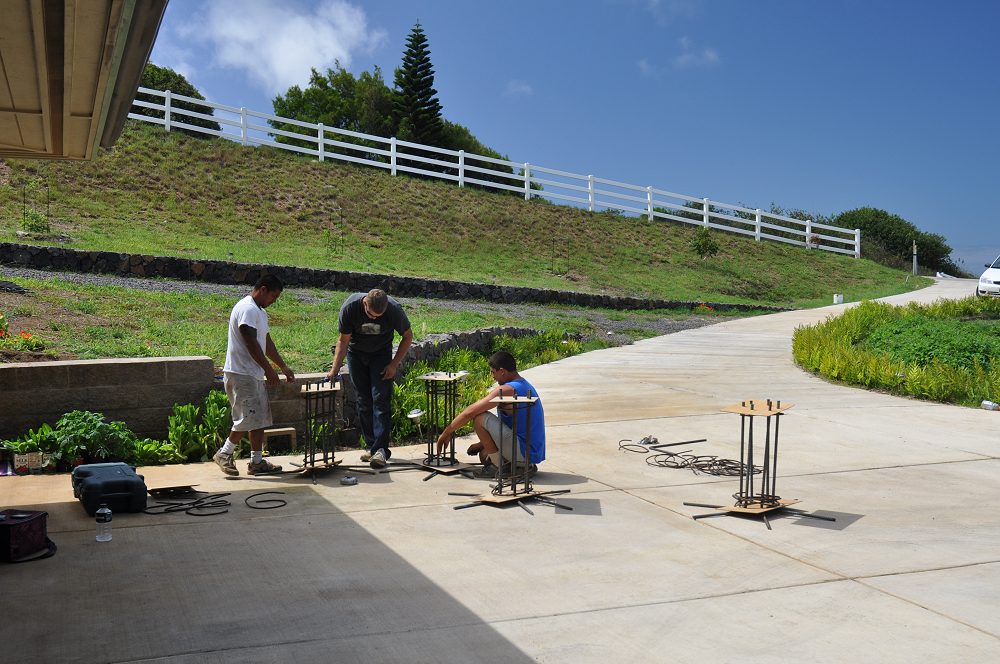
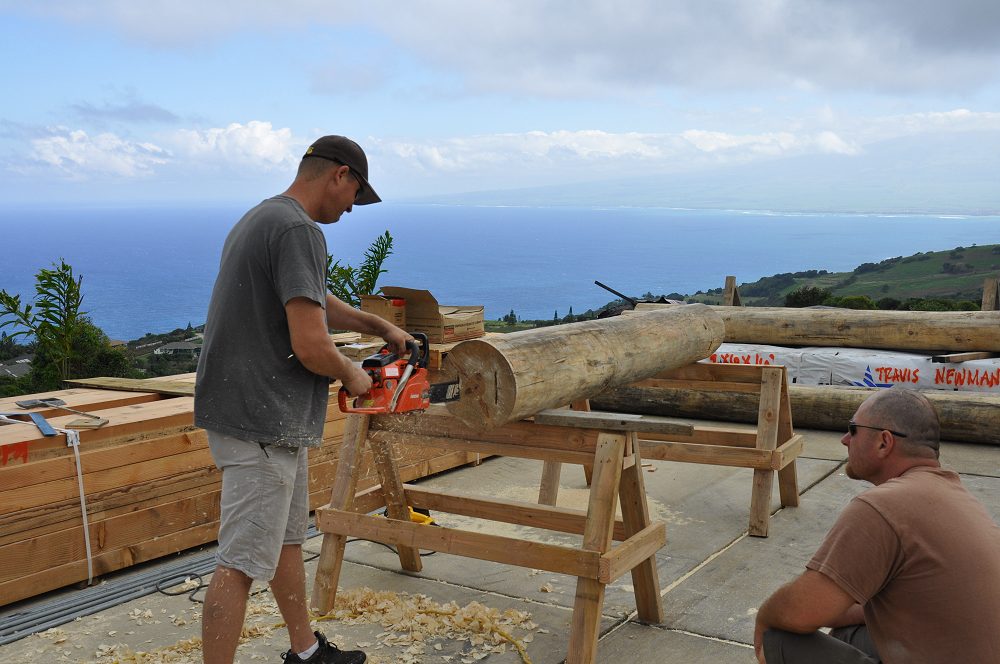
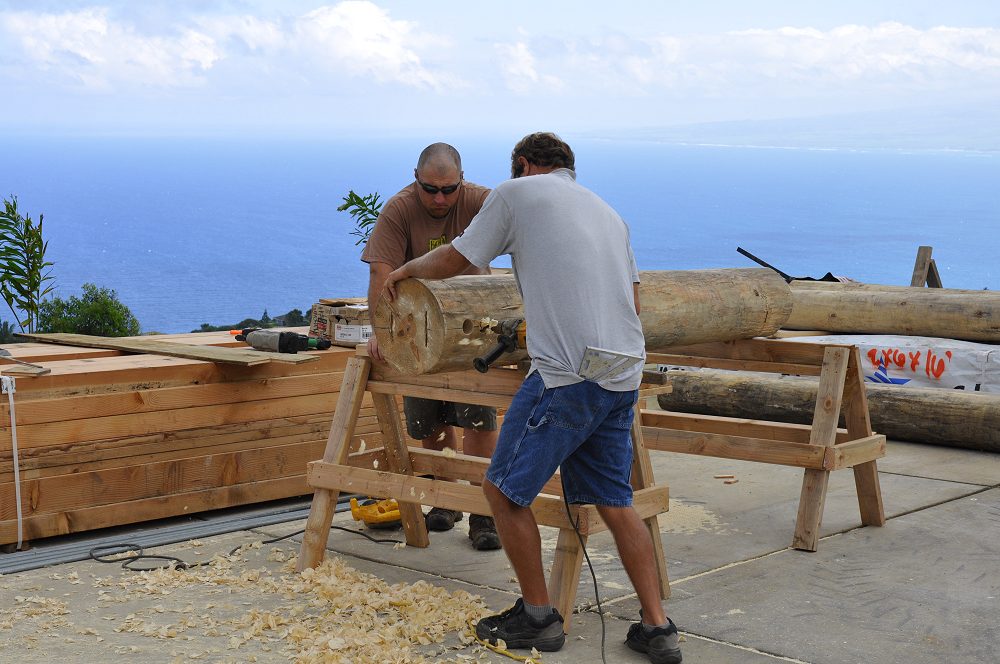
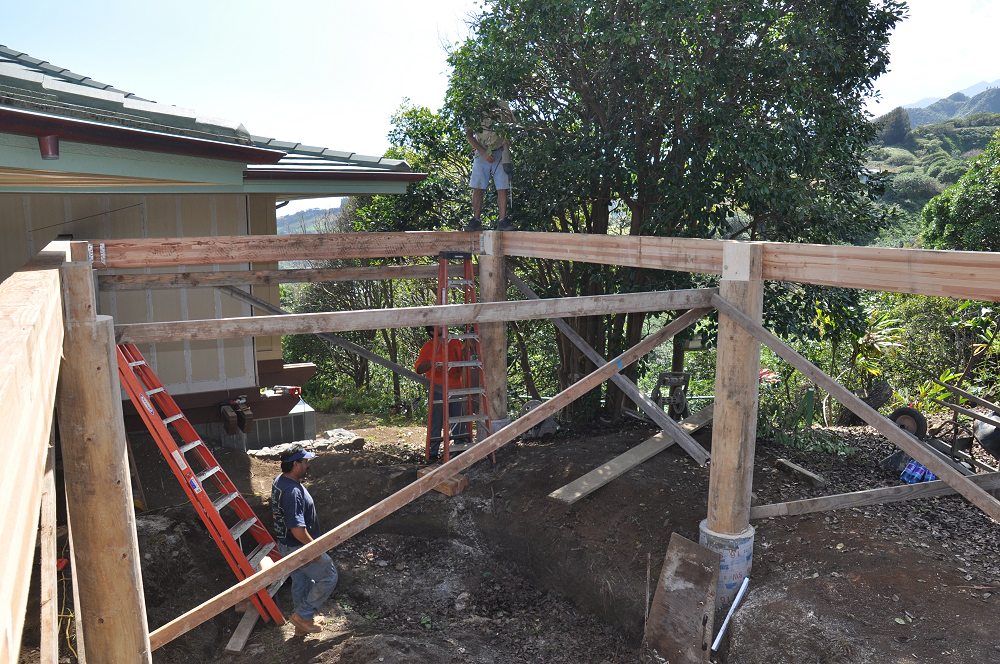
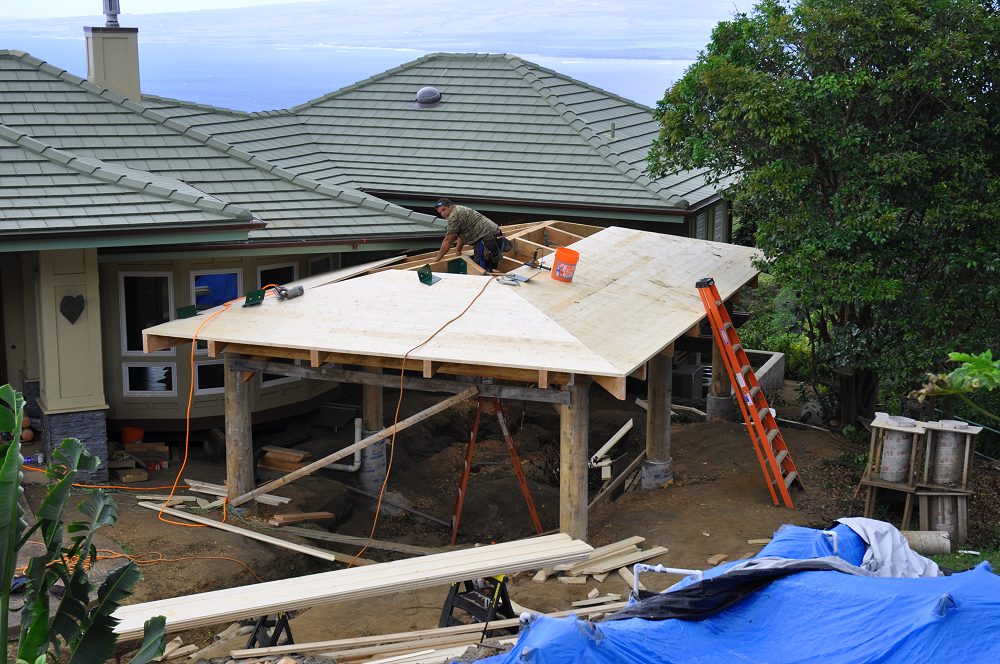
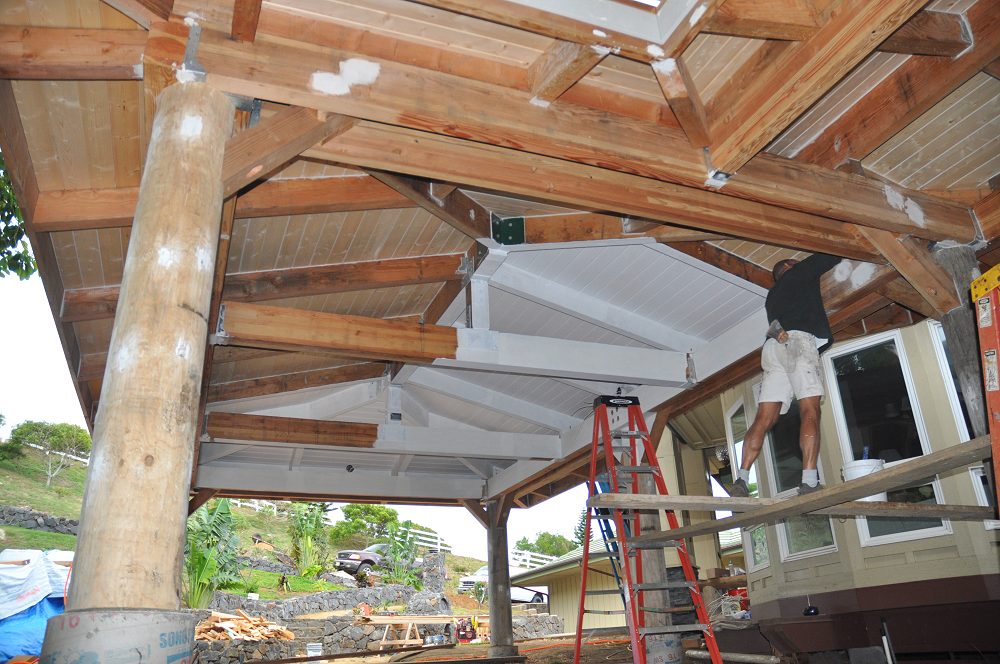
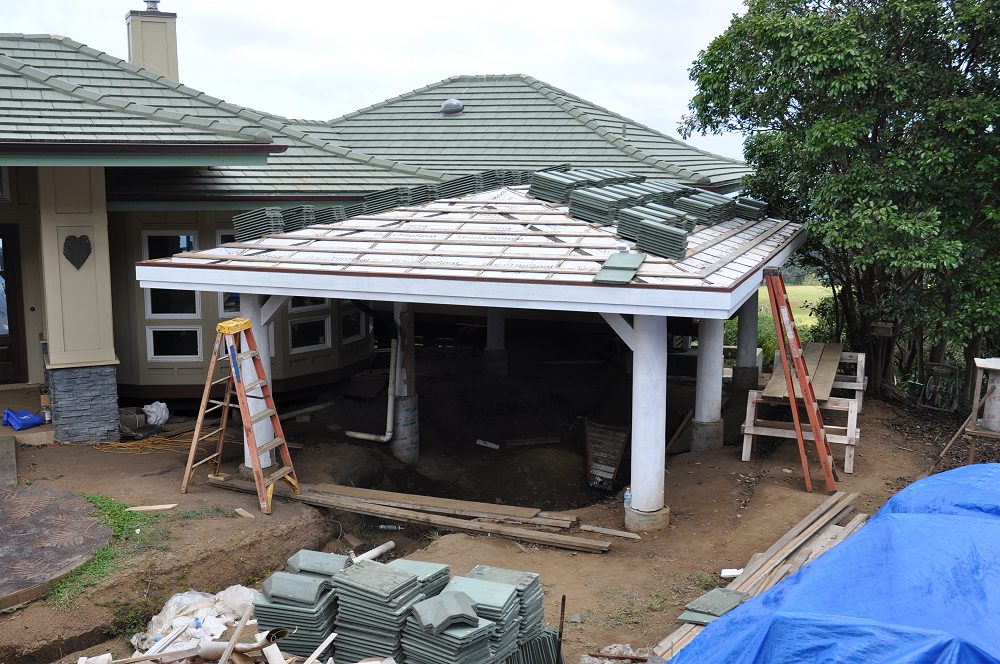
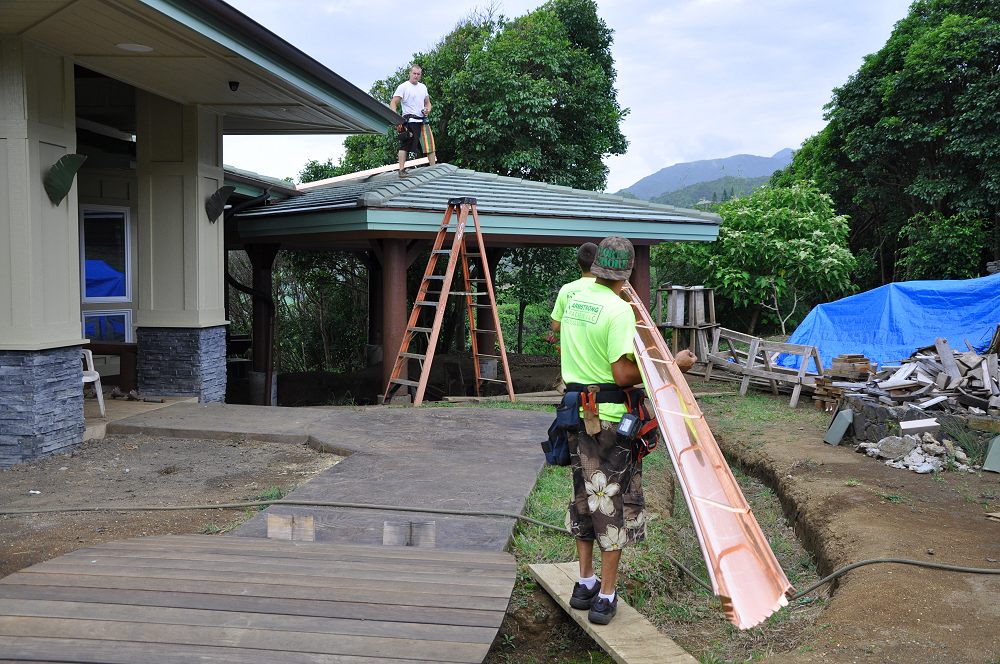
In January 2012 the lumber was delivered and the framing began.
The bottom of the columns were plunge-cut with a chain saw and fit over the brackets in the columns, so the connections would be invisible.
The columns were through-bolted using all-thread and the nuts were counterbored and plugged.
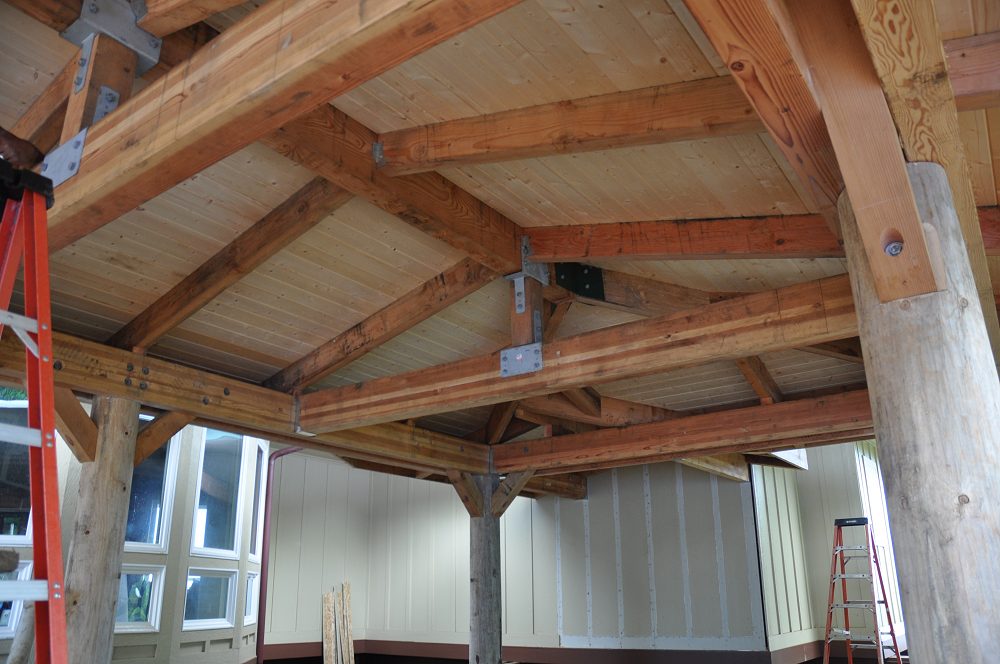
The top of the columns were notched to hold the double beams.
|
|
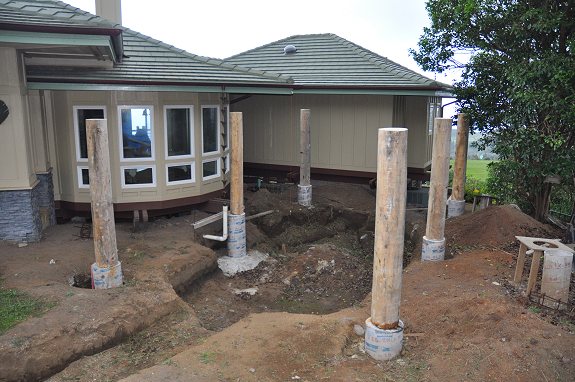 |
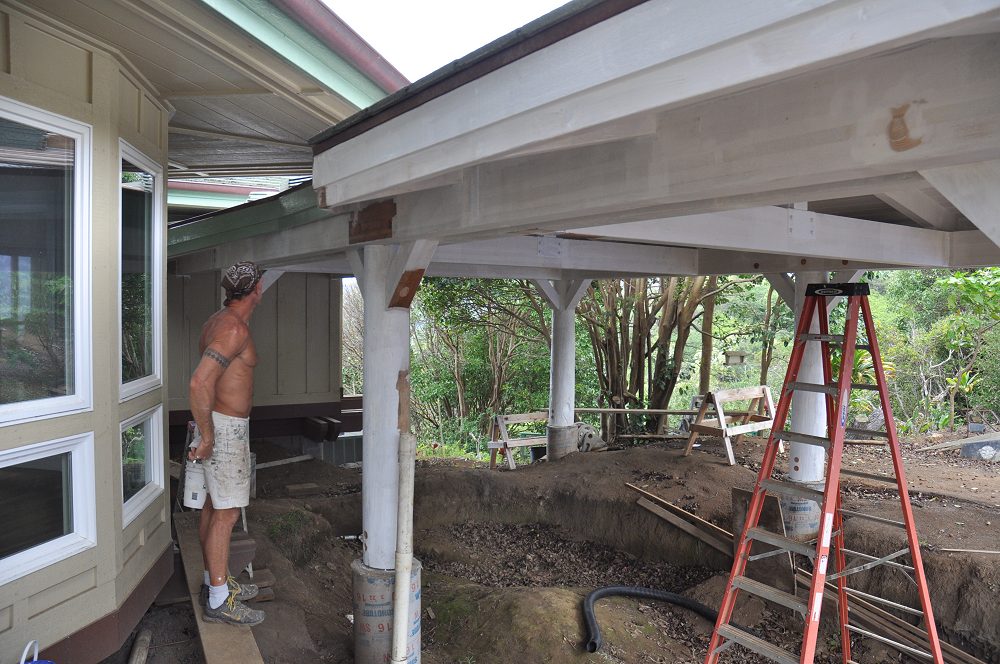
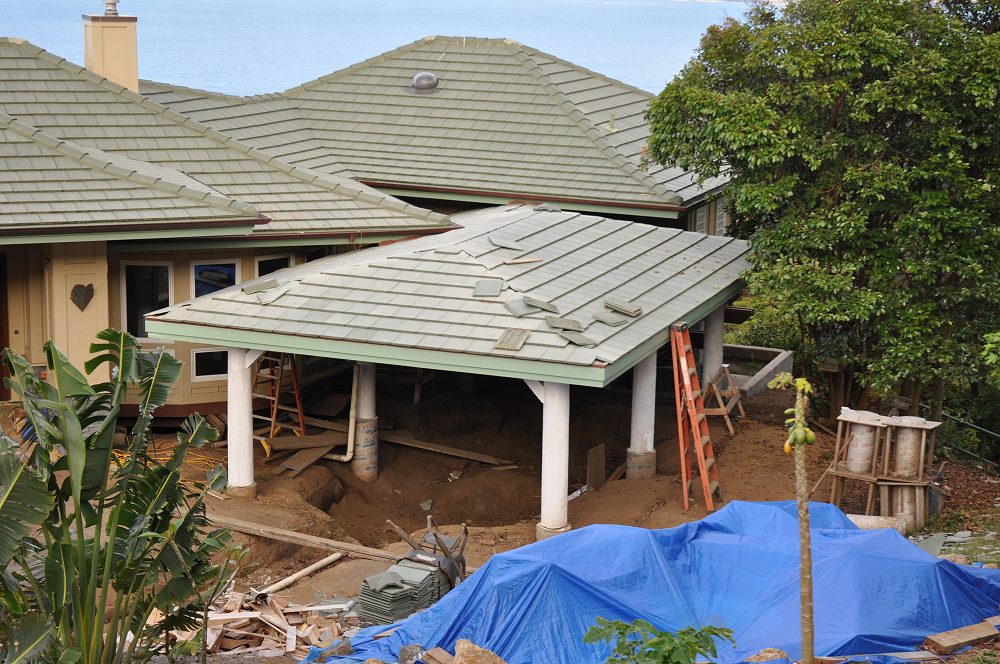
Six Hut Columns Installed
Kinda Like Stonehenge in Maui
|
|
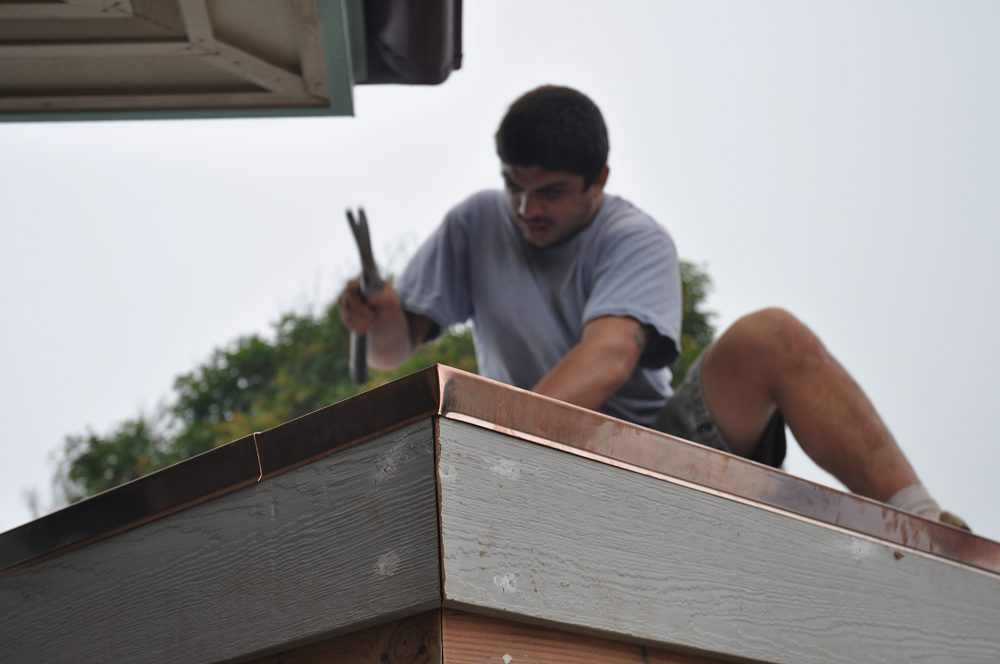
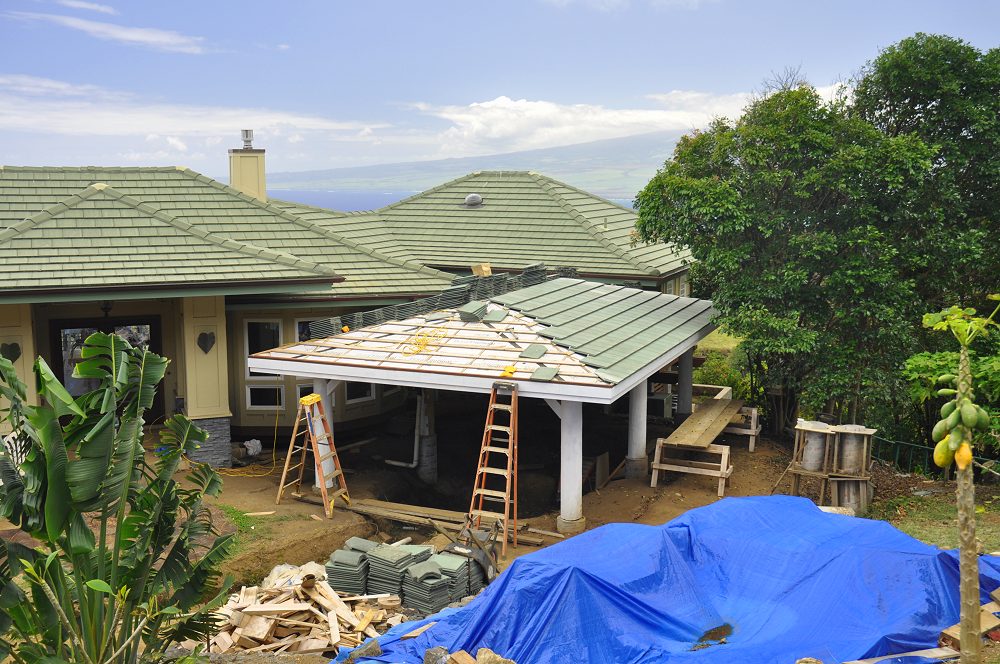
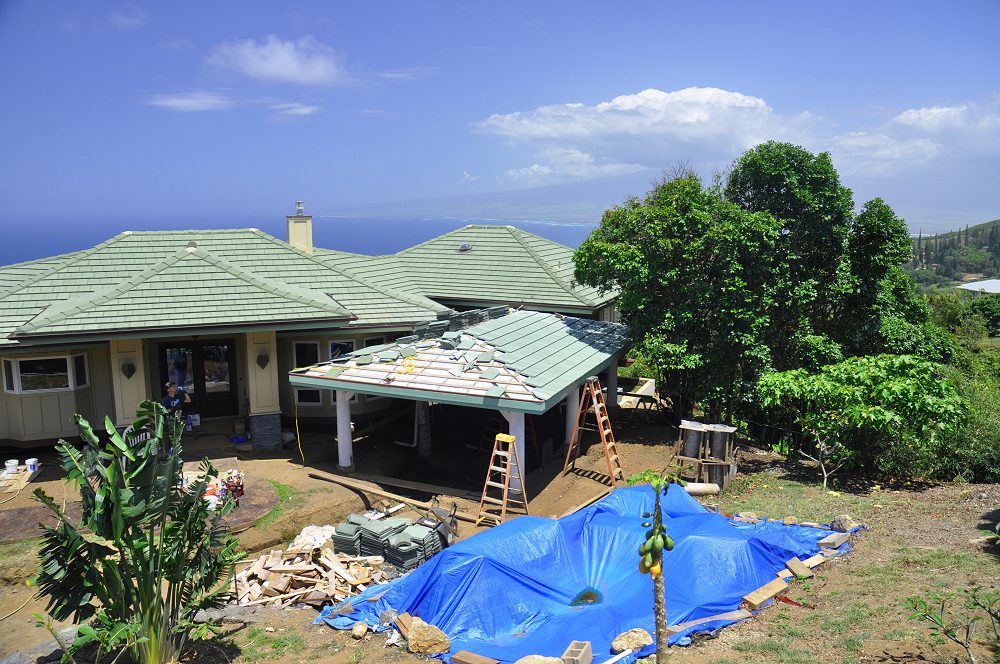
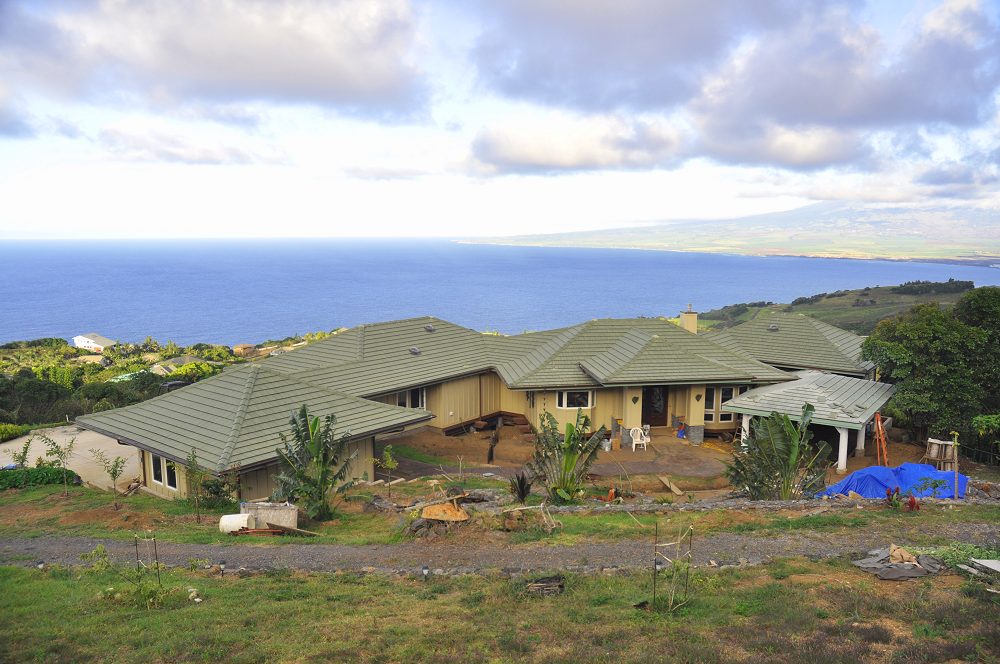
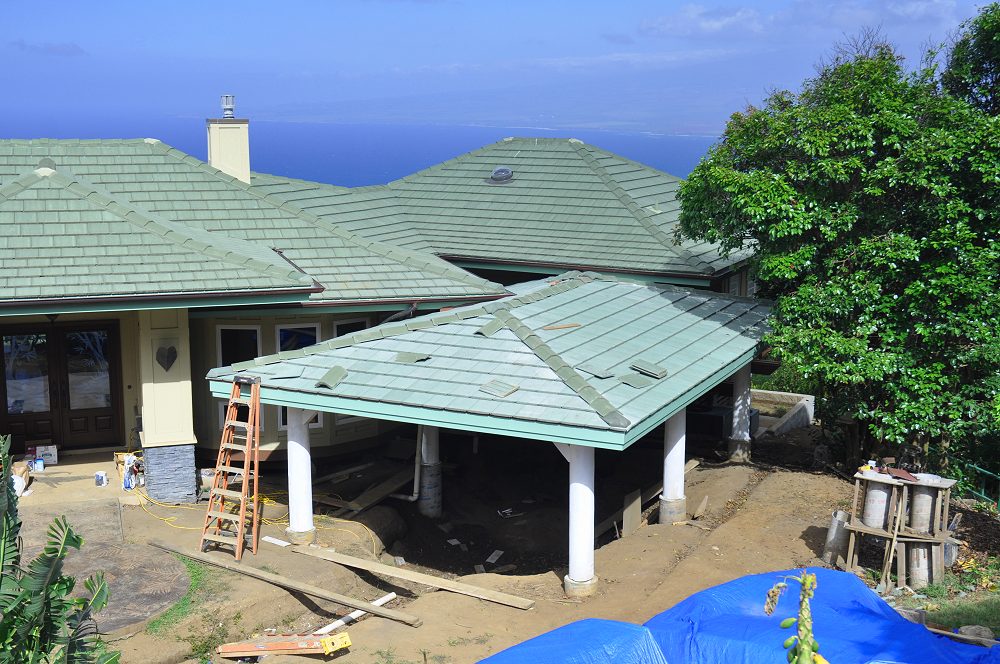
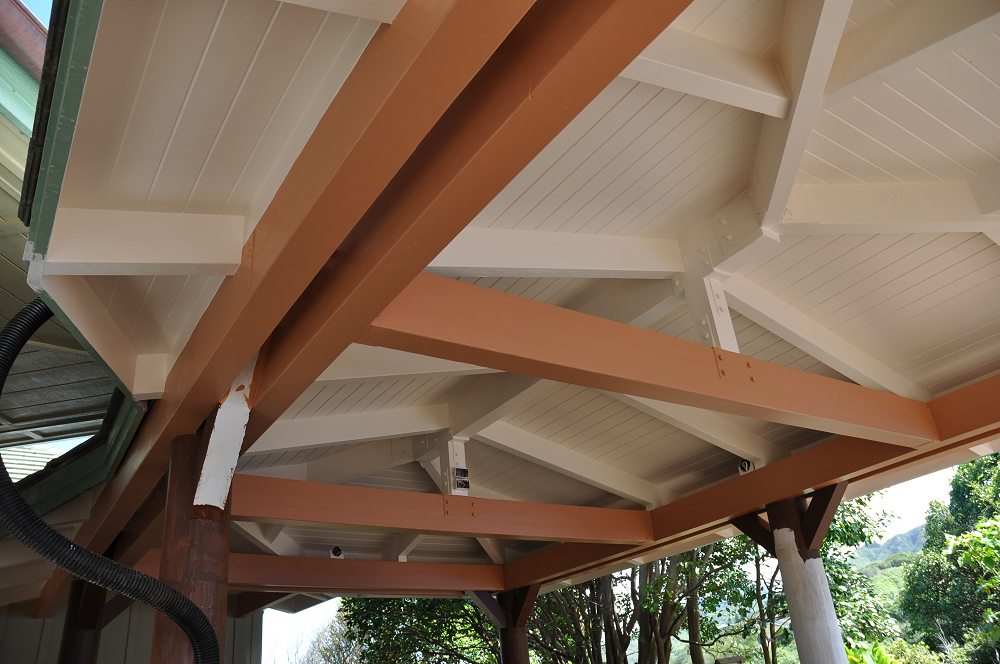
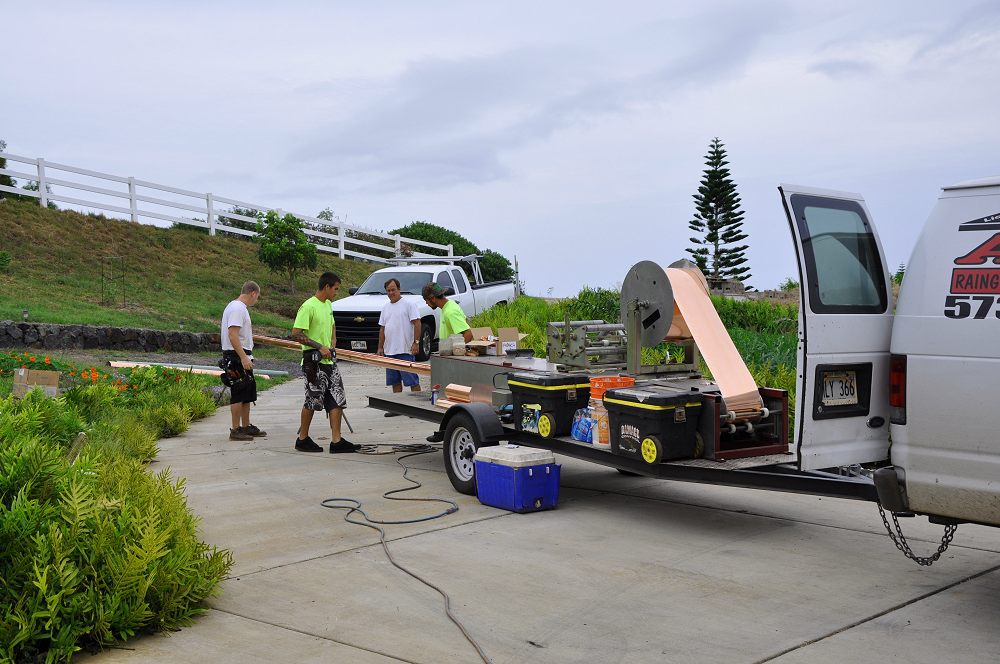
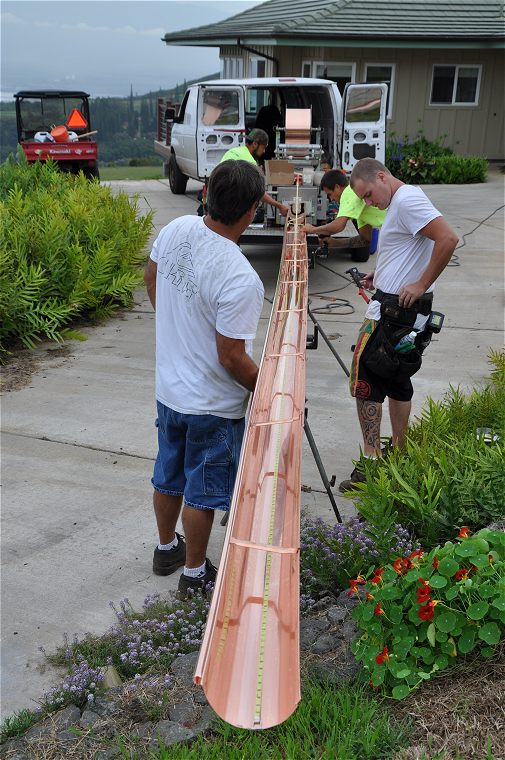
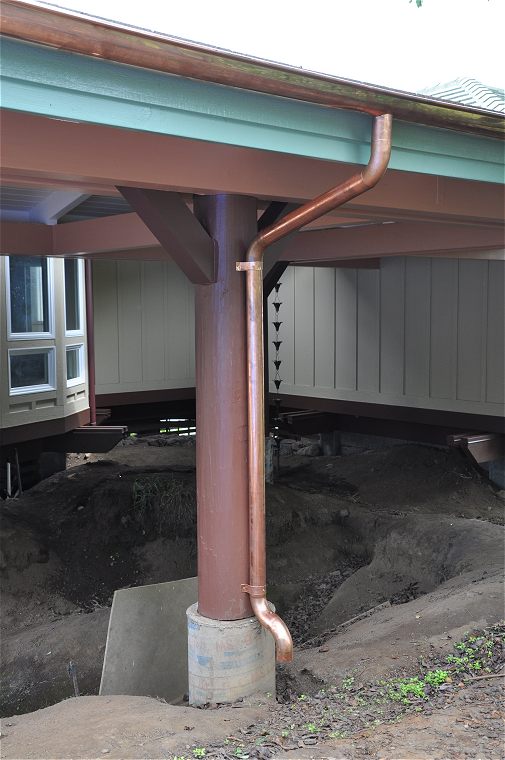
At the time of this writing, the canoe hut is complete except for copper gutters and lighting.
The hut has been painted, the electrical for the lights has been roughed in, and the light fixtures are ready to install.
Stay tuned.
Framing Trouble in Paradise
I hired Travis Milton and
John Weiland to frame the hut,
since I had an excellent experience with them building my
barn / workshop.
However, this construction was very different.
The barn was conventional stick construction, similar to modern house construction.
The hut had to be craftsman style, or at least my hybrid between authentic Hawaiian hale huts, and
the resort style huts.
I was very specific that no metal brackets could show, no wiring, and no nails.
John showed excellent aptitude with the barn and especially the finishing stages, so I felt confident.
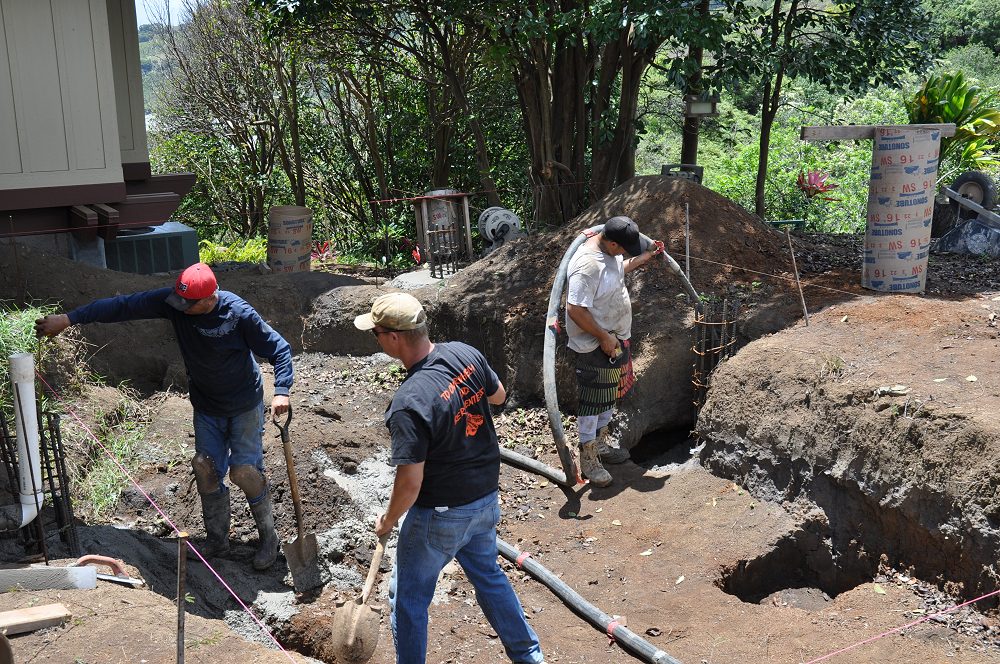
The foundation went smoothly, and six massive footings were poured.
Then problems arose.
The six uber-expensive 12-inch diameter treated posts were ordered five feet too long.
A costly mistake wasting thousands of dollars.
John was assisted by Dean, who did masterful woodwork on the house's
ceilings,
flooring, window trim,
cabinets, and
ceilings.
John decided to make almost all of the cuts to the beams, and drill most of the holes on the ground.
This is technically possible, and could be done by a master carpenter.
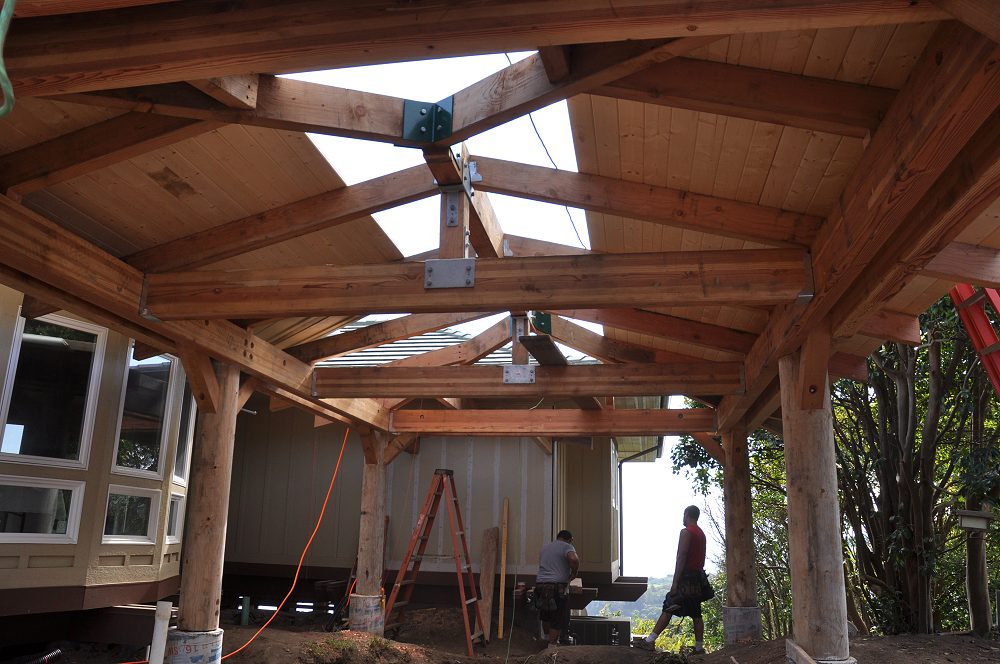
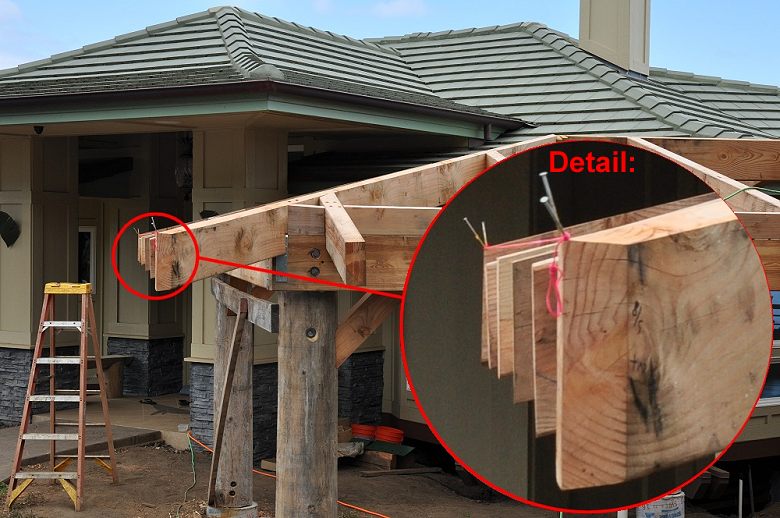
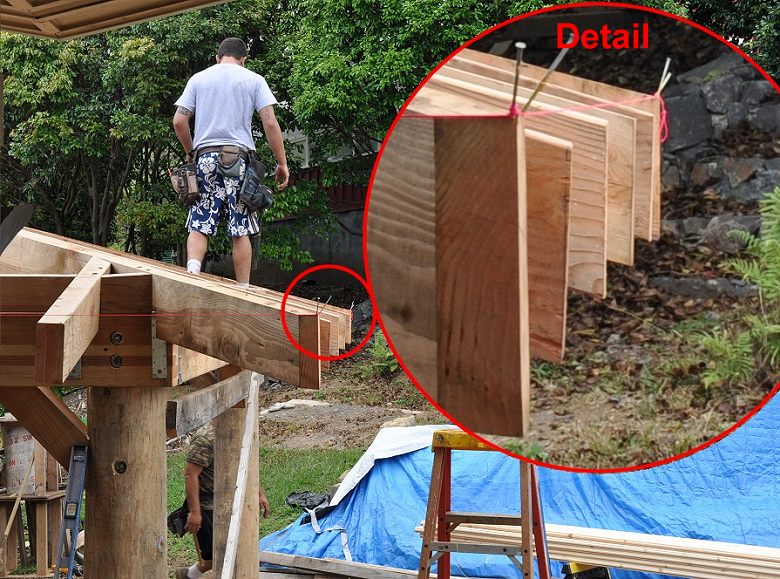
Unfortunately, there were numerous incorrect cuts, holes not even remotely close to their required location, and the massive,
expensive, and oh-so-visible ridge beam was cut six inches too short.
Their solution was to nail two 2x6s to each end and hope I didn't notice.
When I did notice, their solution was to use Bondo (yes, Bondo) to hide the mistake.
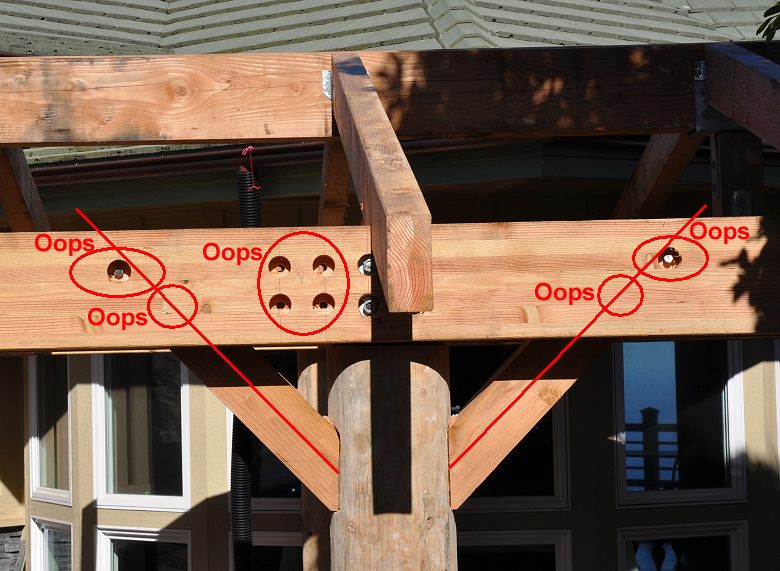

The holes for the through bolts that secured the knee braces, which provide lateral support, were drilled
so far off of the required centerline of the beam as to barely catch the knee brace.
What's worse, the approved plans called out for two through bolts on centerline of the knee brace, and there was
only one.
John thought that the one barely-there through bolt was sufficient.
I thought otherwise.
I asked the engineer and the building inspector for their opinion.
A week later John drilled the missing holes, with the ridiculous staggered one-on-center, one-off-center appearance.
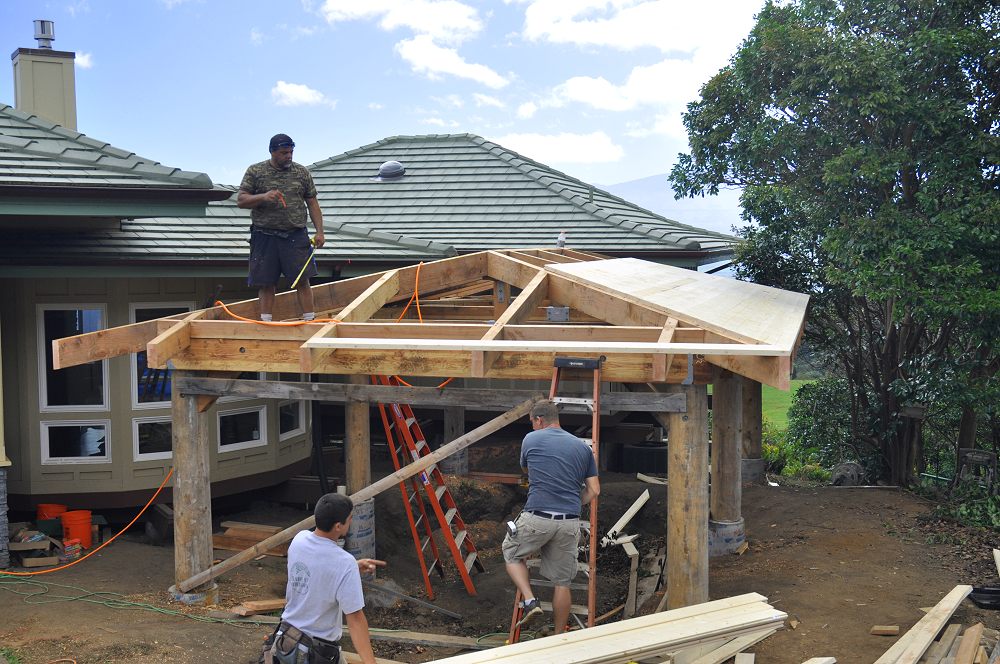
Next the tongue and groove roofing had to go up, except the rafters were at different heights and angles.
To avoid roller coaster roof, the rafters were loosened, shimmed, and trimmed.
Travis was embarrassed and mad, but pledged to make the hut project whole.
Another framer, Ruben, was brought in, with his sidekick Cody, and the framing began to get back on track.
|
Click Thumbnail for Larger Image
Click Thumbnail for Larger Image
Sell your cleverness and purchase bewilderment.
-Rumi
Copyright © 2011 - 2013 Eric Newman *All rights reserved
|