|
Building a Barn in Maui
|
Building a Barn in Maui
by Eric Newman
I love my Barn.
It's really a workshop with an attached greenhouse, but since we're on agricultural land, and since it was made to look like a barn, it's called a barn.
These days it's fashionable to call such a retreat a Man Cave.
Building a Multi-Use Barn: For Garage, Animals, Workshop, or Studio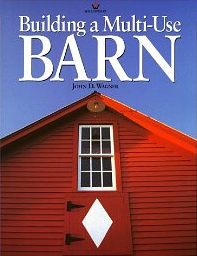
Click Book Cover for More Info.
|
|
The first house design actually had a 160 sq. ft. indoor workshop.
Why design a custom home and not do some crazy crap?
But 160 sq. ft. would be a little sissy workshop, so I designed a 1,440 sq. ft. two-story workshop with a second office,
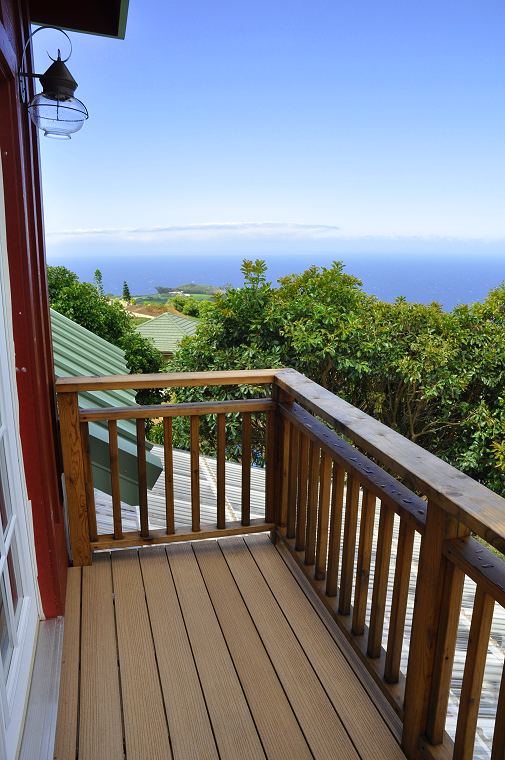
french doors opening onto a balcony with a great view, and a 360 sq. ft. greenhouse, for a total of 1,800 sq. ft.
Since the barn/workshop cost 1/8 the price per square foot of the house, it made sense to move the workshop outside the house.
The barn was a pleasure to design and build, and was based largely on designs in the book
Building a Multi-Use Barn, by John D. Wagner.
In the first pages of his book, Wagner mentions that he's seen a lot of barns, and a 24 ft. by 30 ft. barn is the ideal size, so that's the only size he'll discuss.
I laid out a 24 ft. by 30 ft. outline on the ground using ordinary baking flour, and I had to agree, that was a good size.
After the barn was completed, I e-mailed some pictures to the author and we exchanged a few e-mails.
|
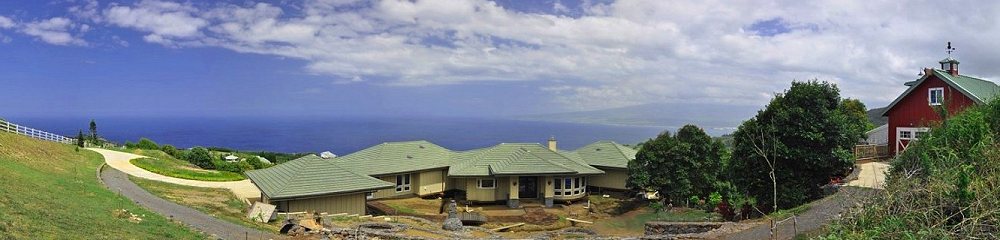
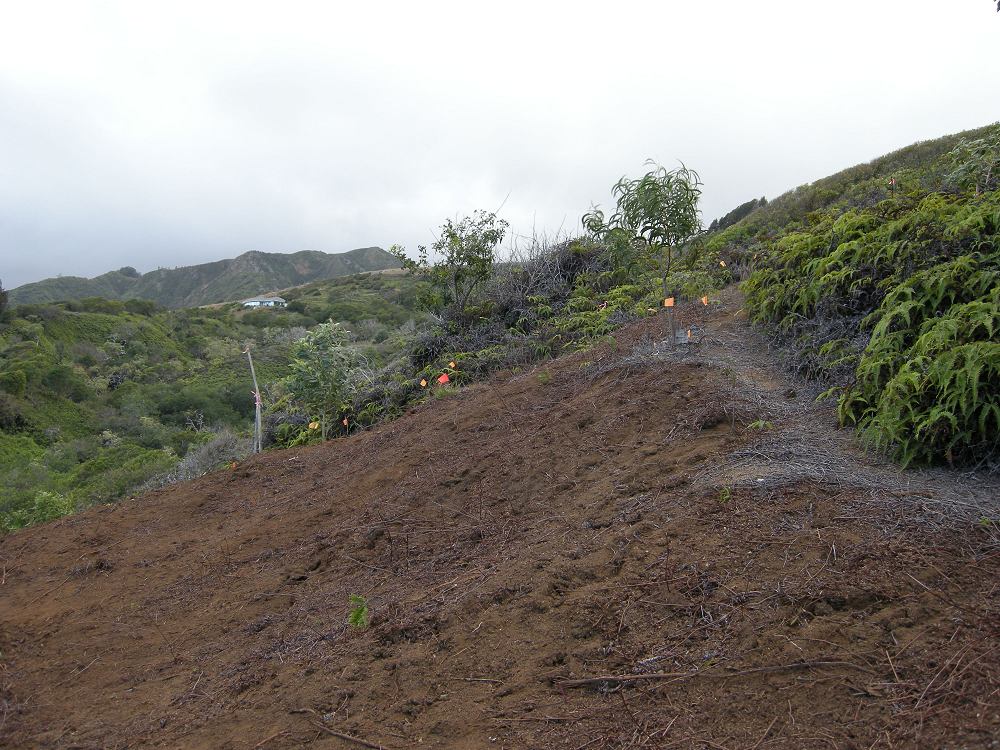
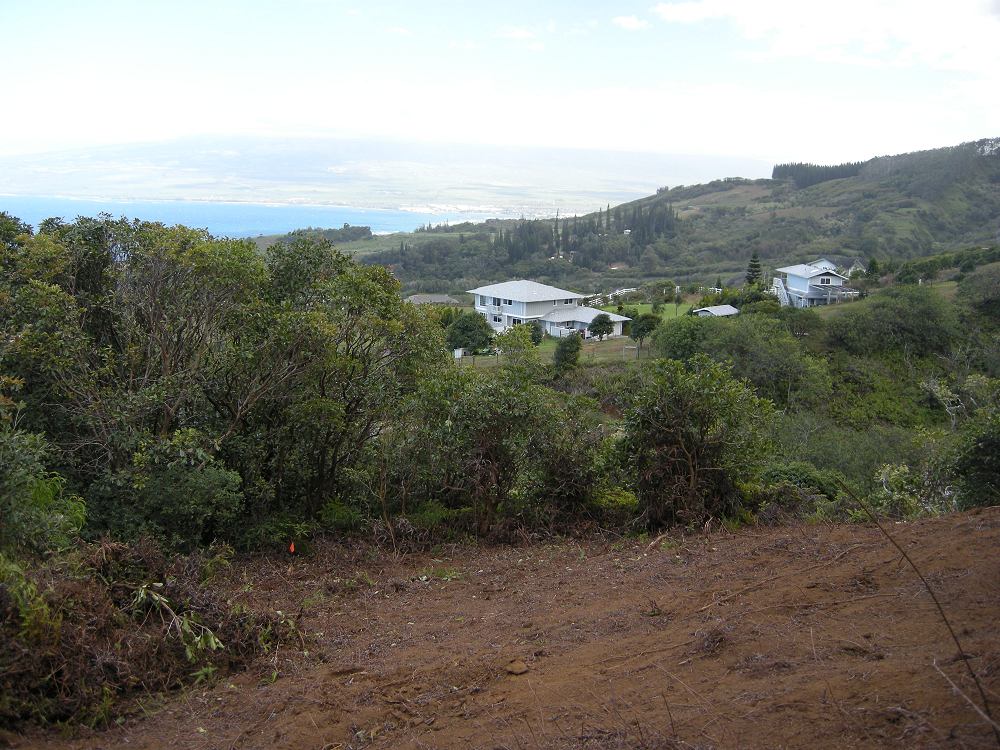
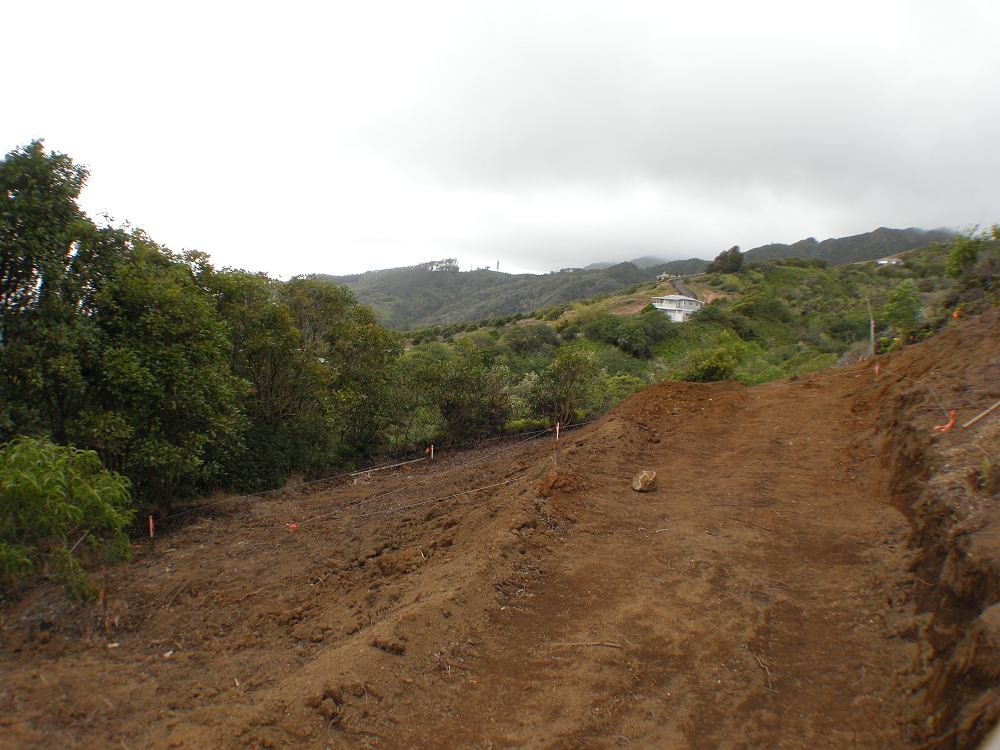
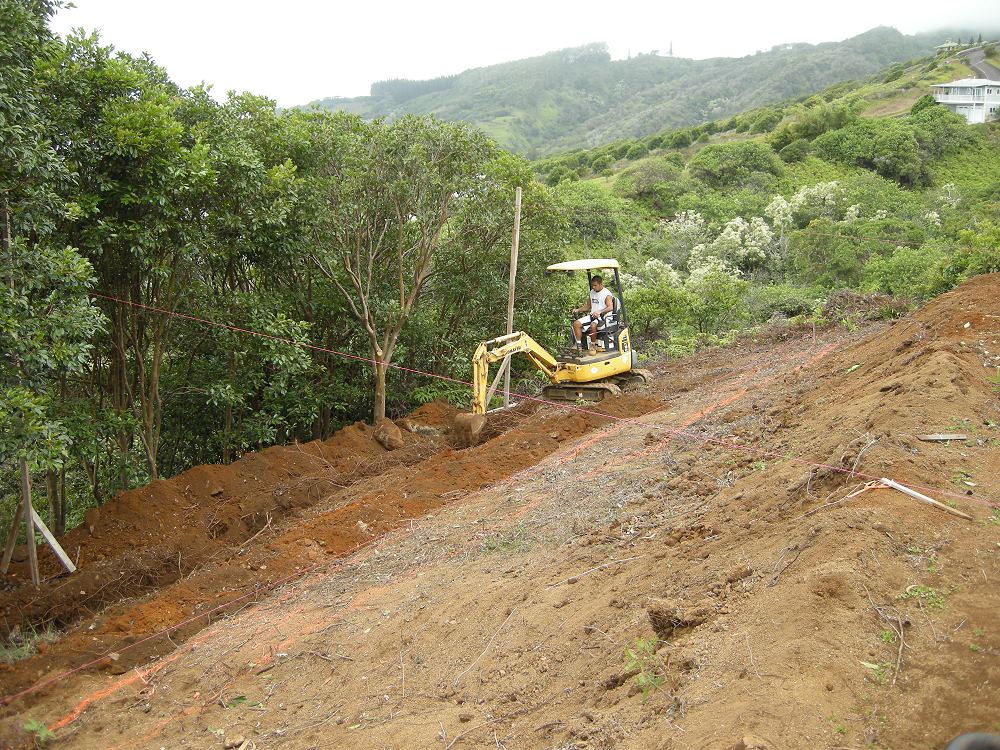
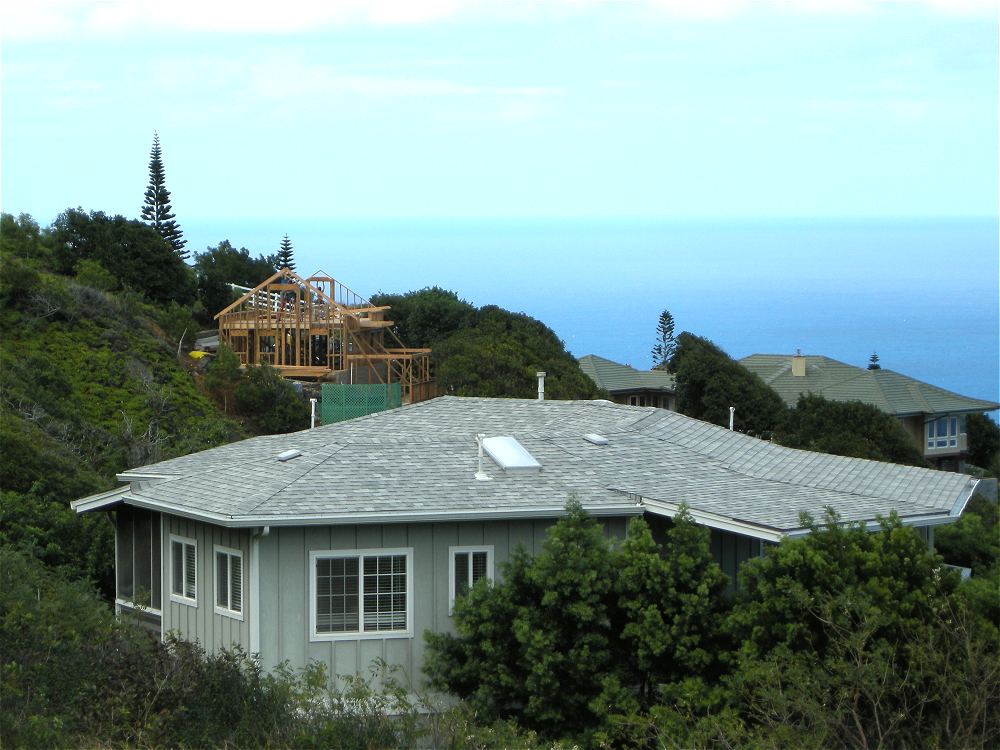
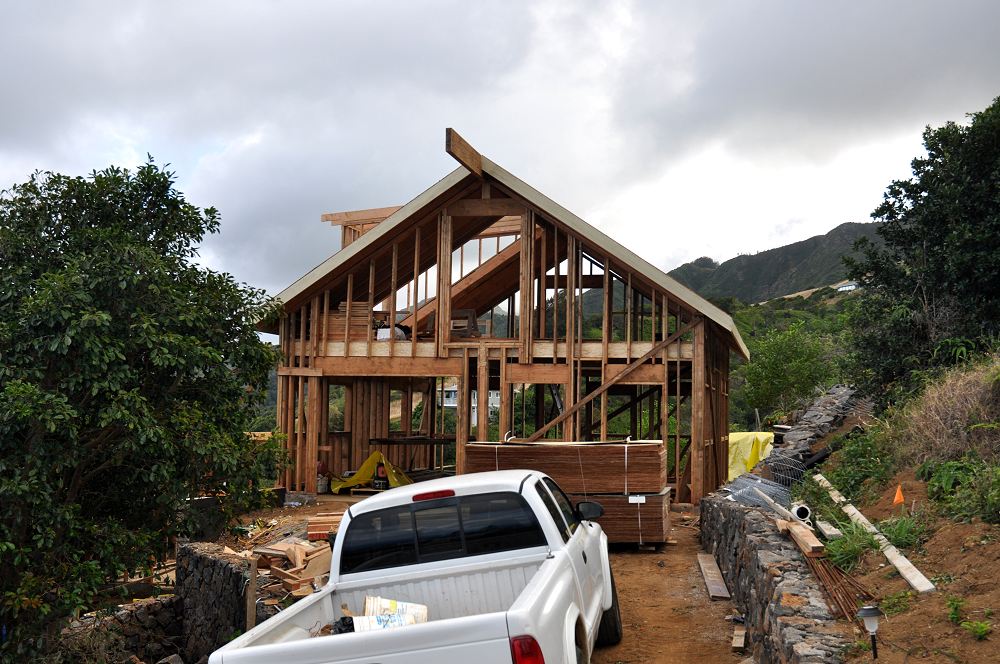
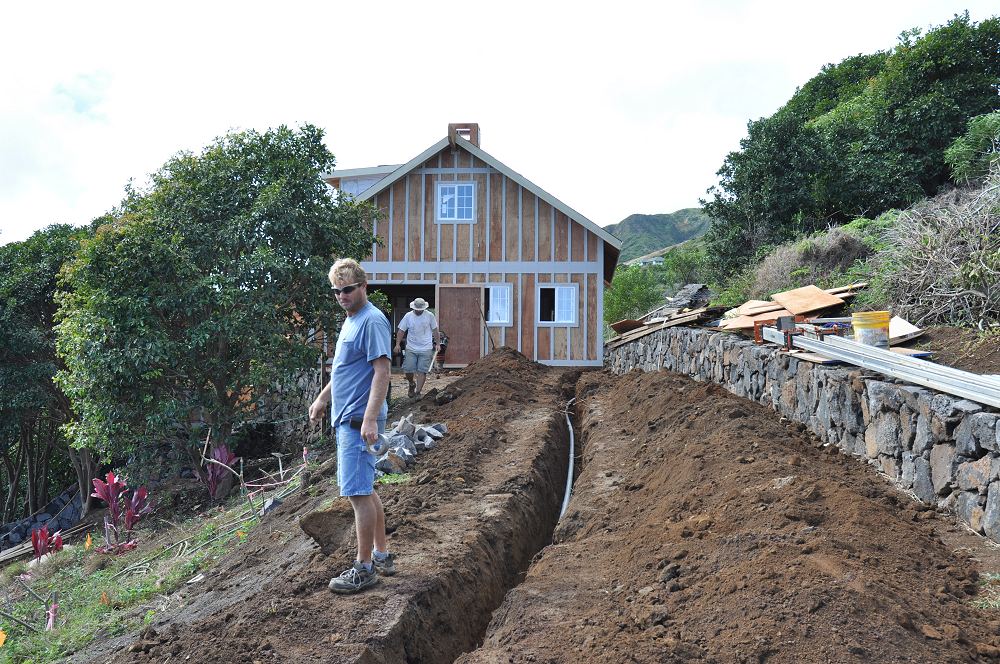
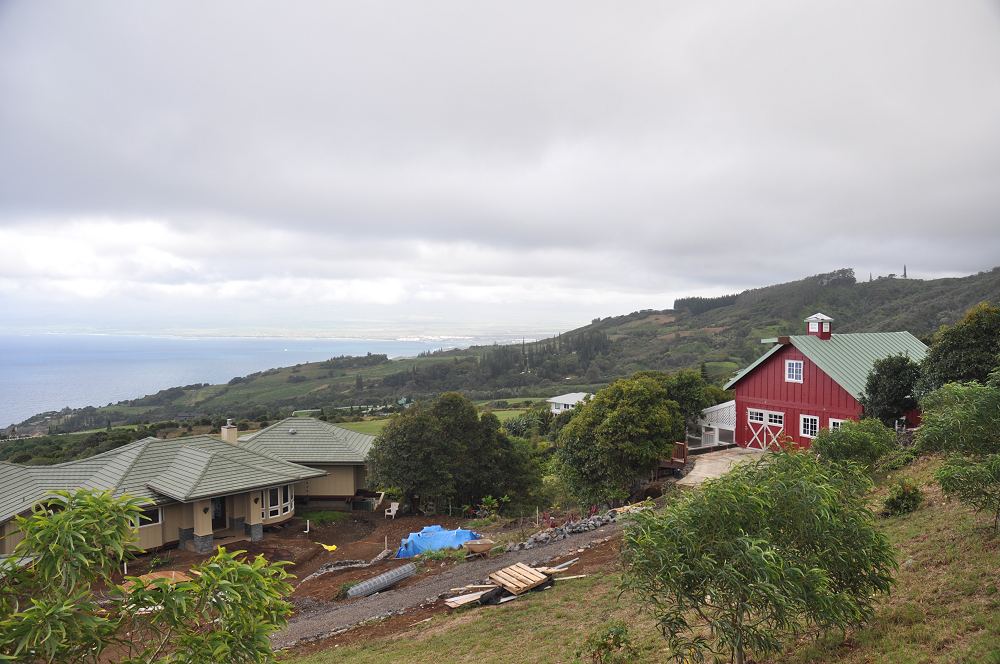
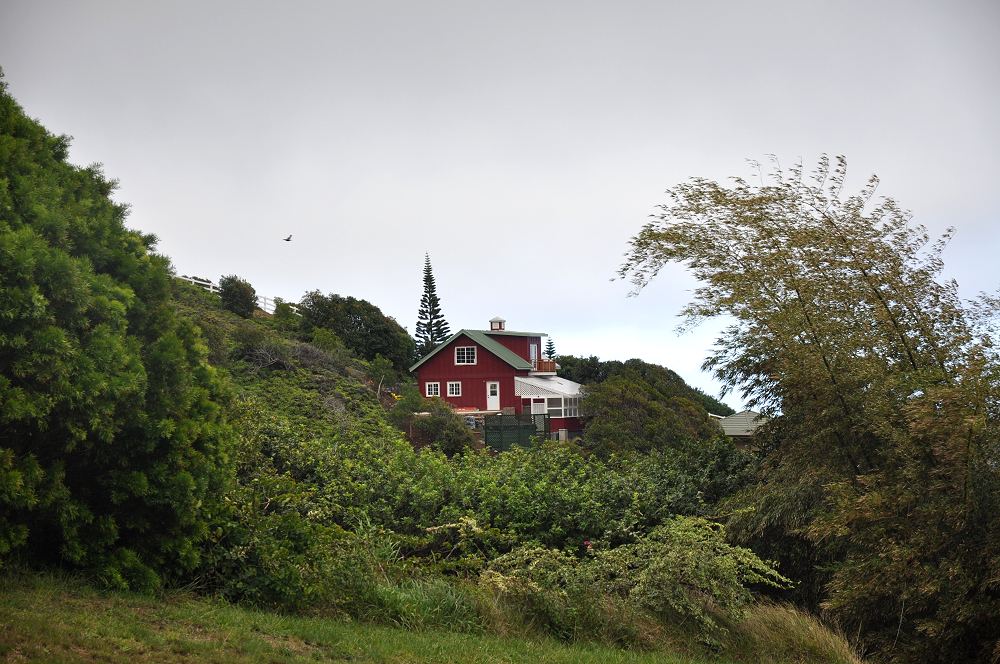
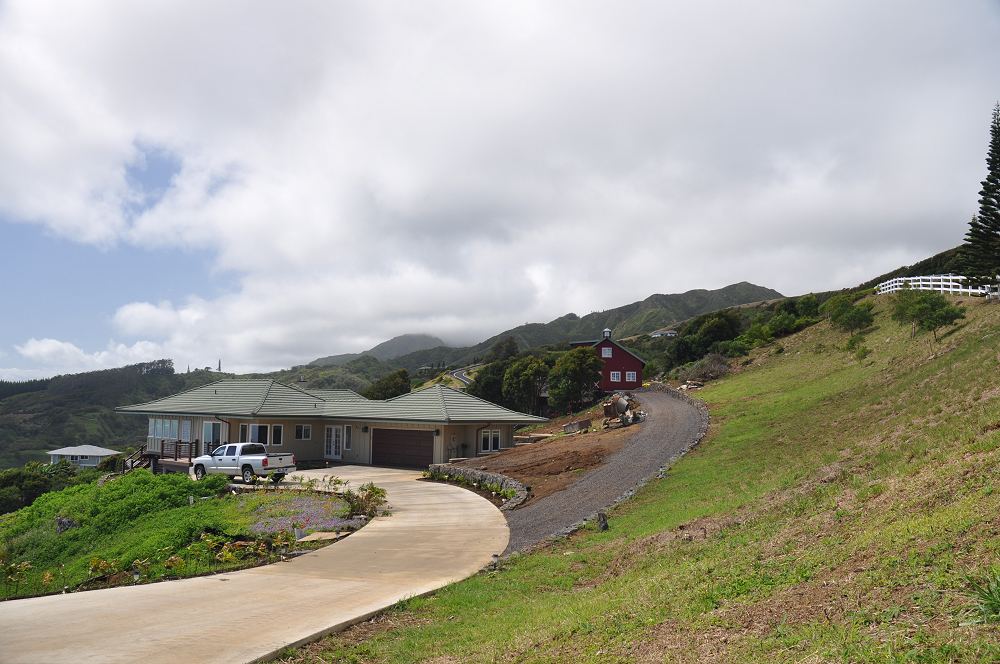
I didn't want the barn close to the house so I built it on a hill above the house and hugged the property line.
The CC&Rs require a 30 ft. set back but I got a variance to build it 15 ft. from the property line.
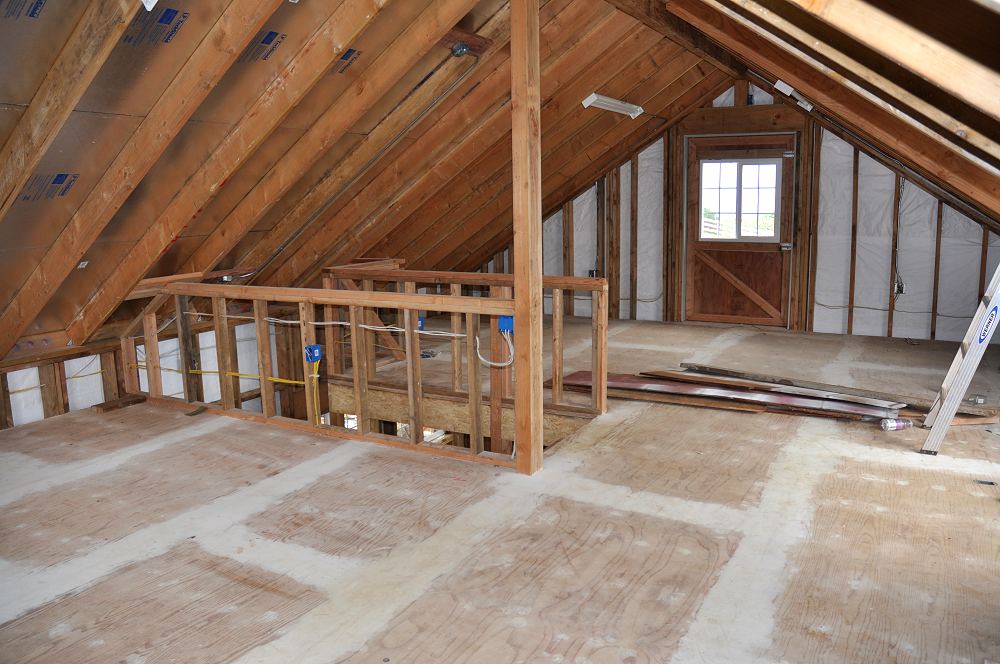
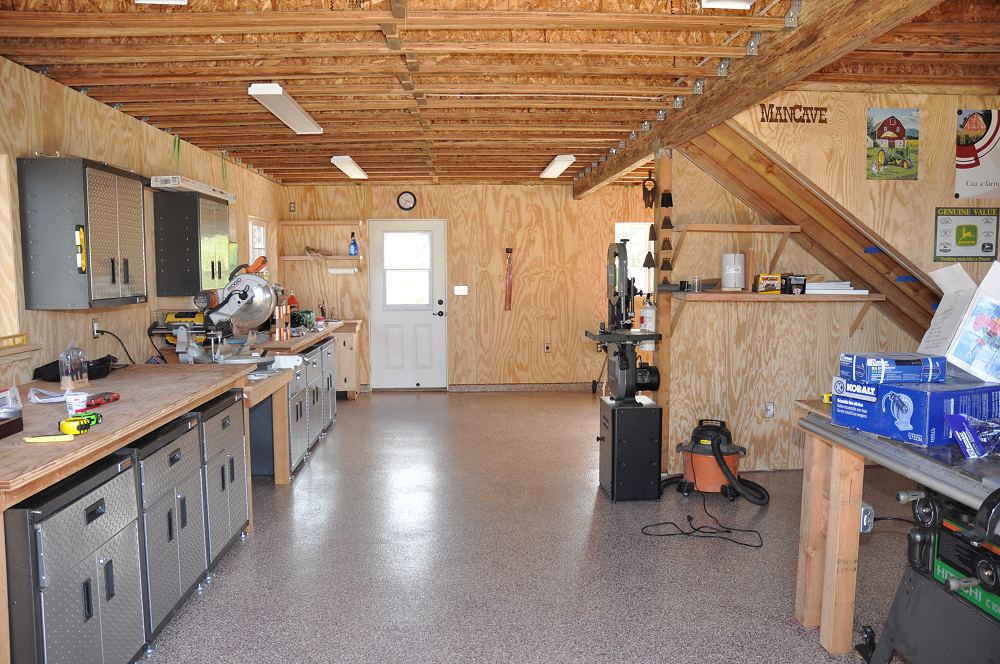
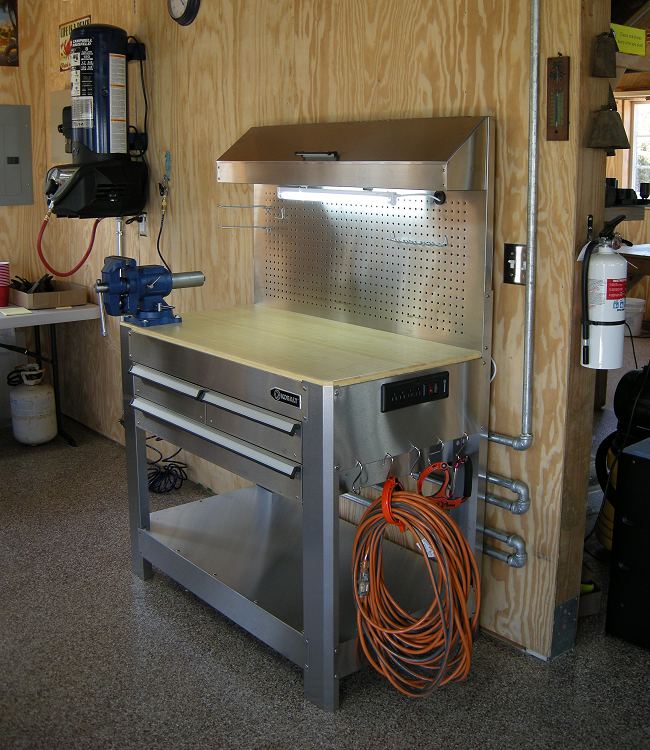
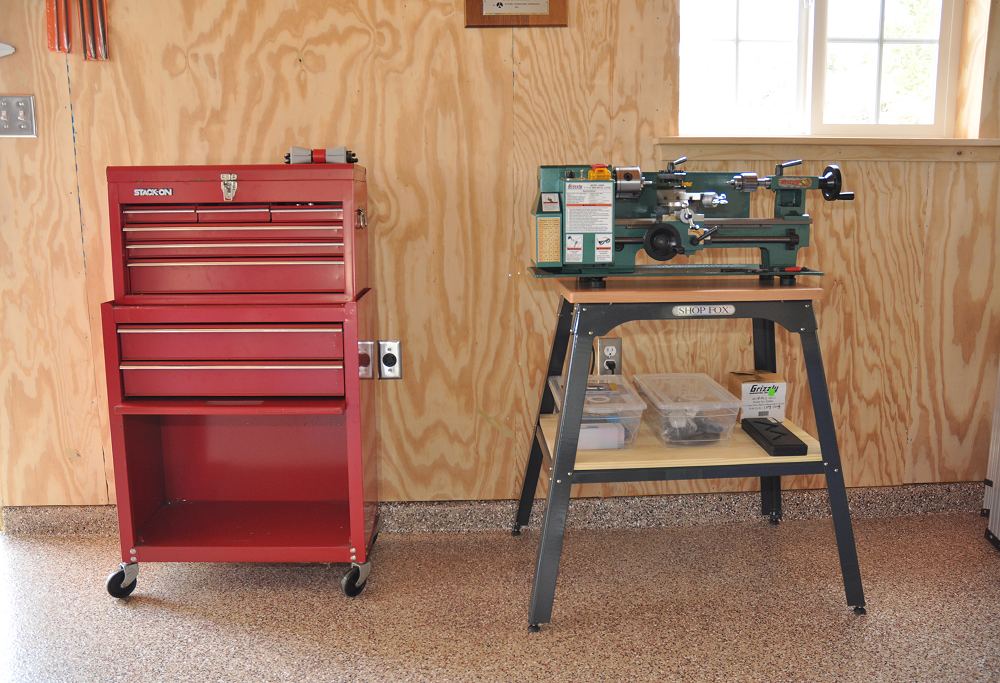
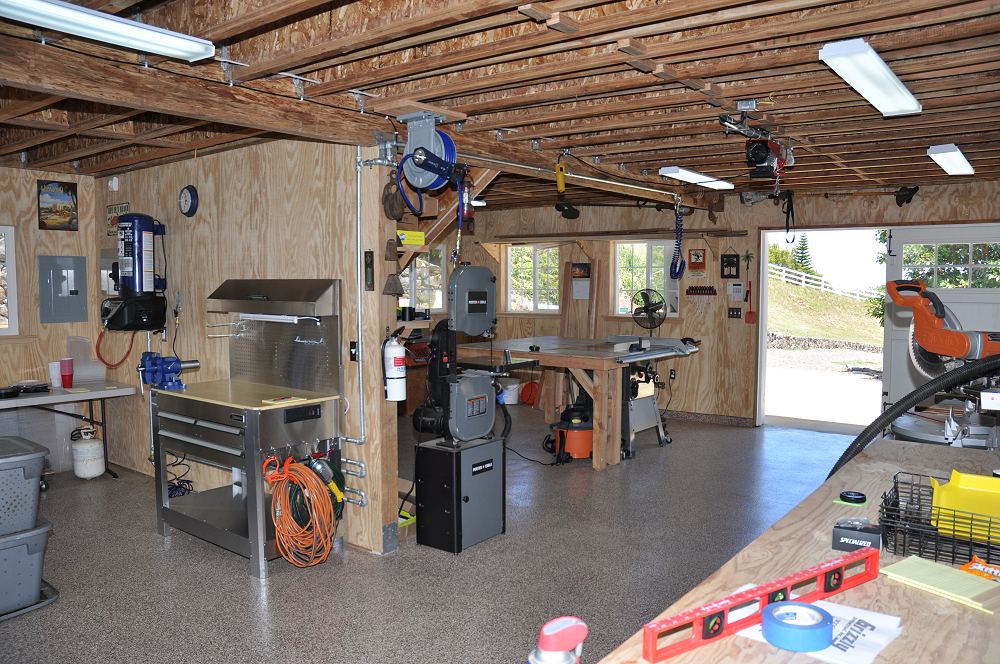
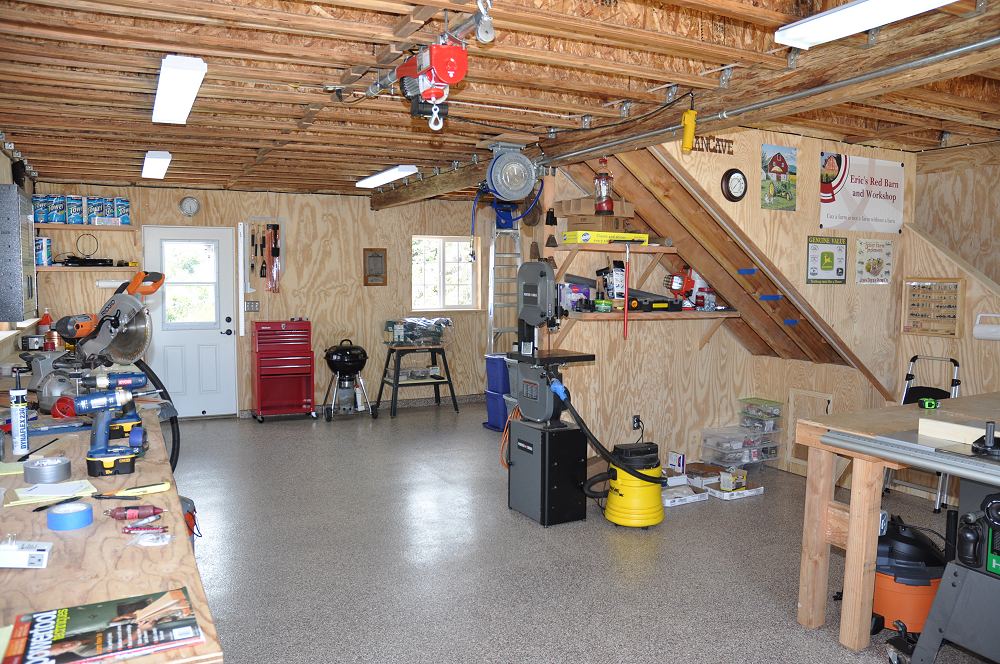
The intention for the barn was to have distinct areas downstairs for wood working tools and metal working tools.
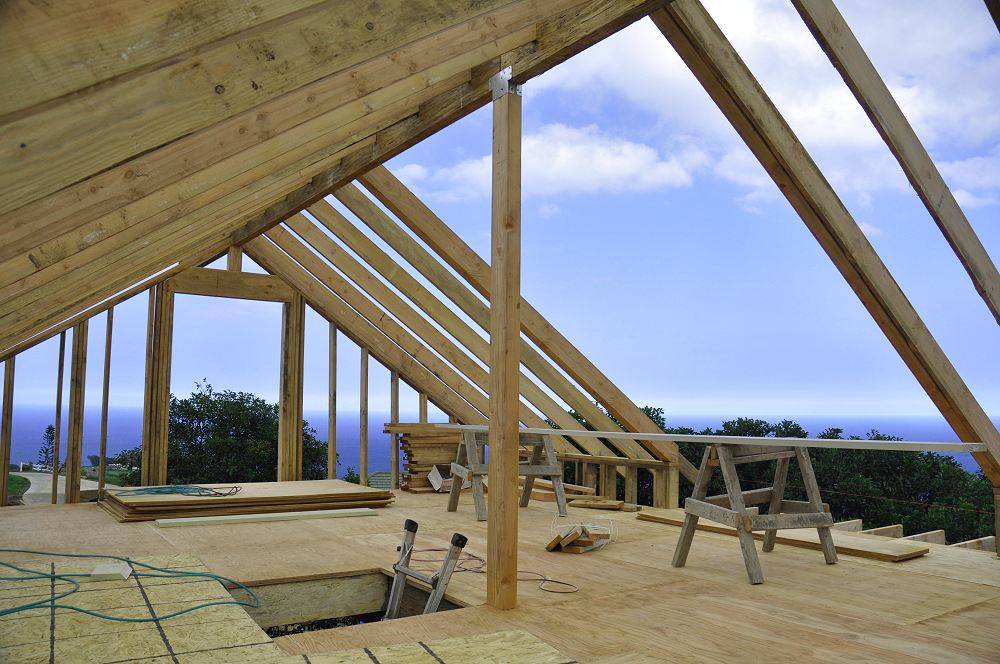
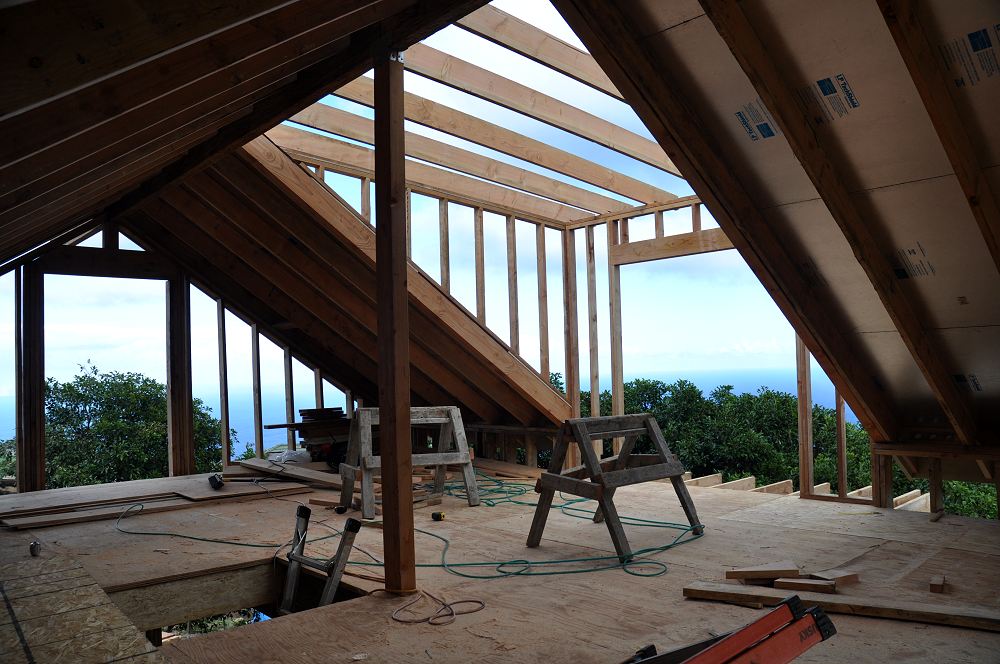
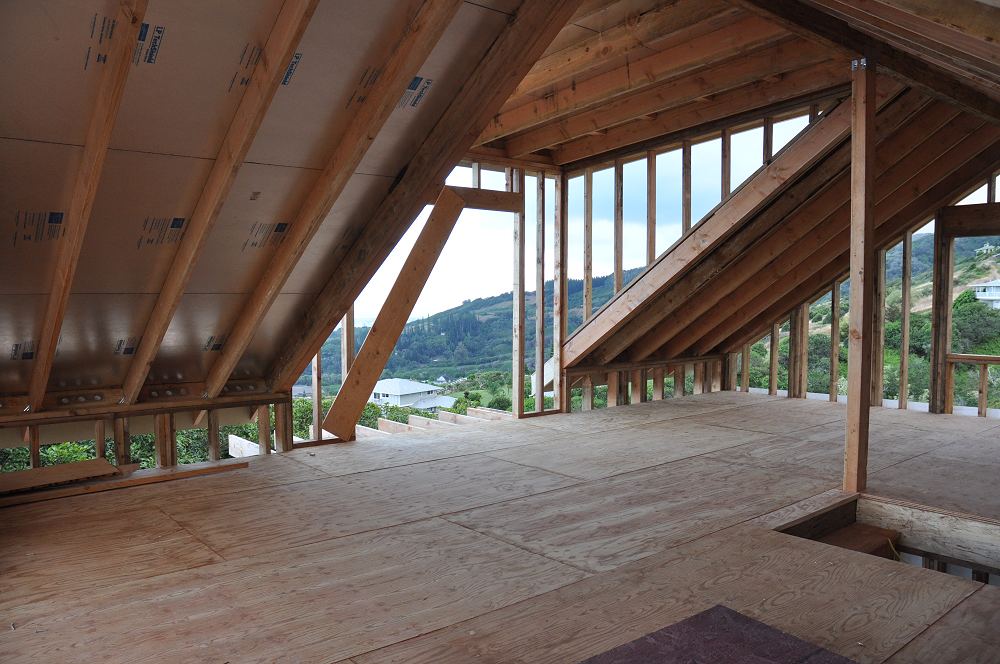
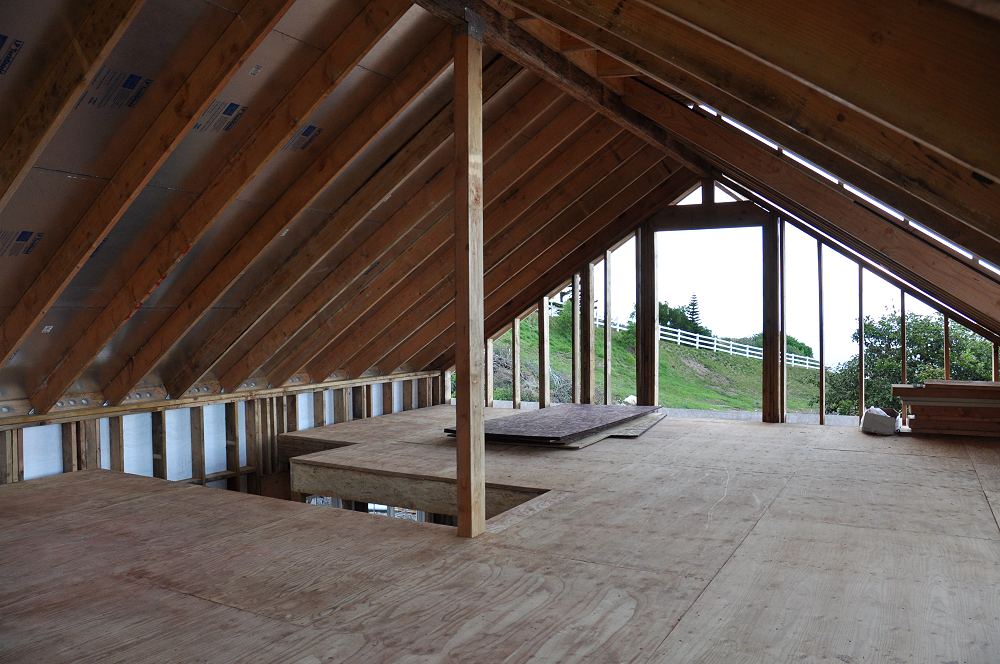
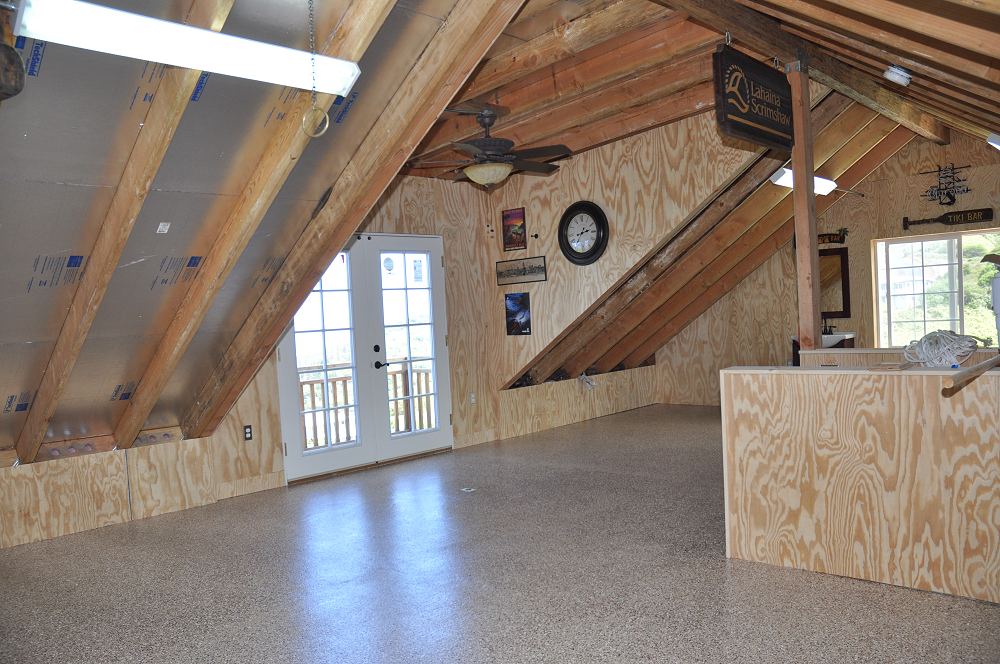
Upstairs would mainly be for storage and exercise equipment, with a dormer roof for a 10 ft. by 12 ft. office.
Toward the end of the design a small balcony was added with french doors.
Only the center 2/3 of upstairs, plus the dormer, has standing head room.
The perimeter of the long sides would be used for storage.
3D Builders, who built the house, was supposed to build the barn.
As the house was being finished, there was specific exact budget set aside to build a barn.
Dozens of times, Don Roth, president of 3D Builders, assured us that they could build the barn for that price.
We were skeptical so every week we'd ask if he was sure.
"If we can't, I'll build it myself."
|
 |
|
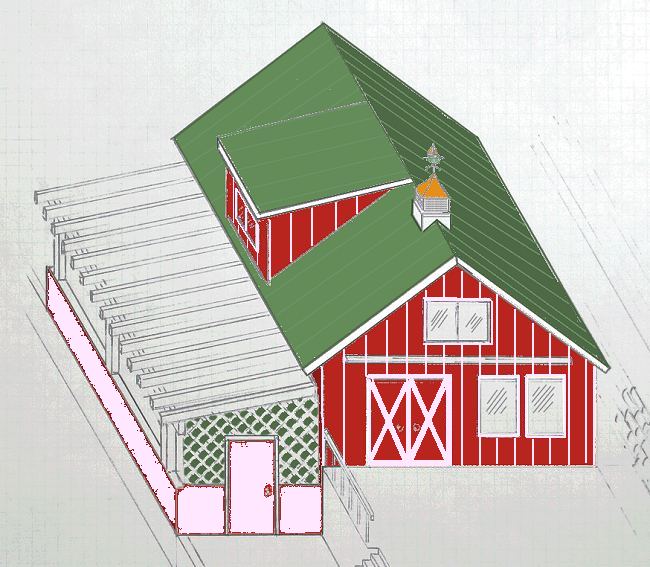
Where Workshop Goes
|
|
When it came down to it, 3D Builders either wouldn't or couldn't build the barn for the previous agreed-upon price, and not by a fair margin.
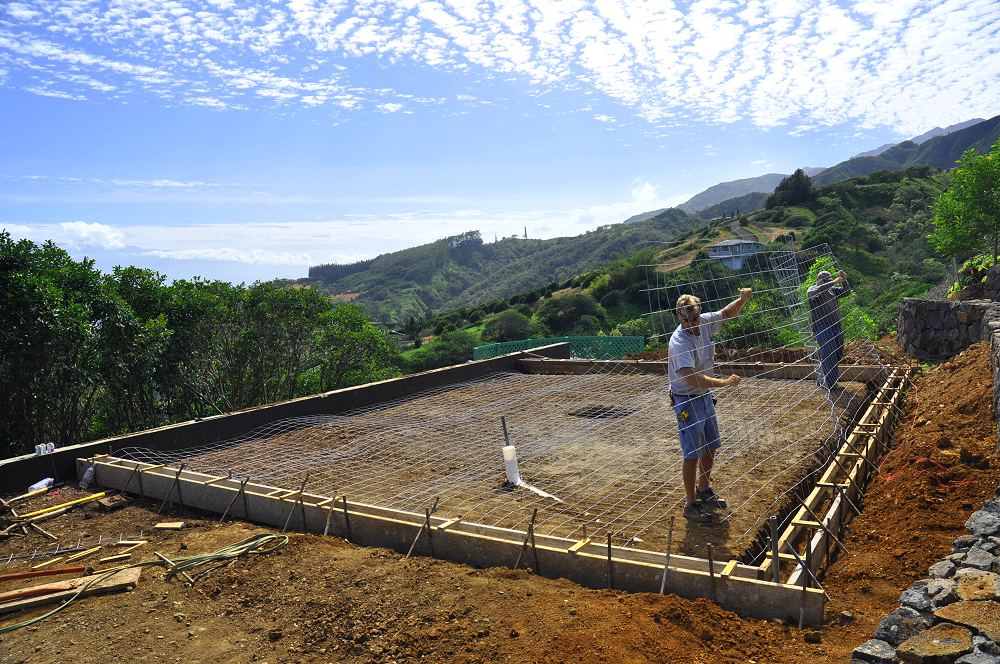
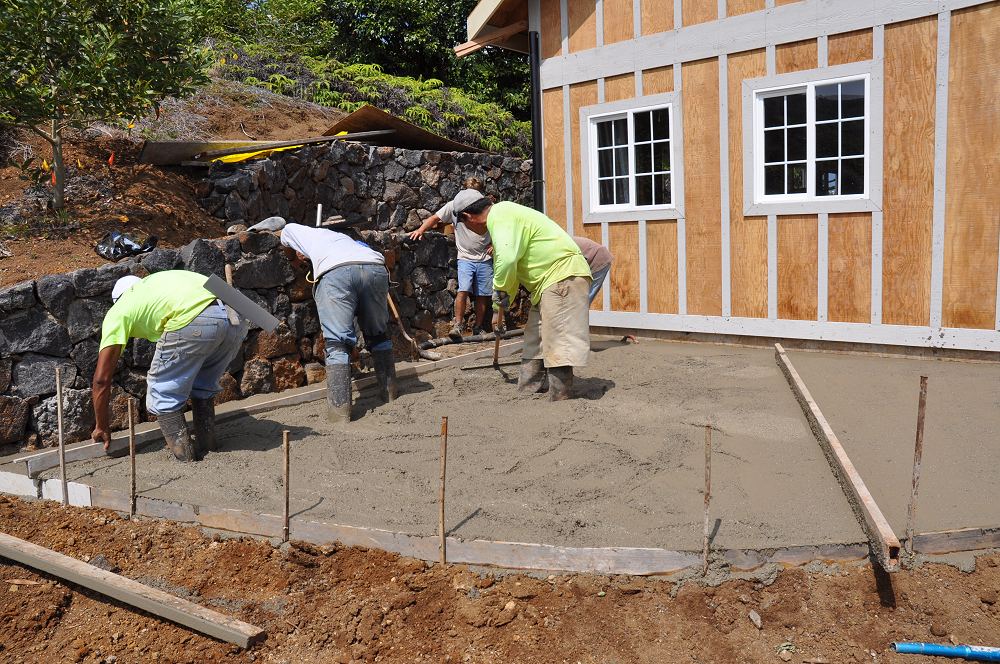
While we bickered about price, I paid my own subcontractor to pour the foundation and build two retaining walls.
We never came to an agreement on price, and by that time the grading for the foundation was complete, so something was damn-well gonna be built.
I proceeded as an owner-builder and contracted the work to be done.
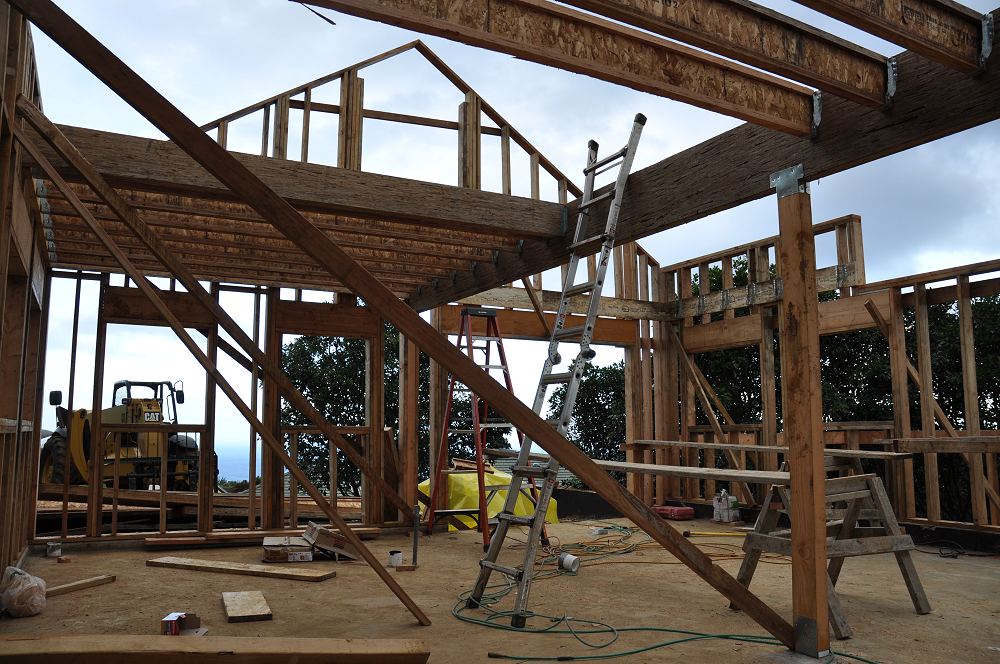
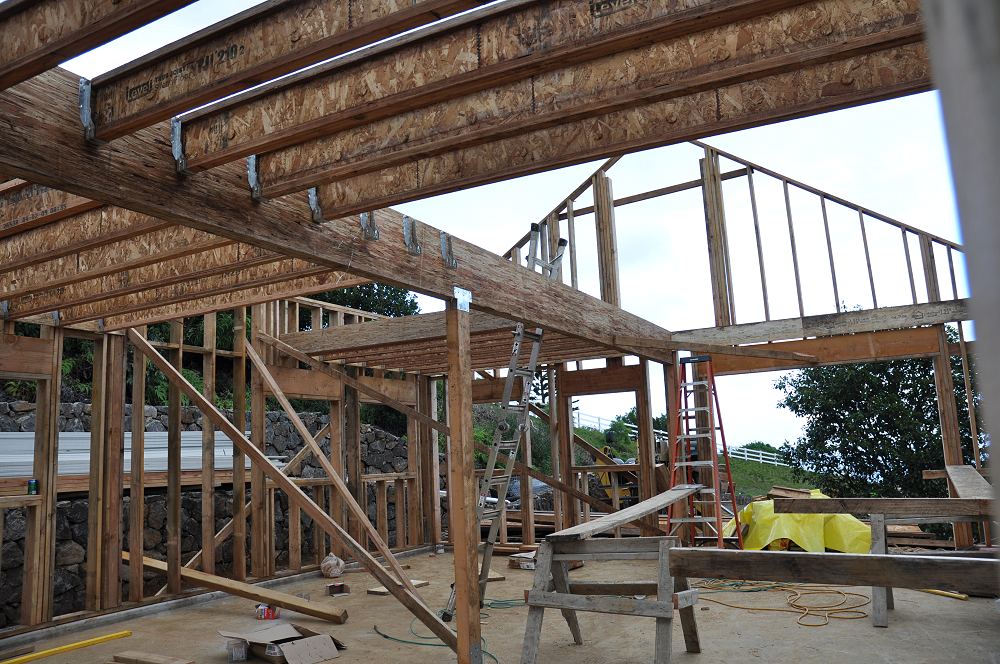
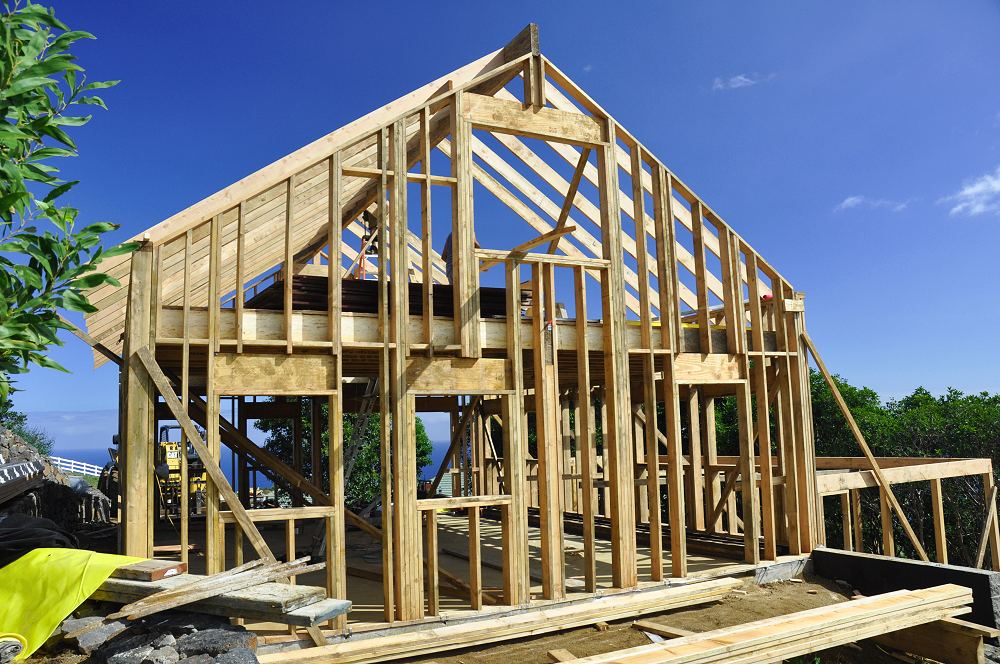
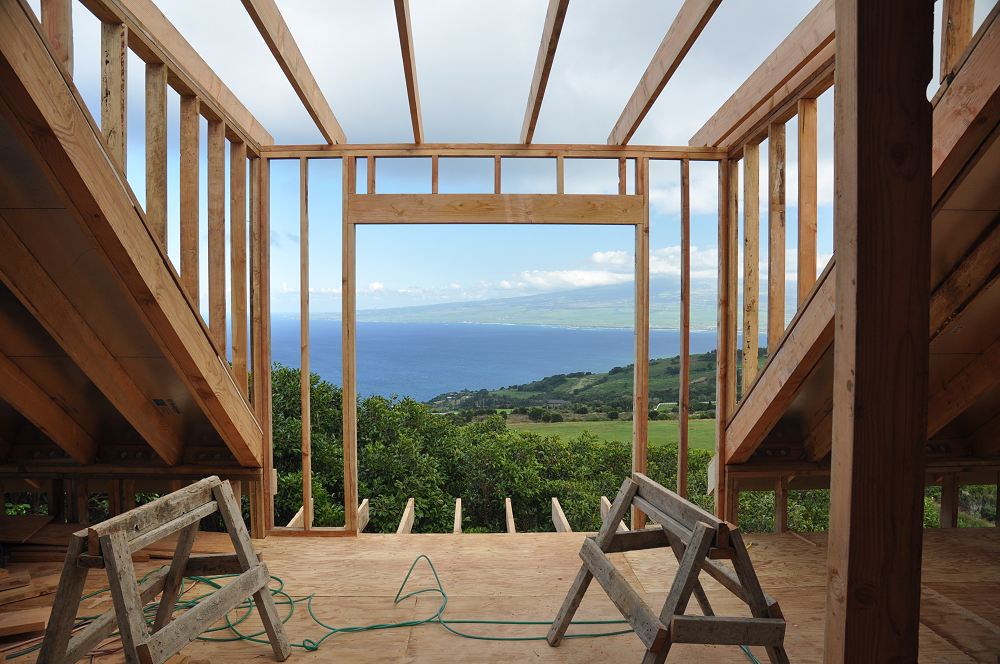
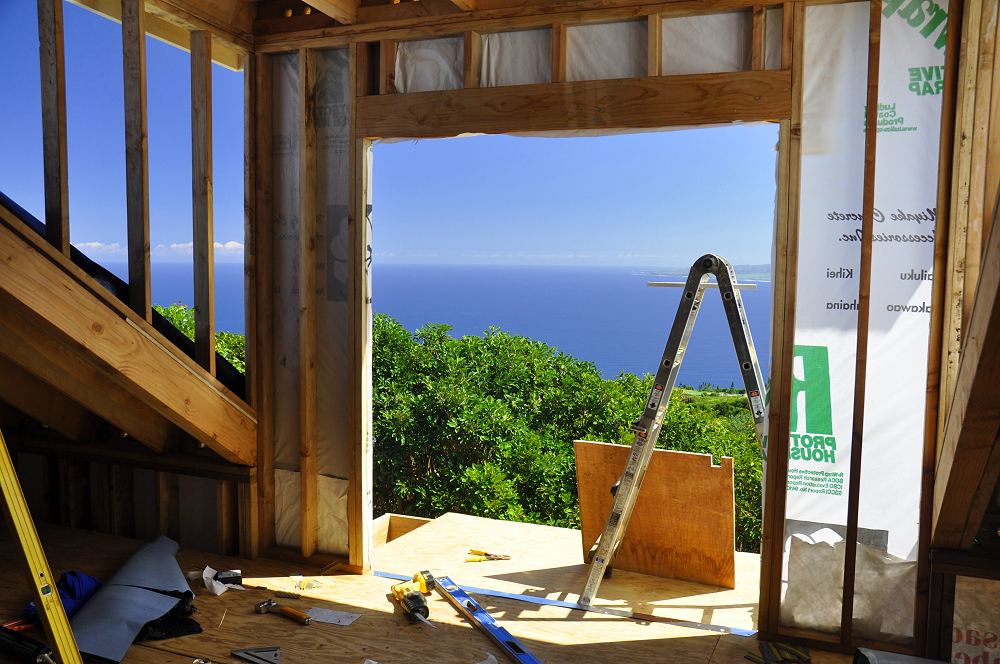
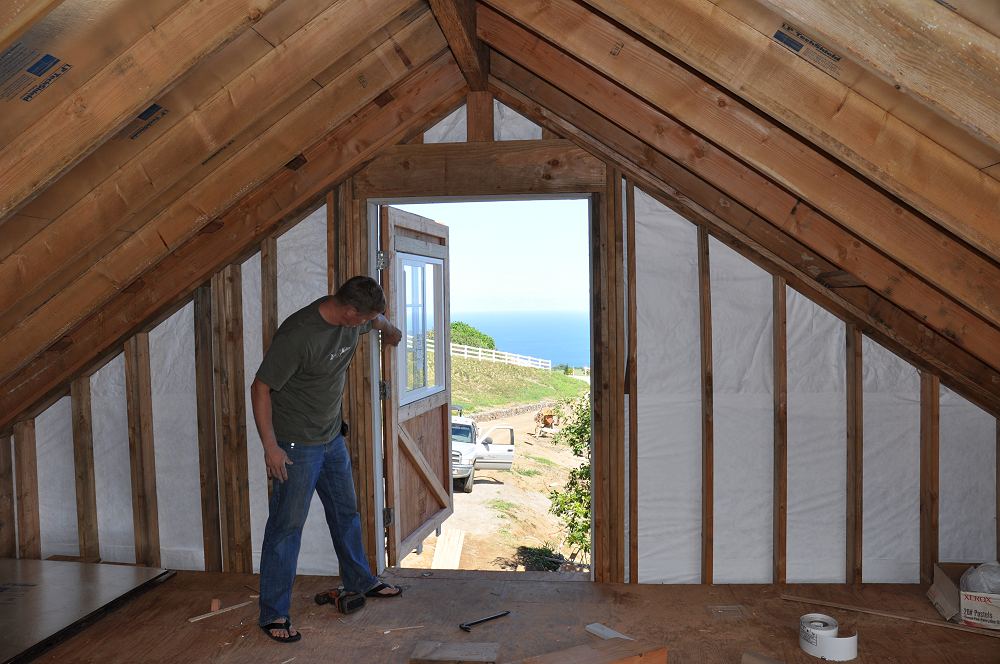
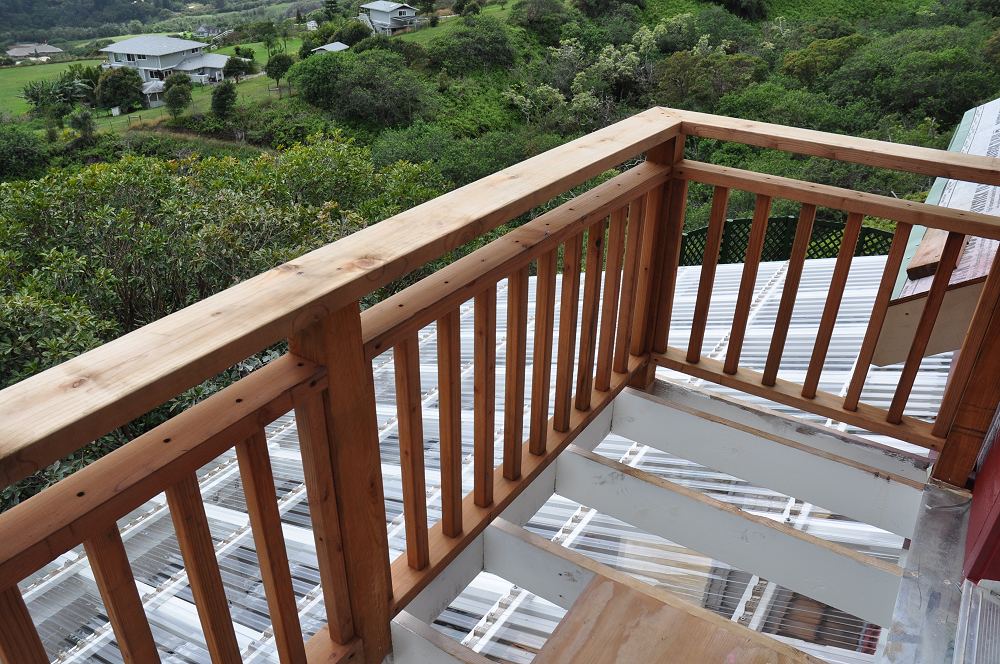
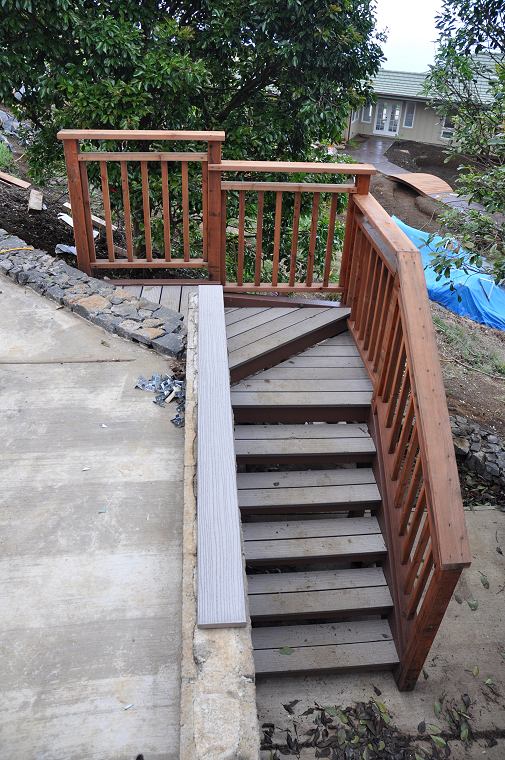
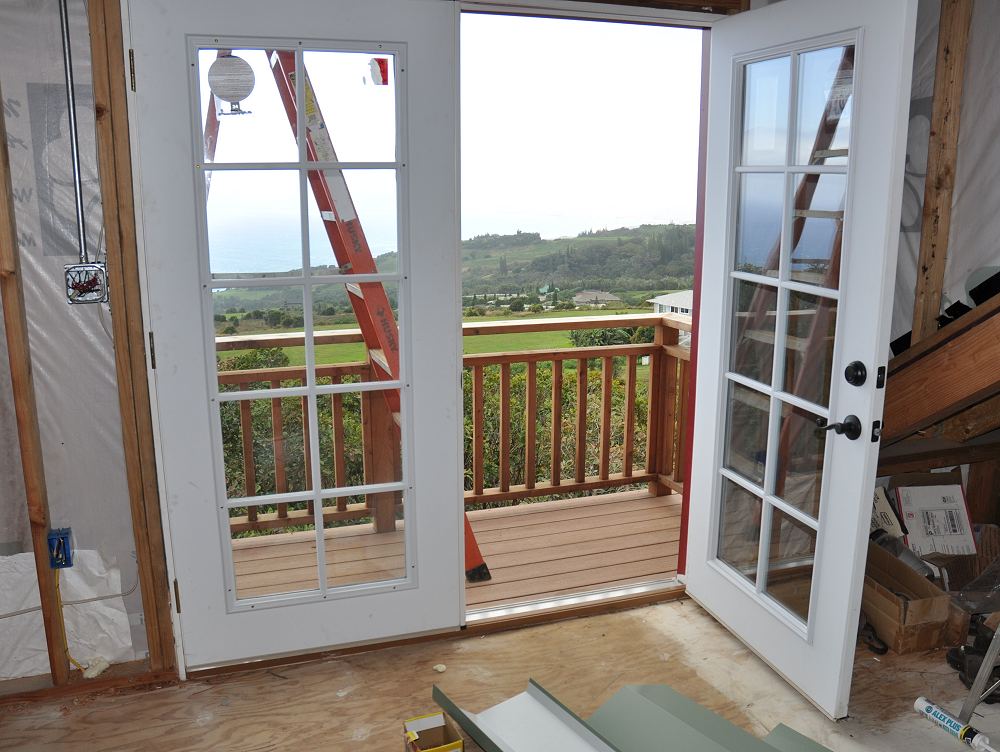
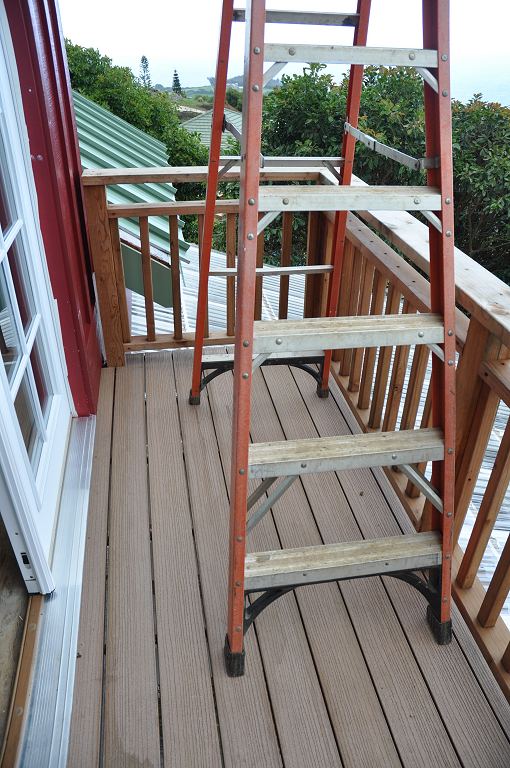
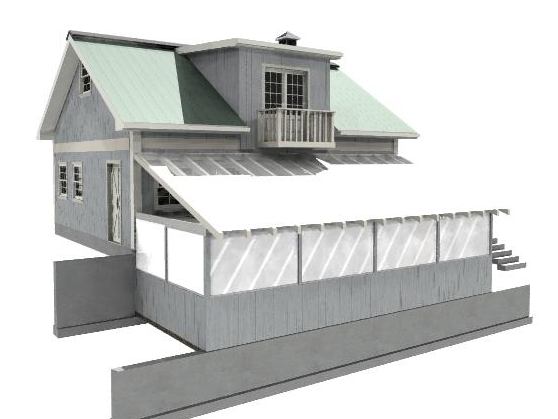
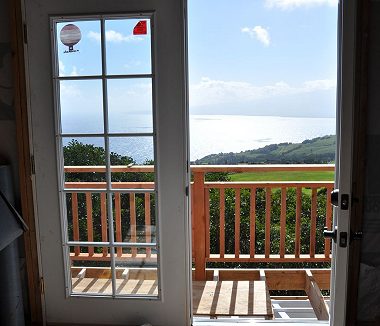 Balcony under Construction and French Doors
|
|
The front barn door was custom made with an eight foot opening, so a vehicle could be brought inside.
An overhead electric wench allowed a pickup truck to be easily loaded or unloaded.
Aside from this custom front barn door, none of the doors or windows that were installed were the ones called out on the plans.
During a visit to the local Lowes Hardware, their double-paned grid-patterned vinyl windows were being discontinued and were heavily discounted.
Because we bought so many, and because none were the size we were asking for, Lowes offered an additional 15% discount to their close-out price.
Although none of the window and door sizes were correct, they all looked perfect.
The plans called for a 5 ft. set of double french doors upstairs, but the 6 ft. set at Lowes was half the price.
Since the framing hadn't started, the framer John Weiland
offered to use the larger doors and windows with no additional cost to the framing.
This allowed us to use better quality doors and windows with several thousands of dollars in savings.
|
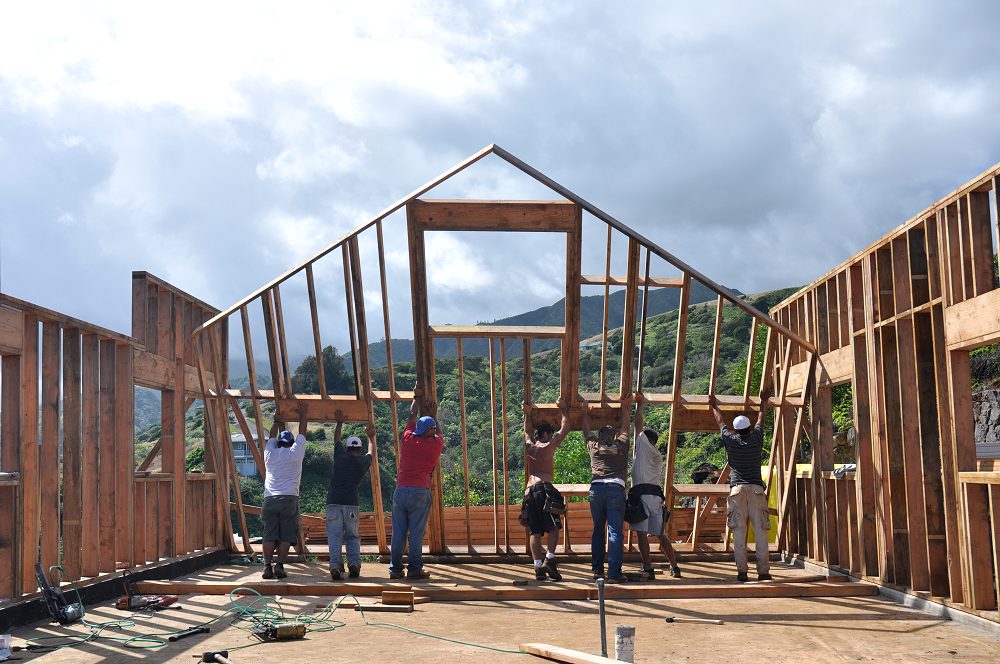
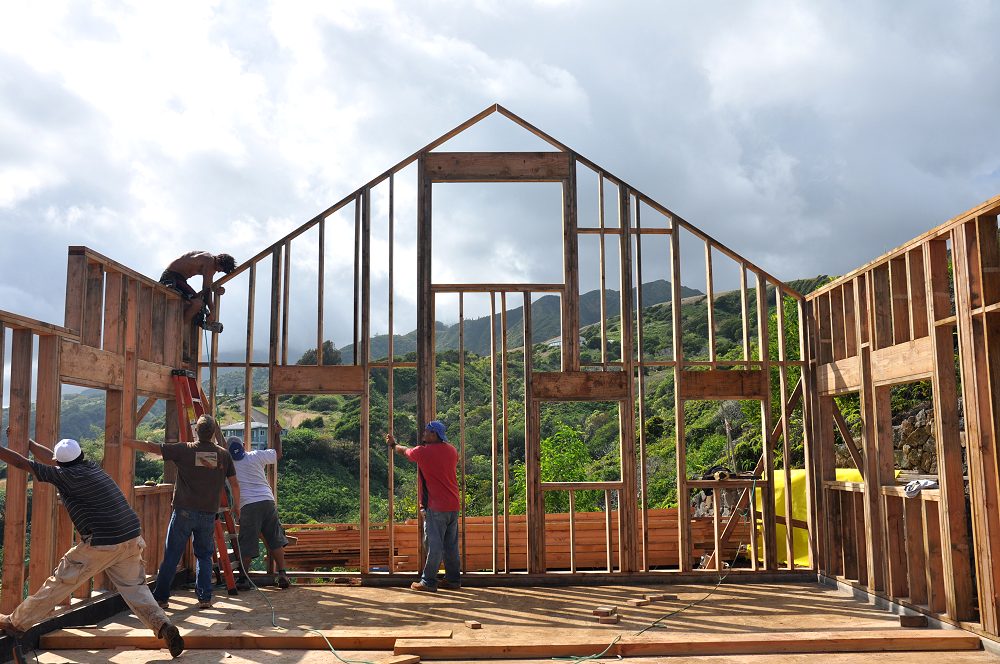
By this time we were under budget, a concept I'd heard of but thought to be a myth.
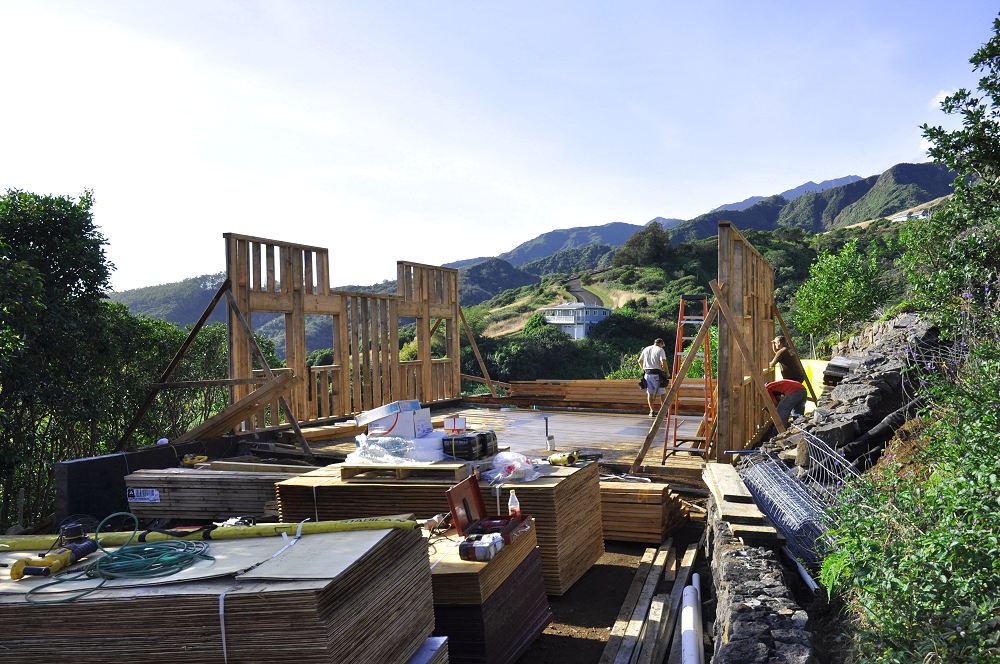
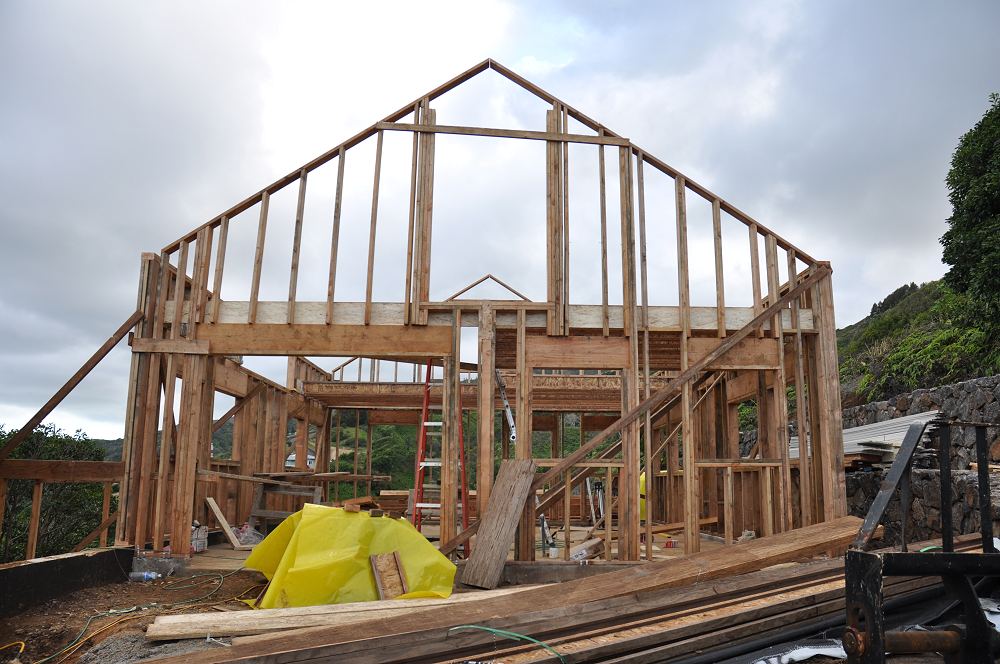
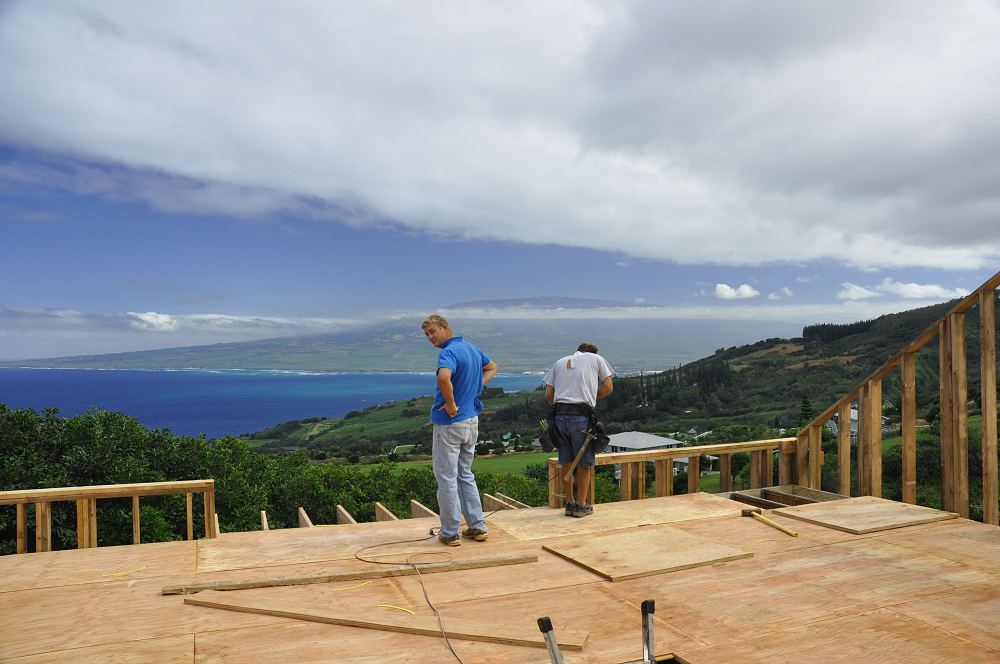
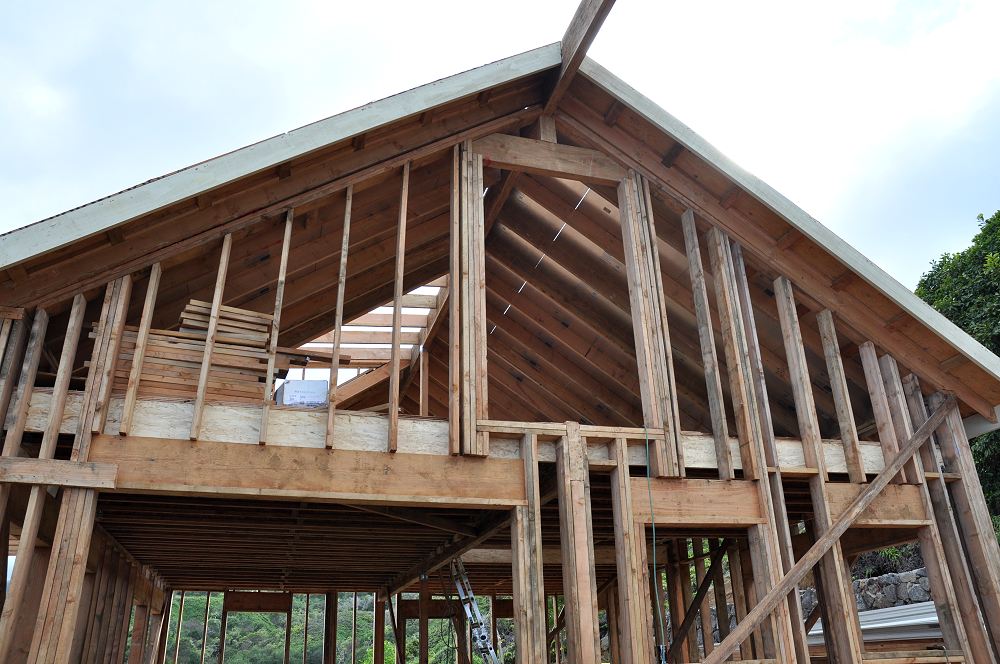
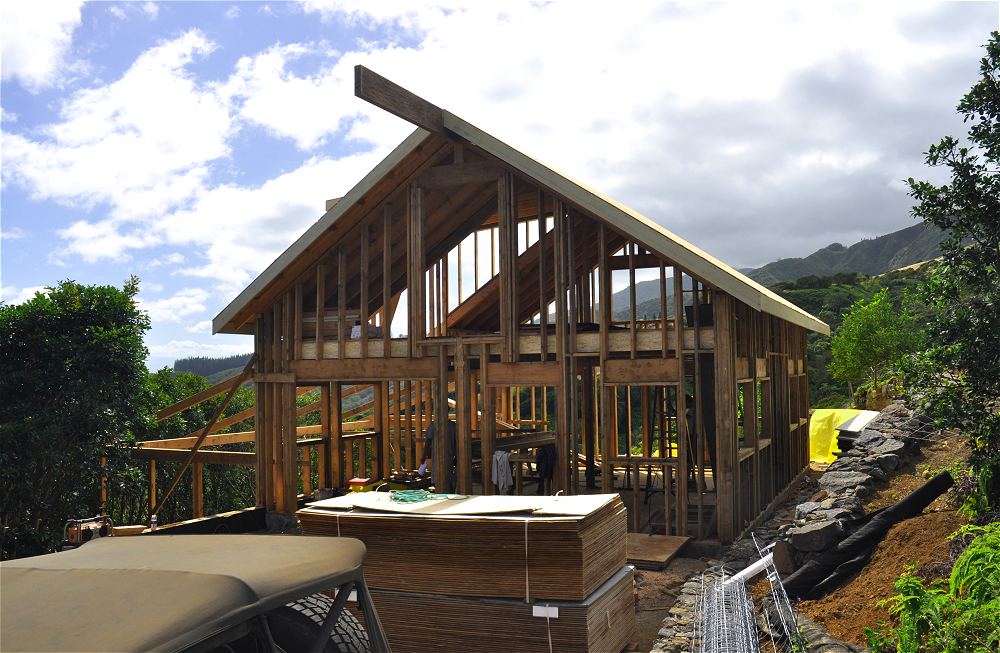
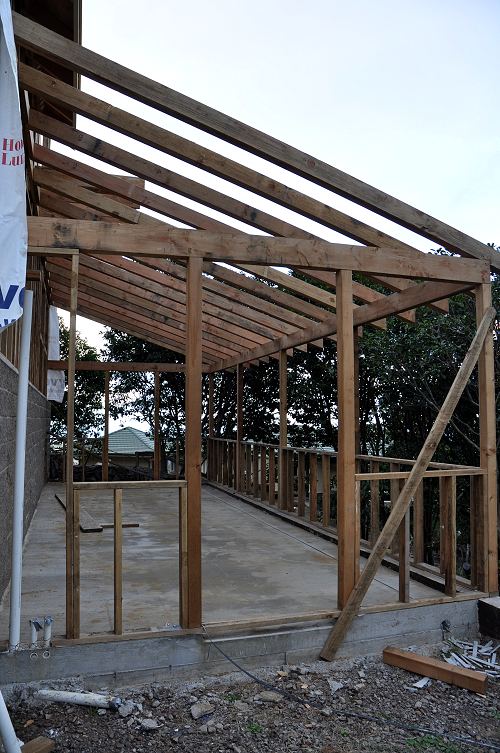
The framing went quickly — Less than a month from pouring the slab to the completed framing dried in.
John made other impromptu changes as he built:
A larger balcony for the larger french doors, stronger floor joists, double anchoring the sill plates to the slab,
and 2 x 6 framing on 16-inch centers rather than the required 24-inch centers.
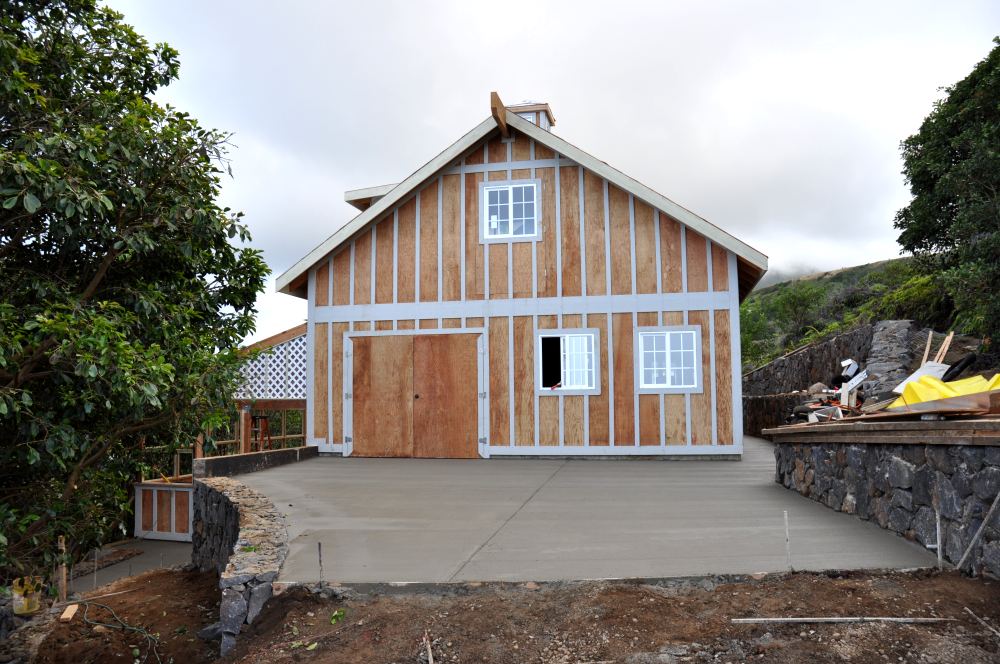
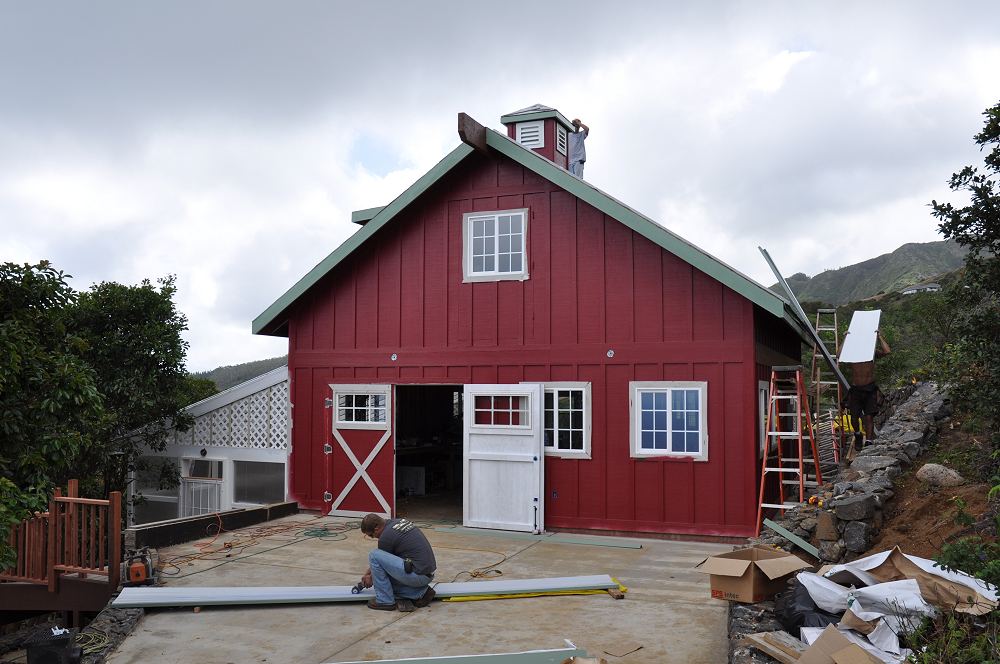
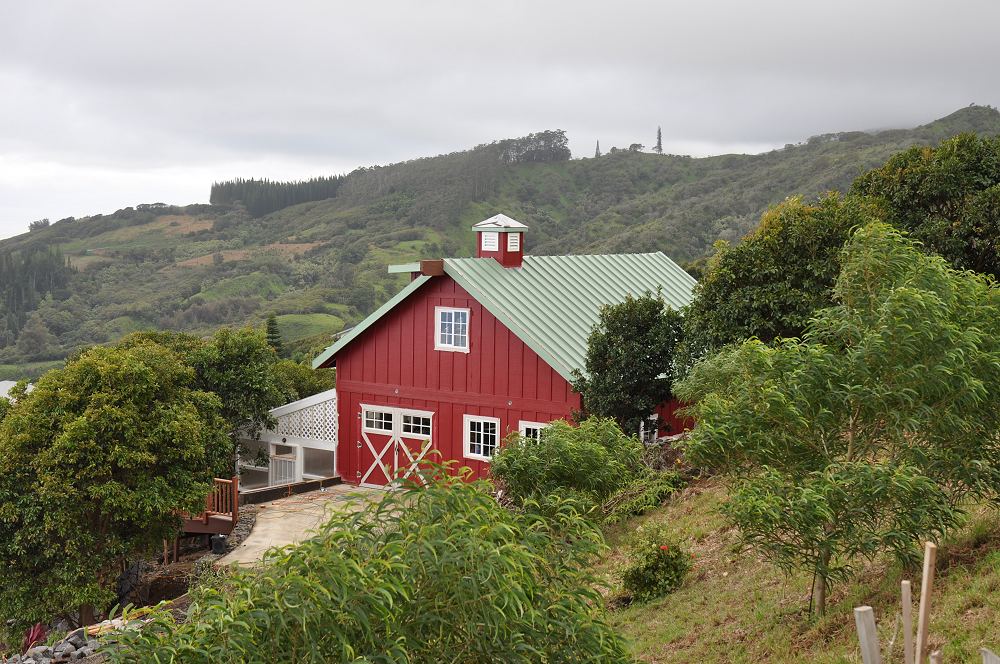
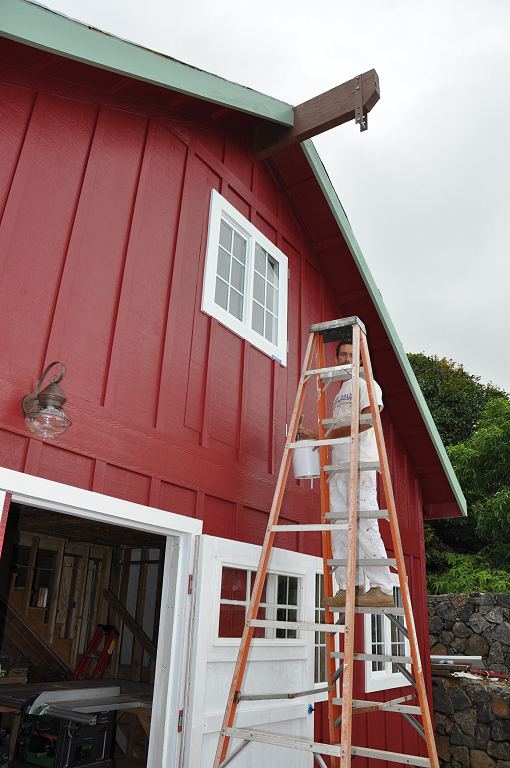
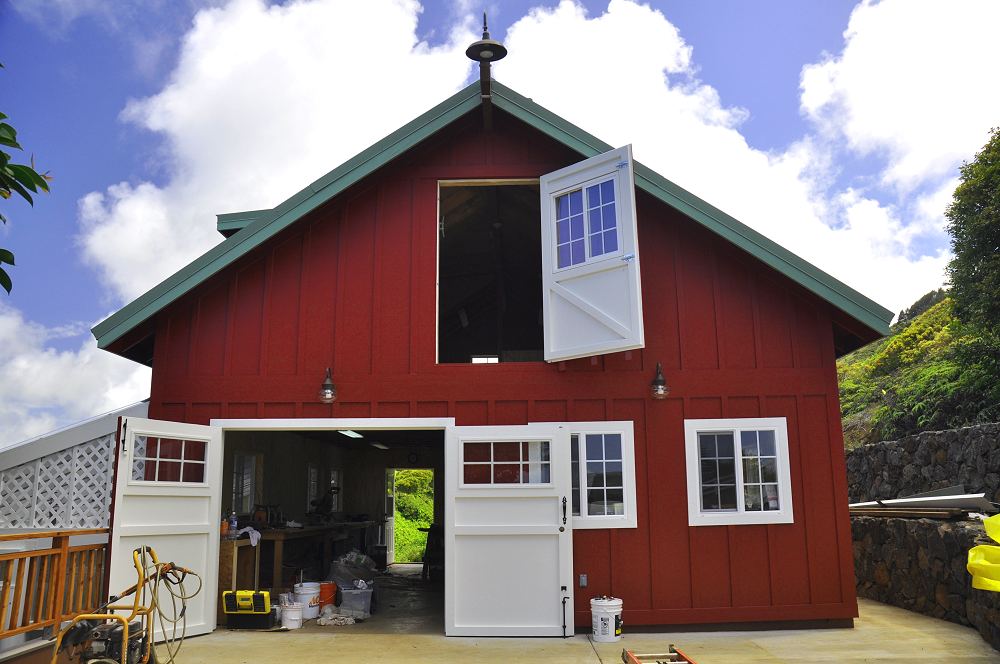
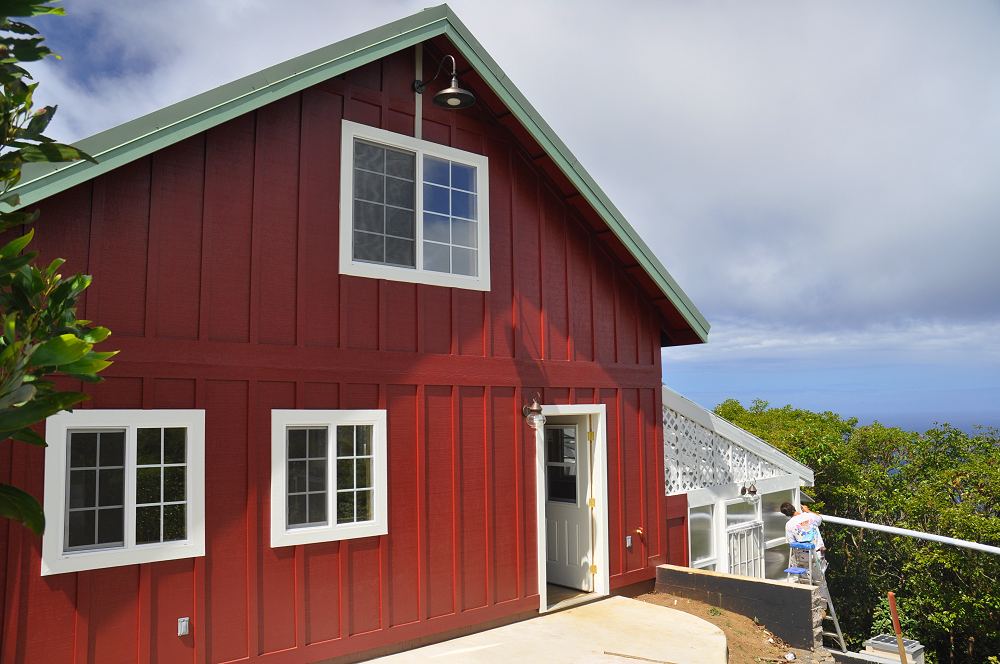
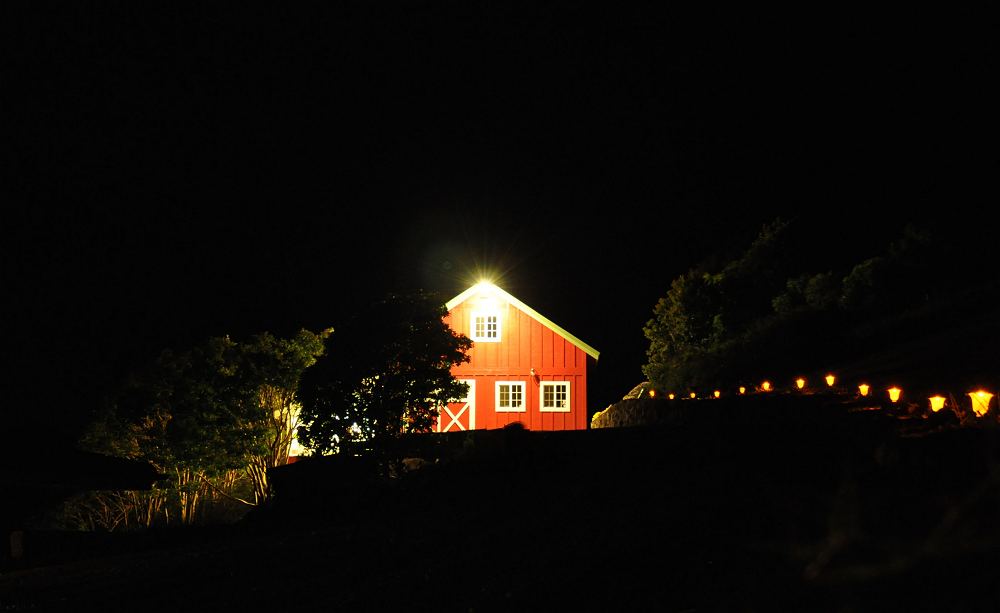
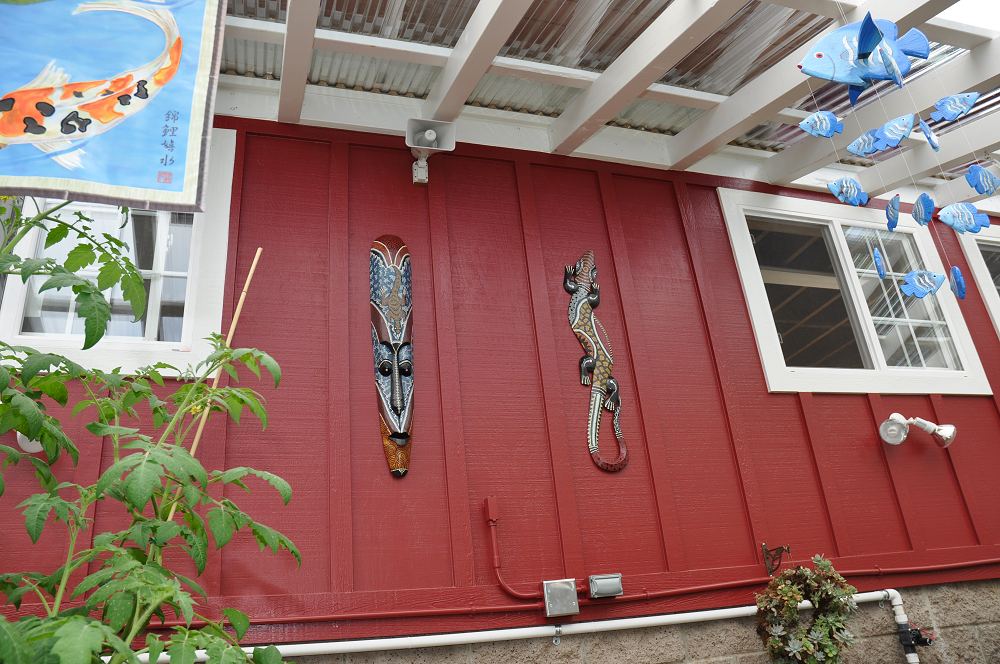
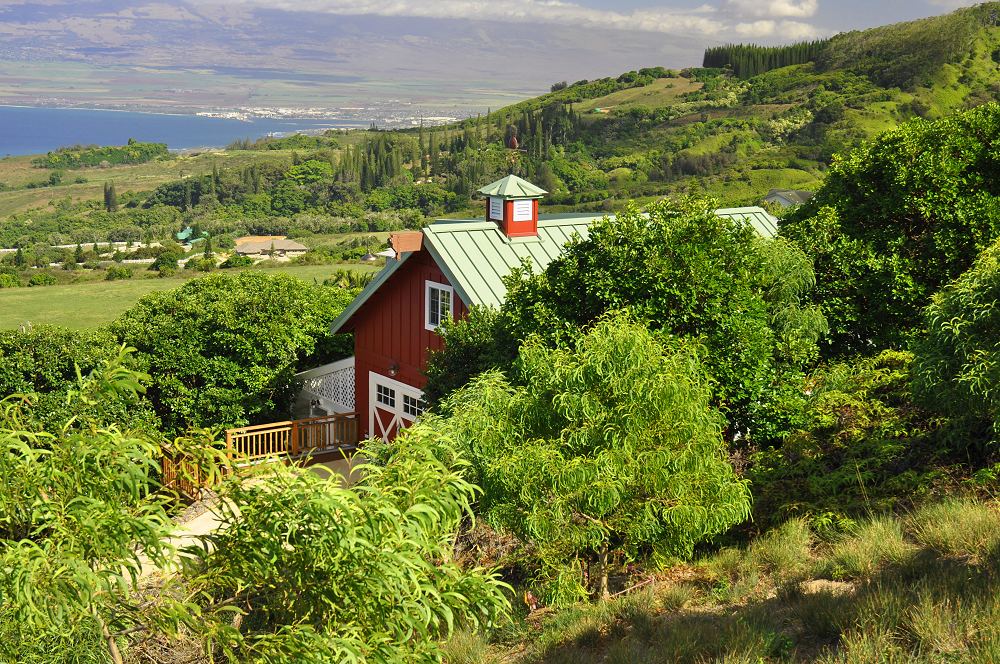
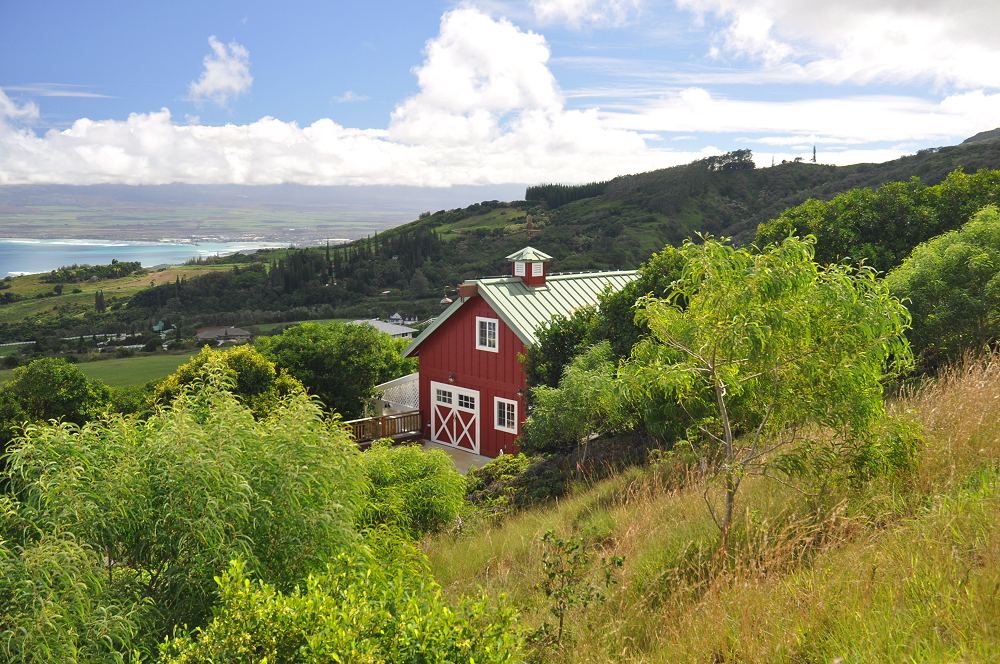
It was time to pick a color for the barn.
What was initially to be a workshop was looking more barn-like every day.
If you Google barns, you'll see that they're almost always red.
The color of the metal barn roof matched the house's Monier tile, but the architecture was very different.
This was agricultural land, and the County of Maui actually required an agricultural endeavor,
so it seemed appropriate to portray the barn as a barn, and not to camouflage it.
I took a picture of the barn and Photoshopped it with the house color.
It looked ridiculous.
I Photoshopped it red and it looked great.
Photoshopped green, it looked less great.
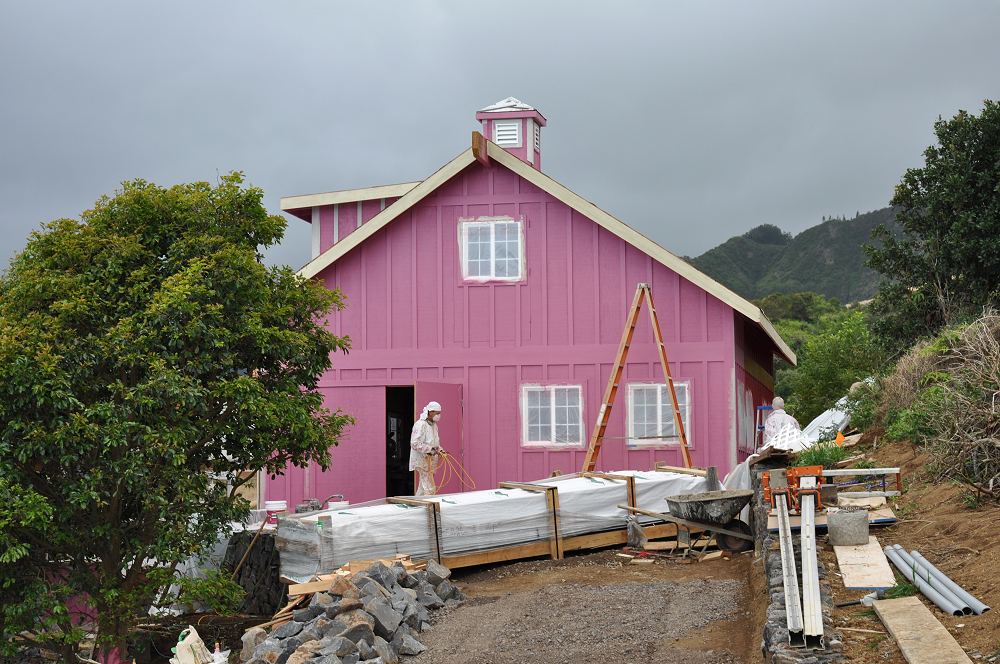
I didn't think our gated community would accept a red barn so we picked a red-brown color which we liked.
The Architectural Committee said no.
To be more precise, they said hell no.
They wanted the house color.
At this point there was no turning back.
We'd visualized the barn in both red-brown and the house colors and it had to be red-brown.
I just wanted a barn that looked like a barn, and not an apology for a barn.
There was an attractive brownish-red structure in our sub-development, so we politely asked again.
The answer was still no.
I read the CC&Rs for the third time.
The only sections that mentioned colors were:
"Muted colors which allow the natural colors of the landscape to predominate"
and
"The color of external materials must generally be subdued to enhance the colors of the natural landscape."
Time to parse some sentences.
What's a muted color?
Muted colors are primary or secondary colors mixed with their compliment (the color opposite on the color wheel).
Red is a primary color, and it's compliment is green.
What happens when you add some green to red?
You get brownish-red.
That's good news, eh?
In fact, a color chart of muted colors had my exact brownish-red.
How do you enhance the colors of the natural landscape, or allow the natural colors of the landscape to predominate?
The color of the natural landscape is definitely green.
So how do you enhance something that's green?
You don't put something green or drab next to it to enhance it.
You introduce a contrasting color to enhance it, or allow it to predominate.
The contrasting color would be opposite green on the color wheel, so that's red.
But it has to be a muted red, so that's brownish-red.
Holy shit, they wrote these CC&Rs just for my barn!
|
 |
Color Wheel
|
|
These folks on the Architectural Committee weren't my enemies, they were my neighbors.
They're good folks with nice houses in a hoity-toity neighborhood just trying to protect their interests.
They hadn't seen the Photoshopped picture of how ridiculous the barn looked painted with the house color.
They weren't emotionally invested in the barn looking great, they just weren't trusting
that it wouldn't be an eyesore.
Luckily, the CC&Rs have a paragraph for that too:
"In the event of question as to interpretation of, or application for waiver from, the foregoing
Architectural Design Standards, the same shall be resolved by vote of a majority of the Directors."
Let's bring on the Board of Directors.
We had a meeting and I made my case.
They convened, and an hour later we received a phone call.
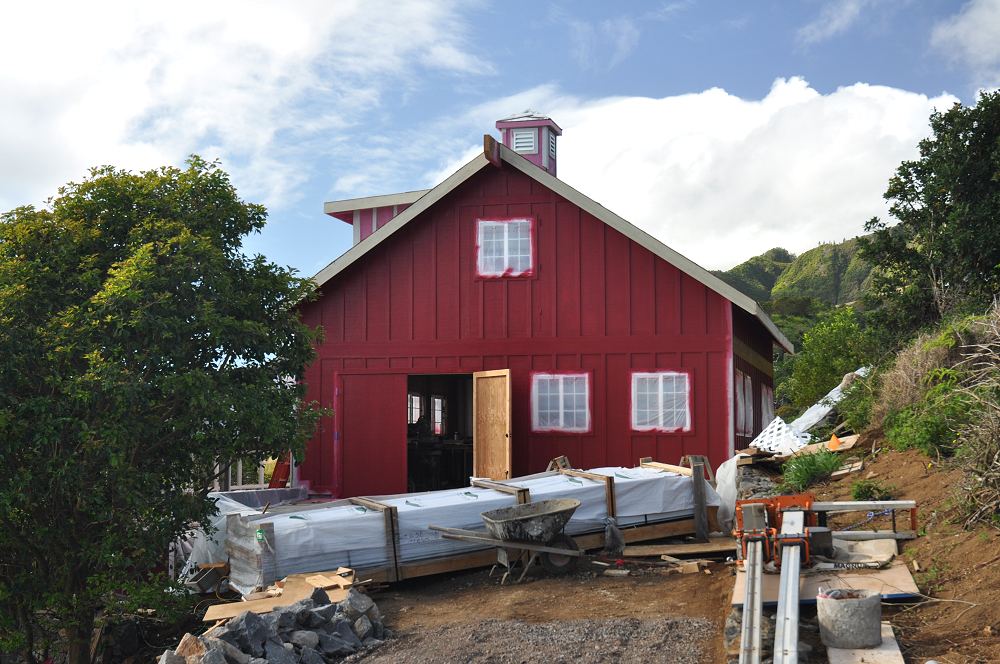
We got our brownish-red color, but we'd have to give a pound of flesh.
Specifically, planting trees to shield the view in a specific direction.
No problem.
I was planting giant Cook Pine trees that same week.
As it turned out, the neighbors who were the most concerned about the color told us that they really liked the color and look of the barn.
Another neighbor is enlarging his barn and wants to paint it literally the exact same color.
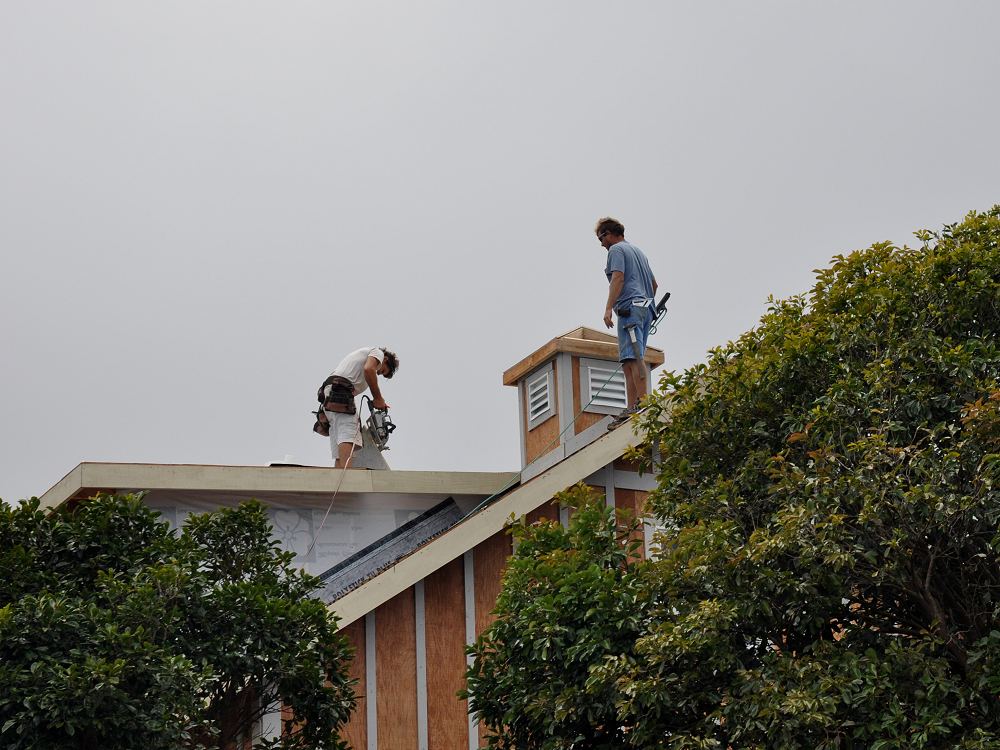
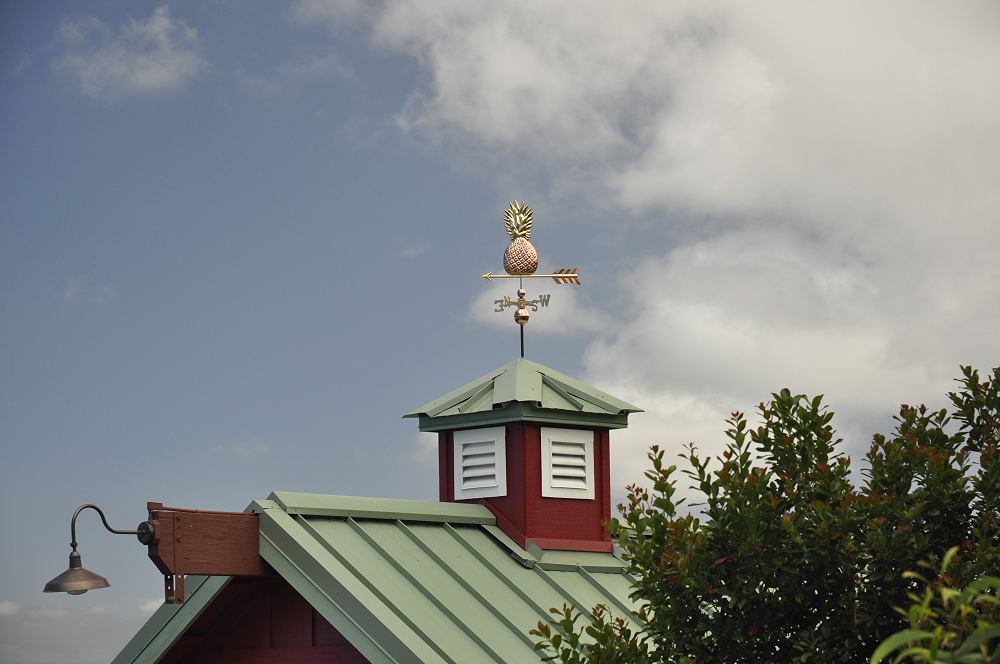
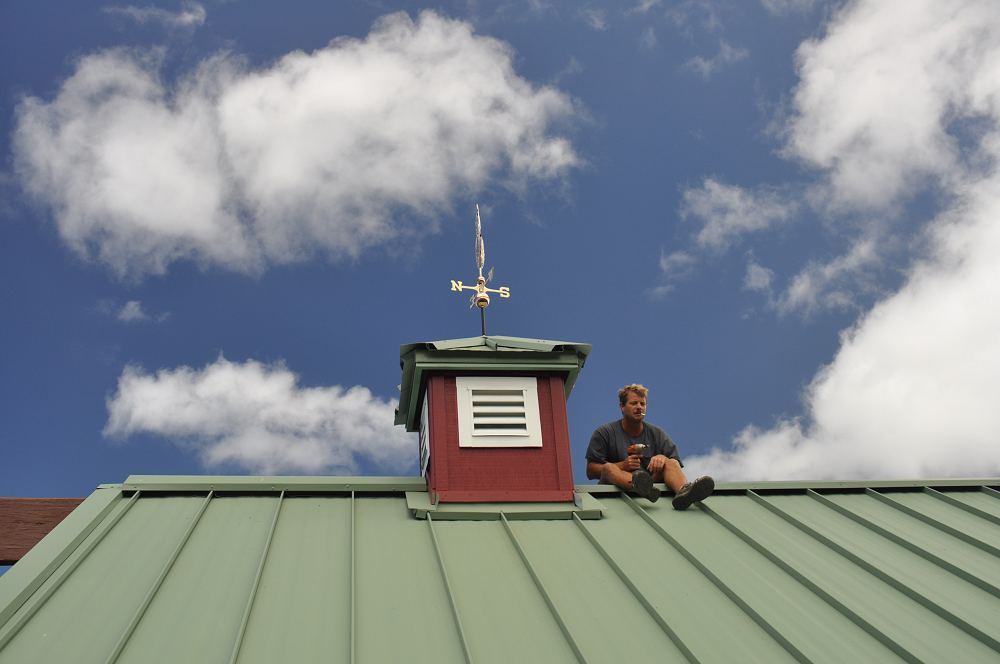
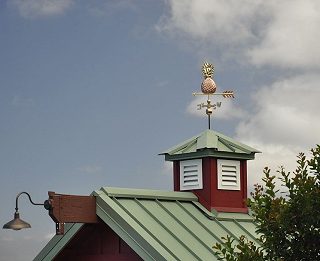 Wind Vane and Cupola
|
|
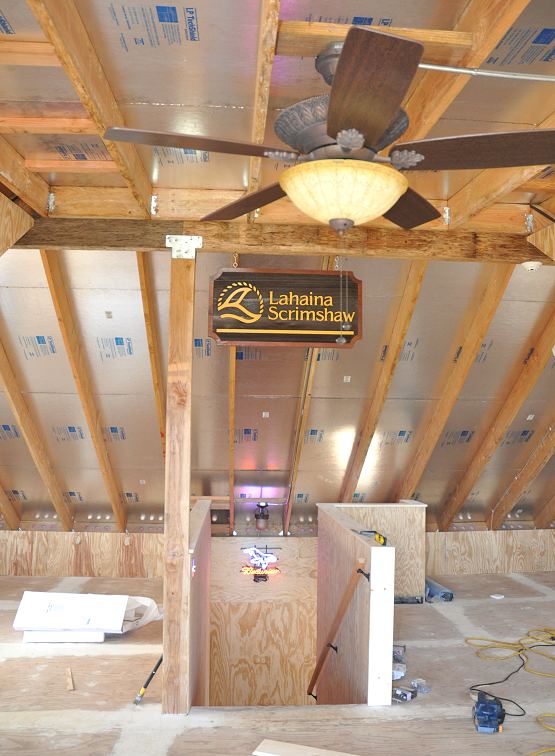
A barn needs a cupola on the roof.
It is functional, but really more for looks.
There are kits available, but a cupola is easily made and the side vents are available at Home Depot.
A brass and copper pineapple wind vane was mounted on top of the cupola,
and a heavy four gauge copper wire was run to a copper grounding stake outside.
This isn't required by code, but seemed like a reasonable precaution.
|
|
 Church Bell in Cupola
|
One of the four security system electronic sirens was also mounted in the cupola.
A friend in India gave us an old
church bell
as a housewarming
gift
(yes, really) so the cupola became a belfry.
A cupola-belfry with a lightning rod.
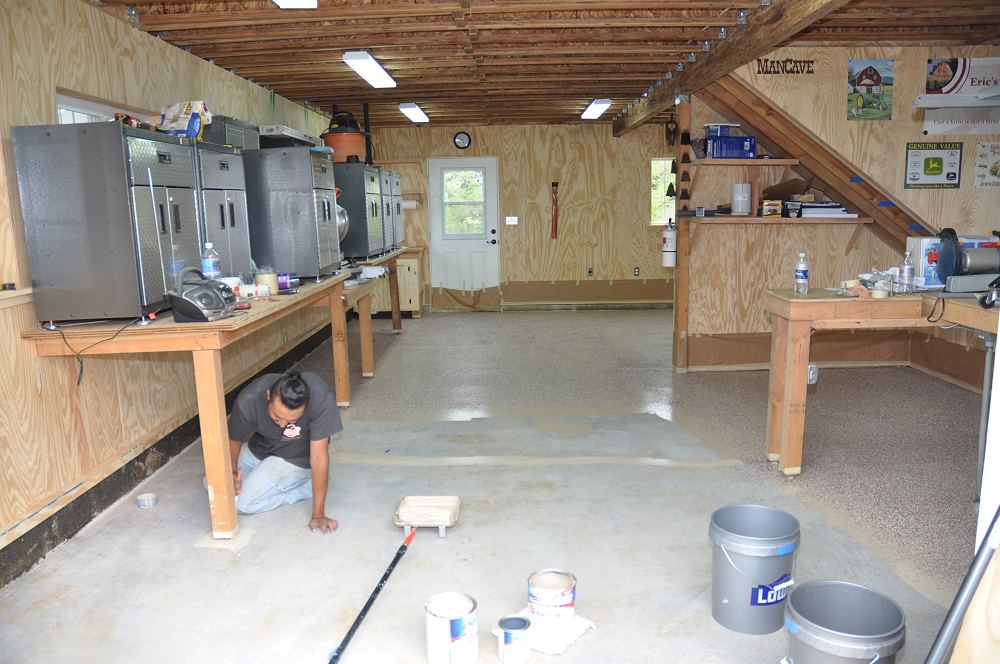
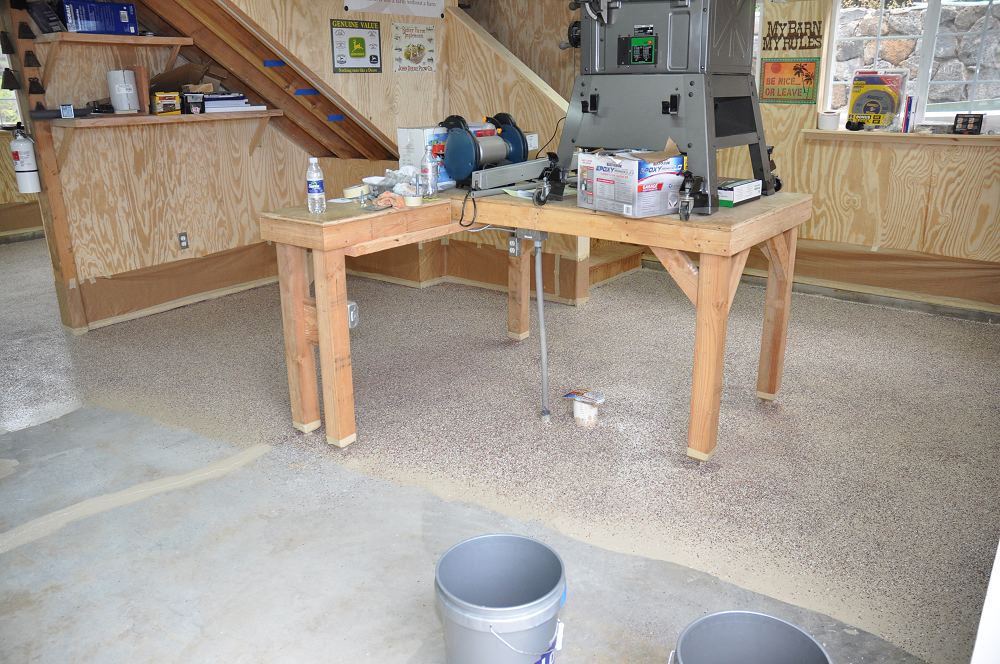
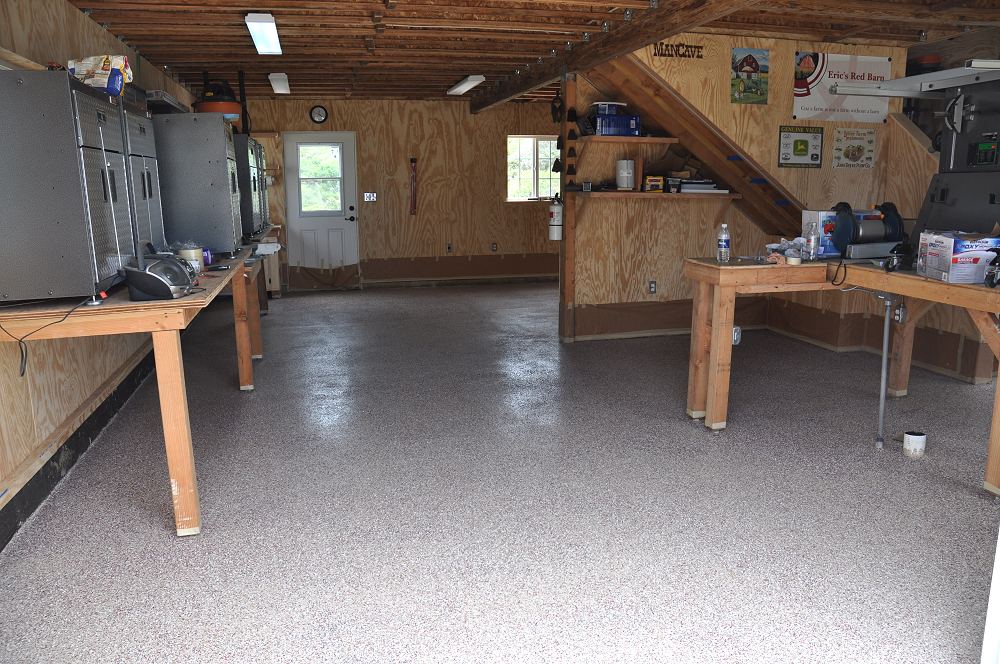
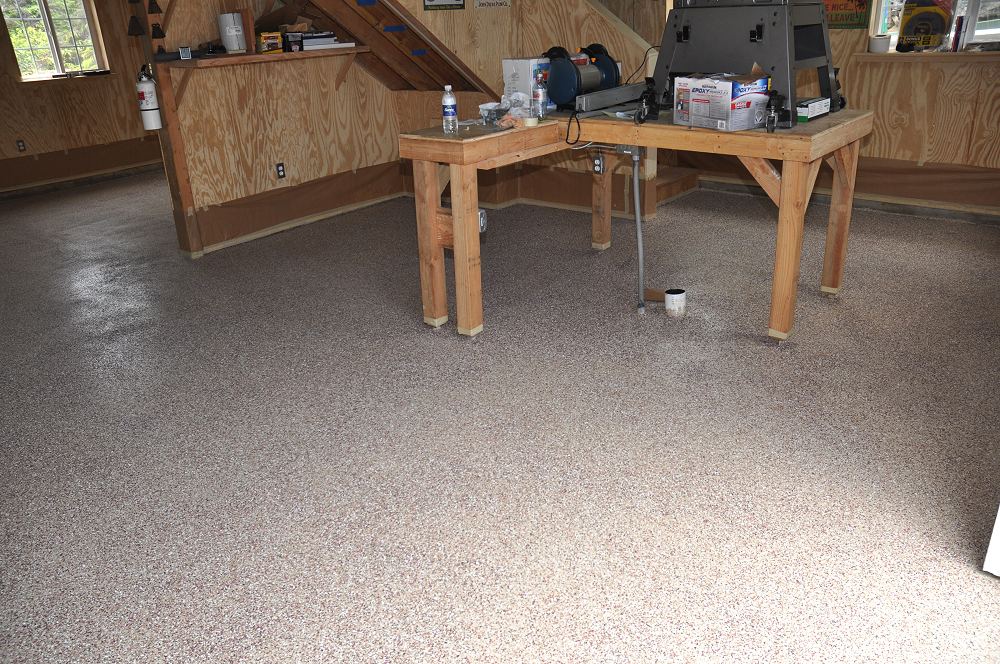
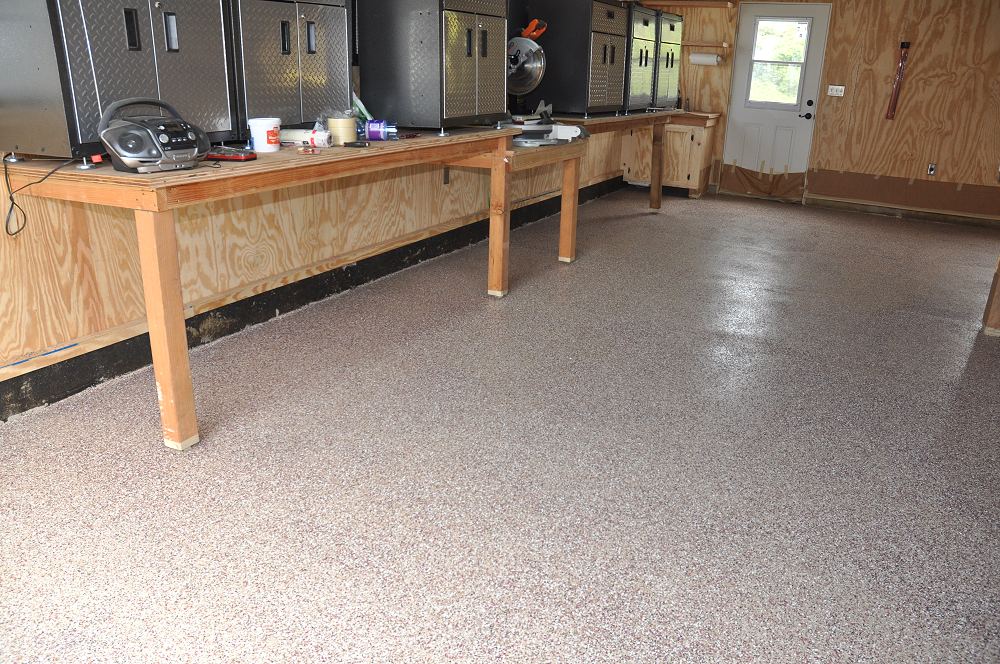
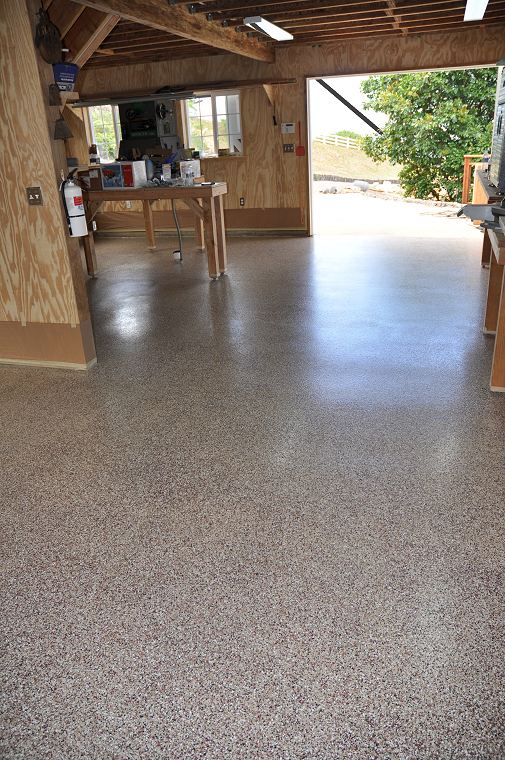
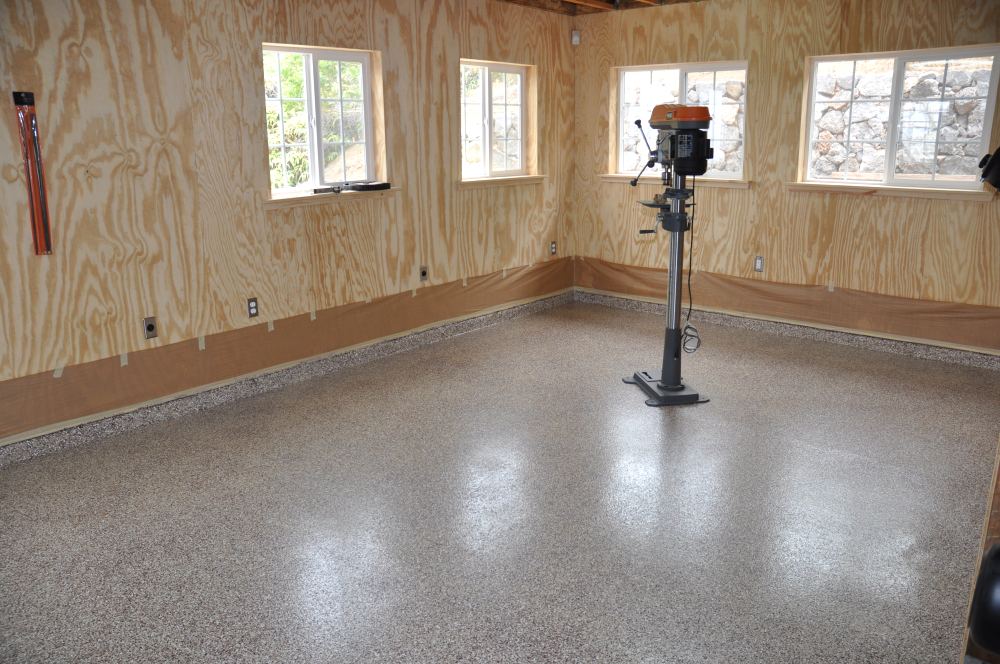
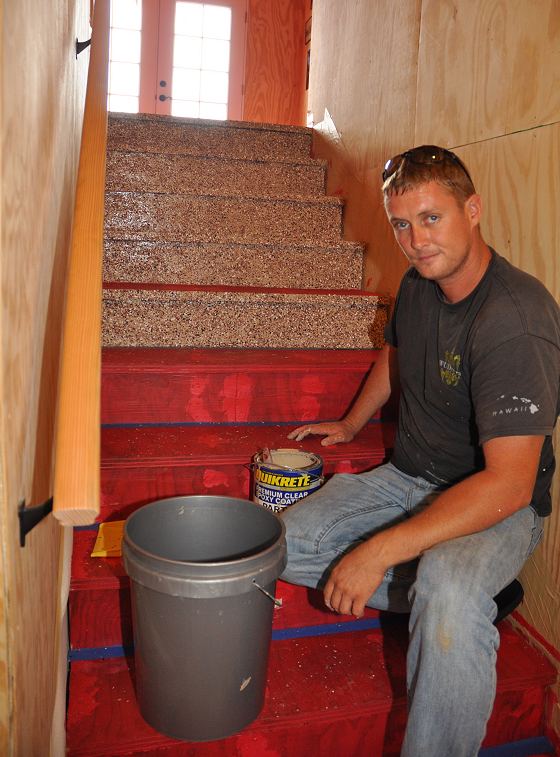
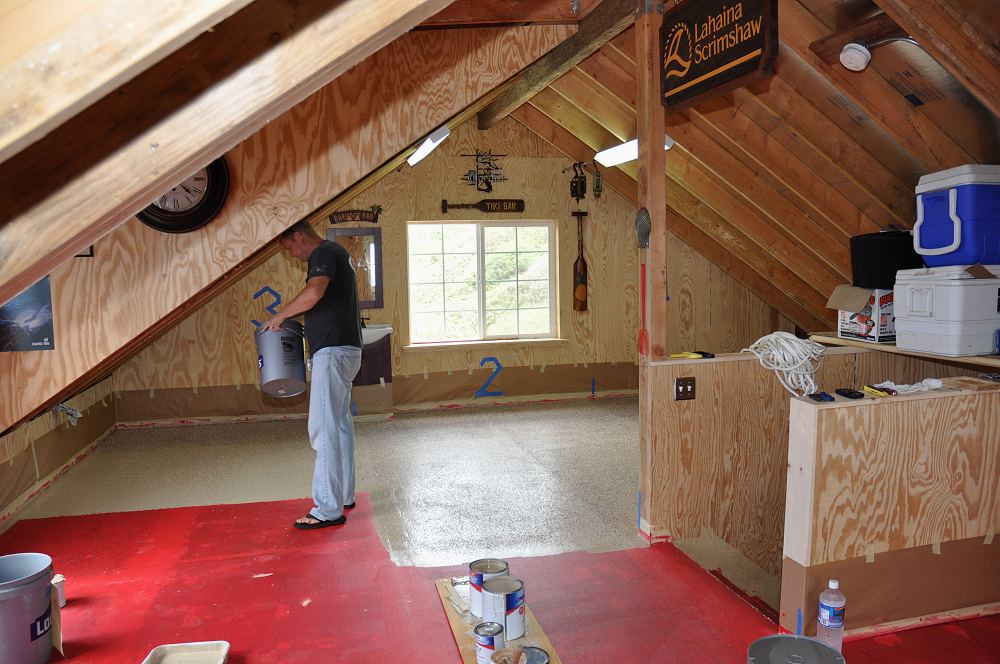
I planned on painting the upstairs plywood floor but decided to epoxy coat both floors and stairs.
The garage of the house was epoxy coated and was beautiful and indestructible.
Lowes had the do-it-yourself epoxy kits and clear epoxy sealer.
There are never enough flakes in the kits so if you want decent coverage you need to buy more.
I found a company on the internet that custom blended epoxy flakes and bought 50 pounds of a custom red/brown/tan blend.
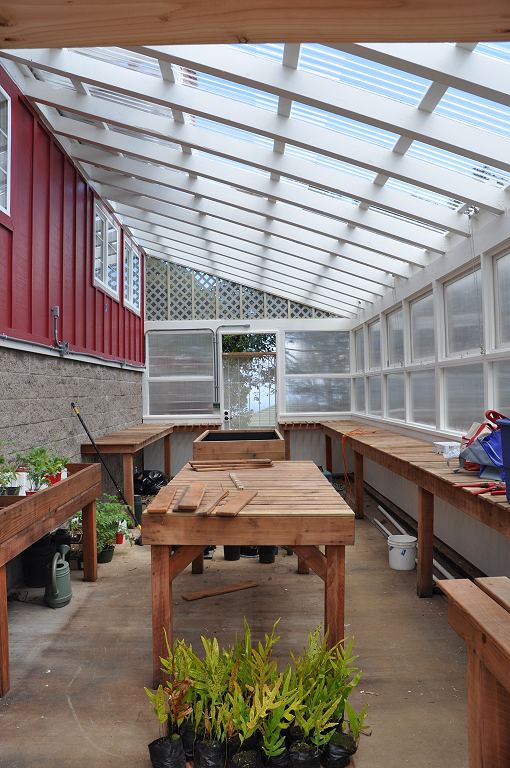
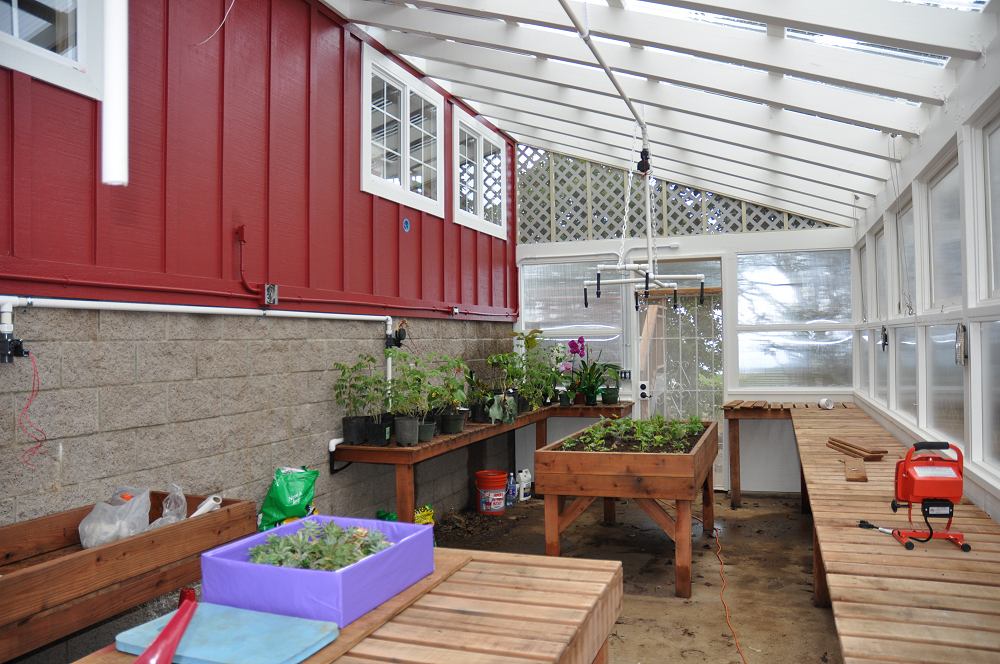
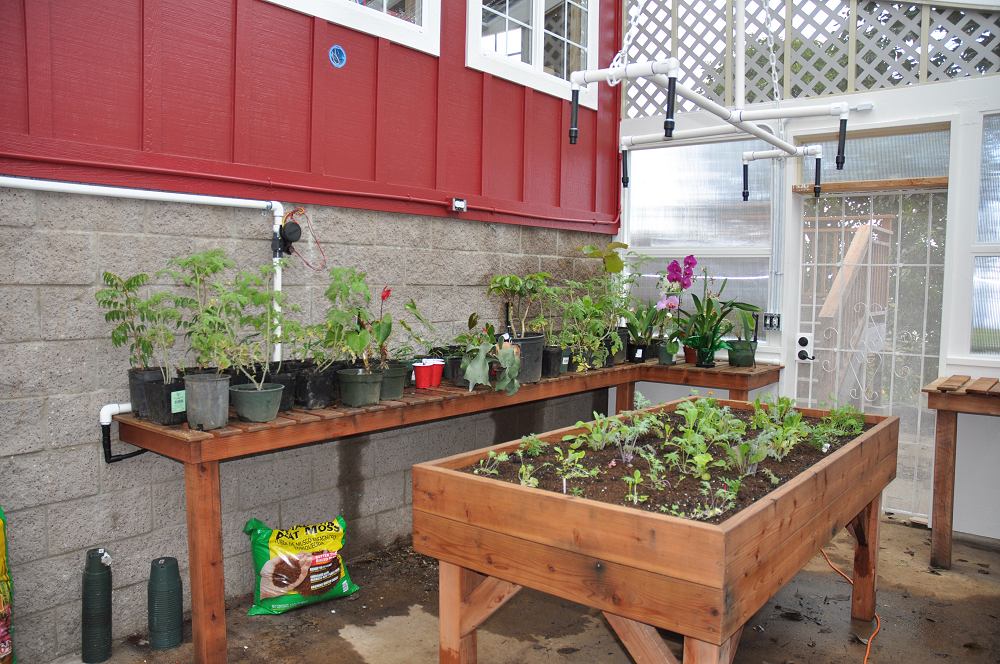
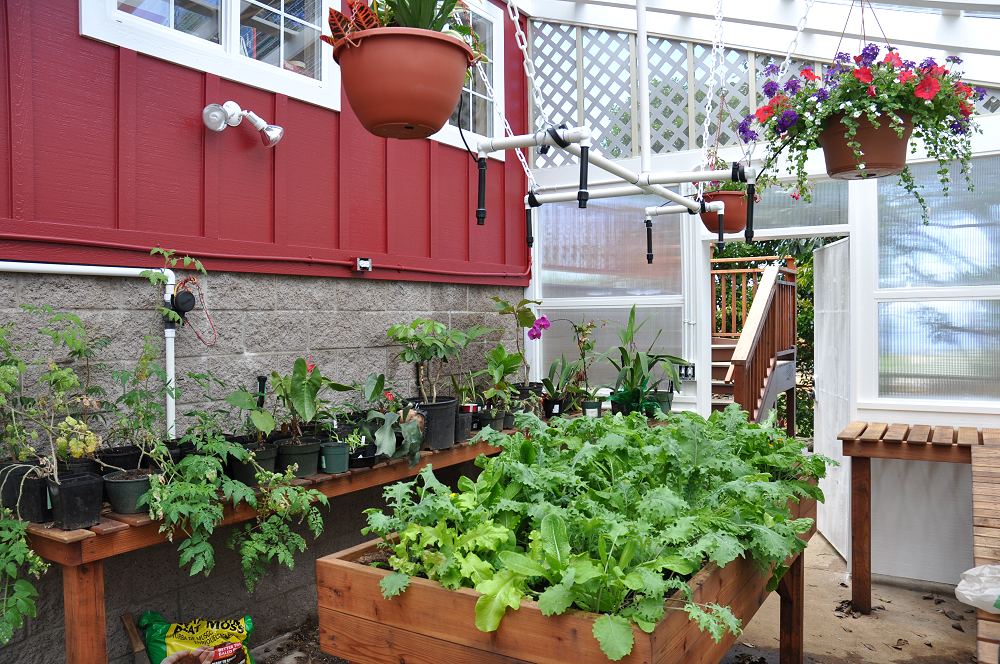
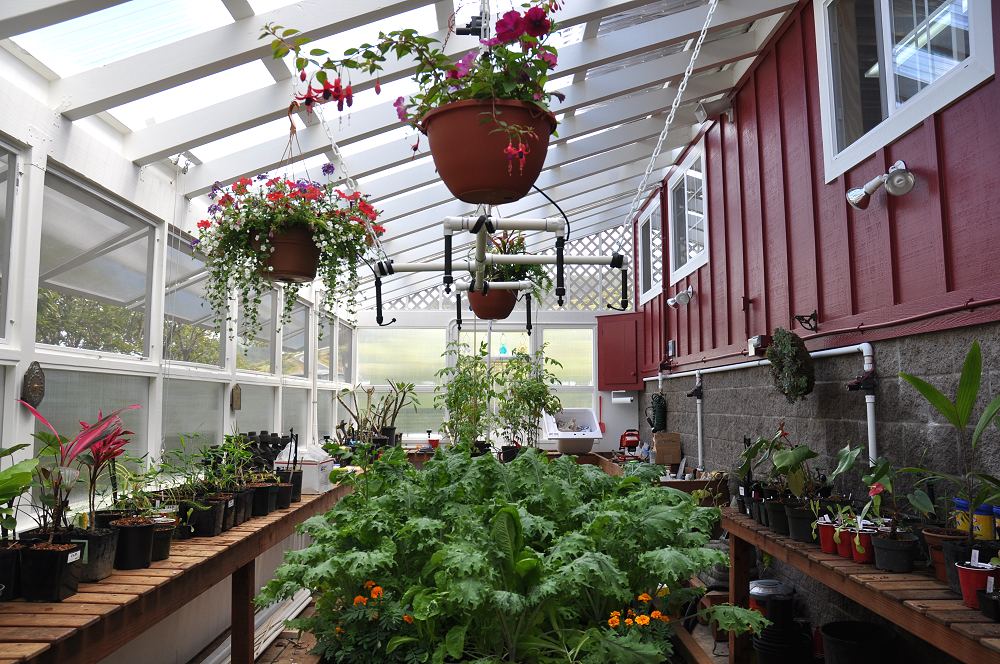
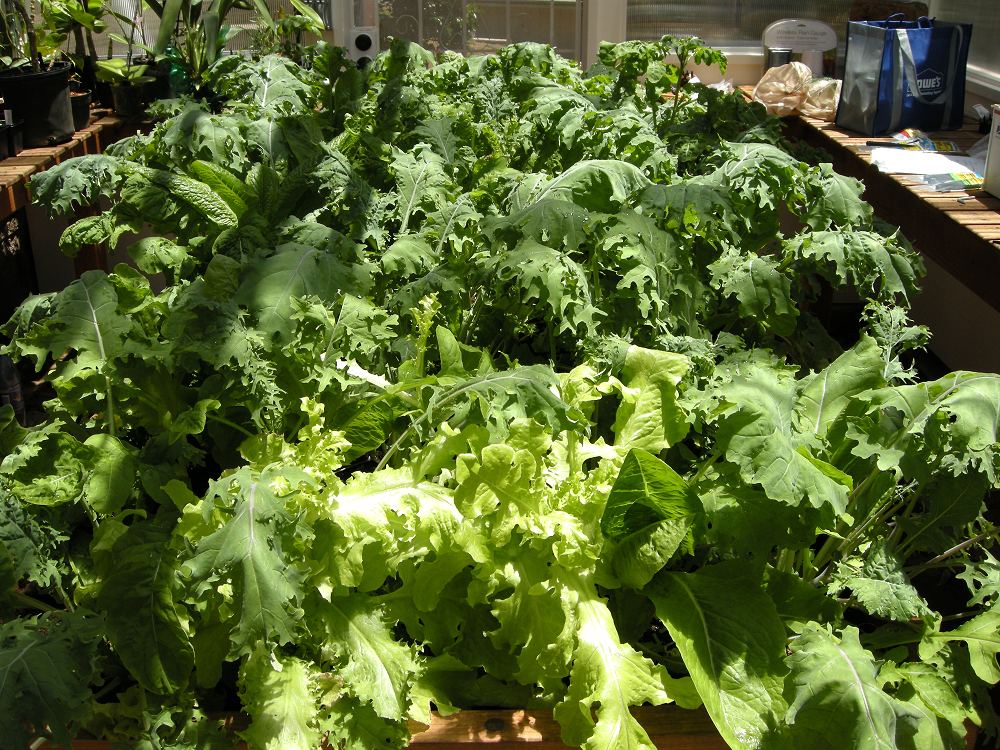
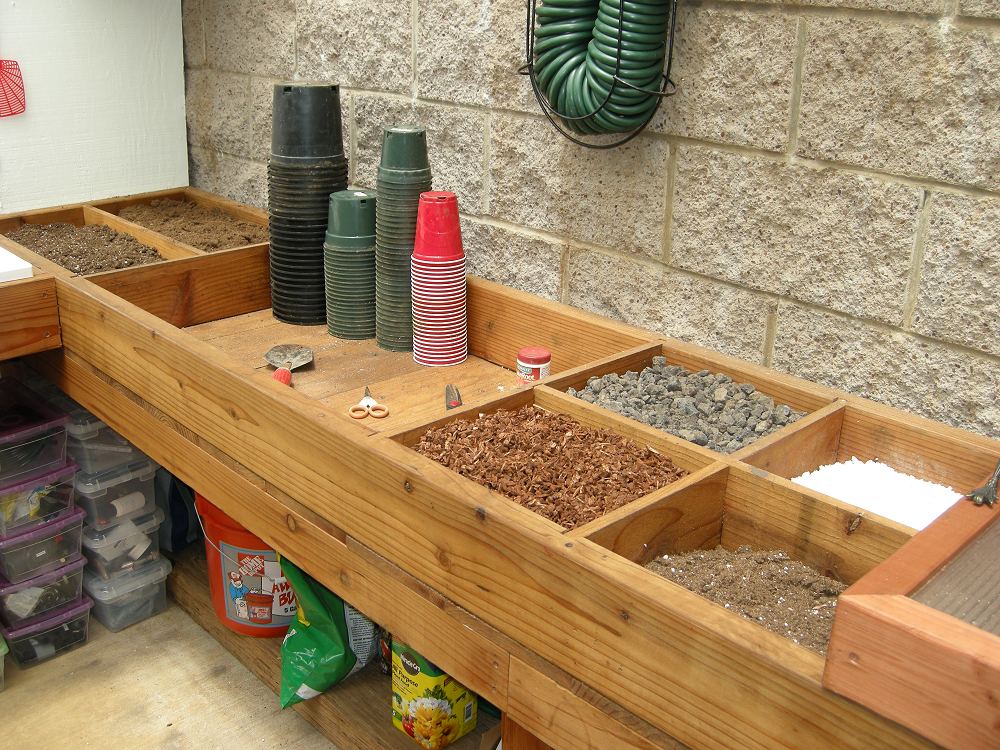
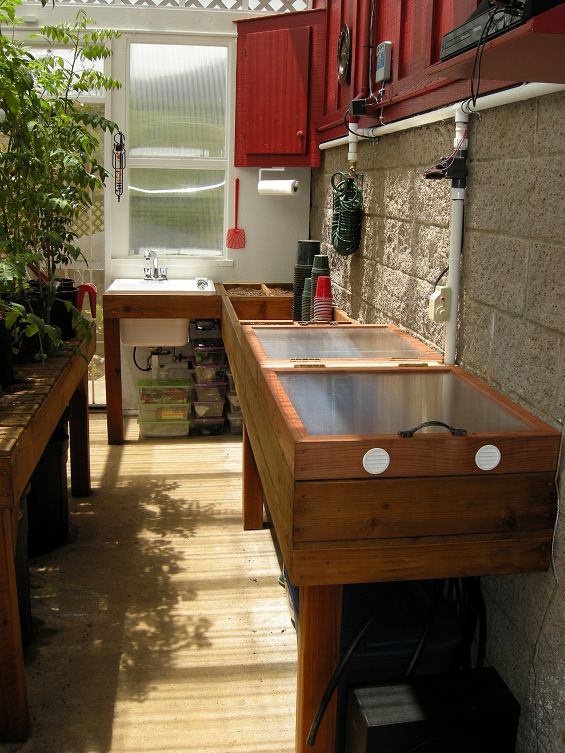
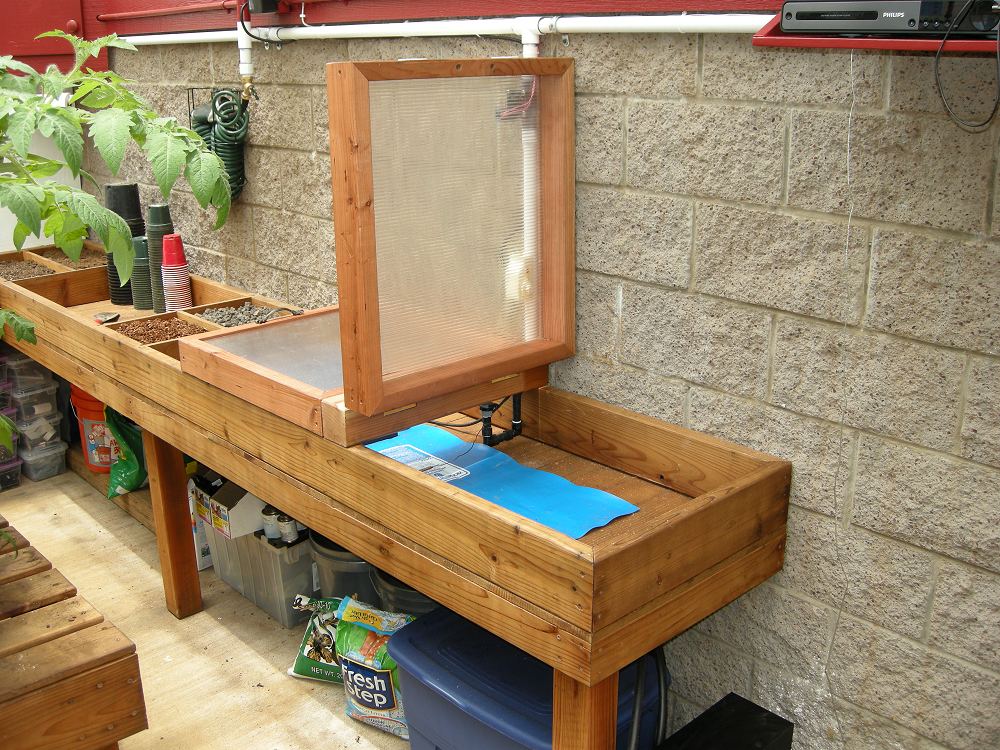
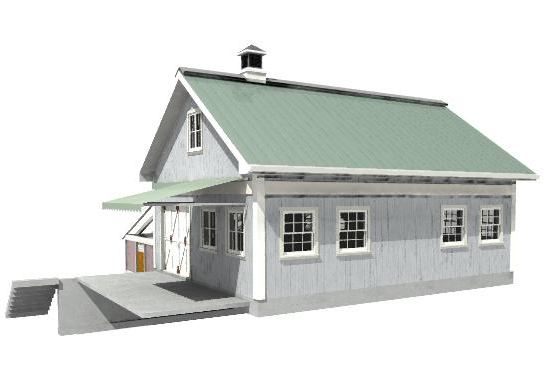
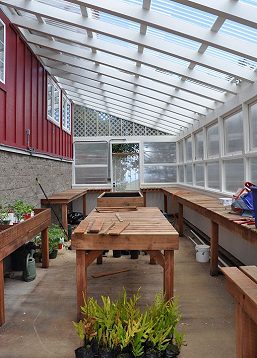 Greenhouse and Benches
|
|
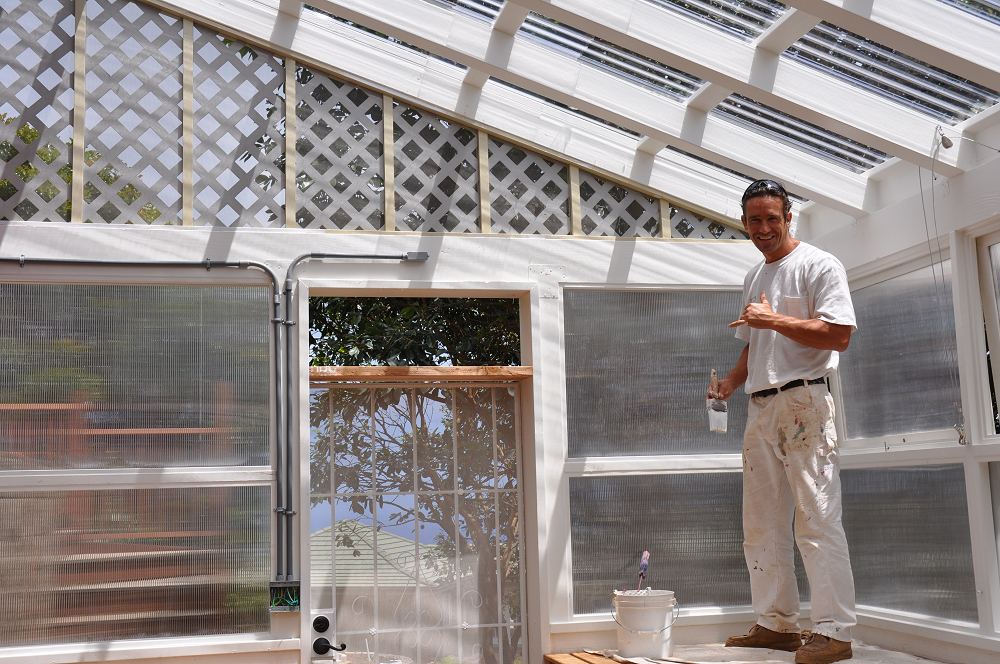
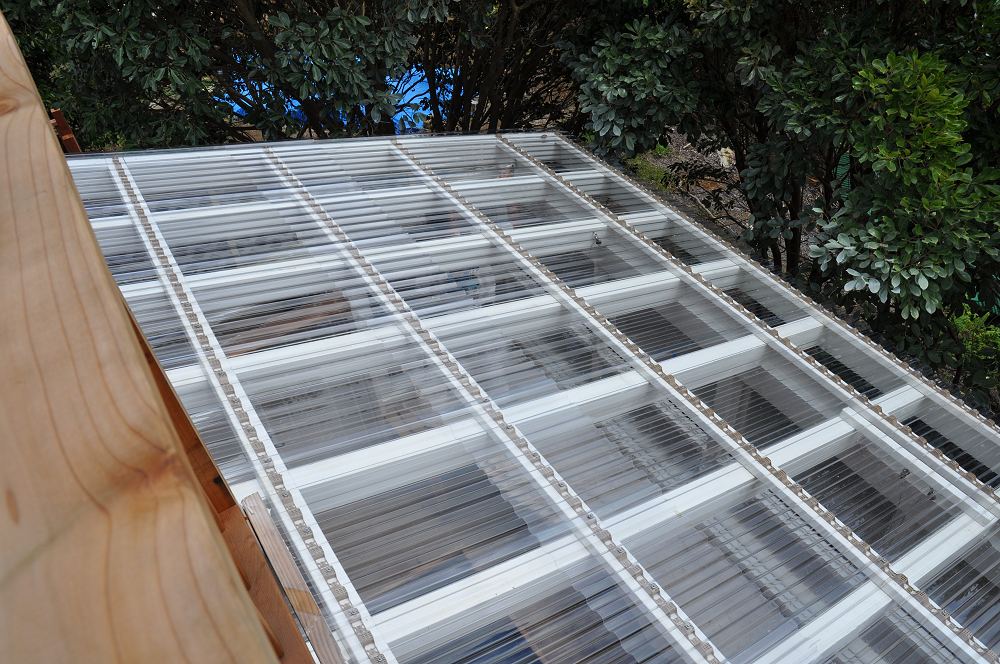
A 12 ft. by 30 ft. greenhouse was built against the lower side of the barn and retaining wall.
It's built like an enclosed patio, with a 30 ft. long french drain built into the slab.
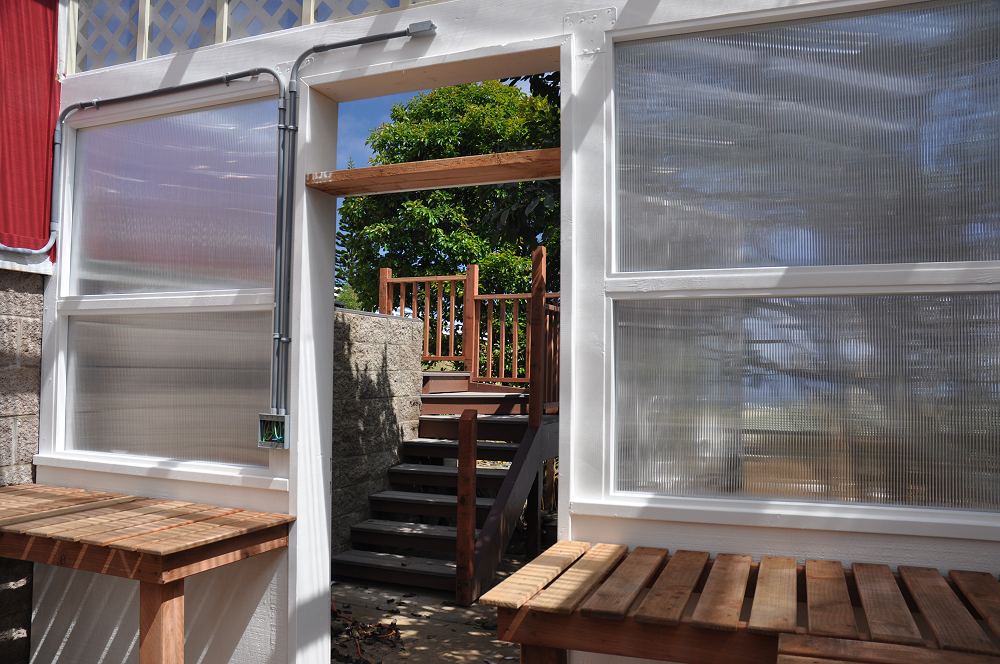
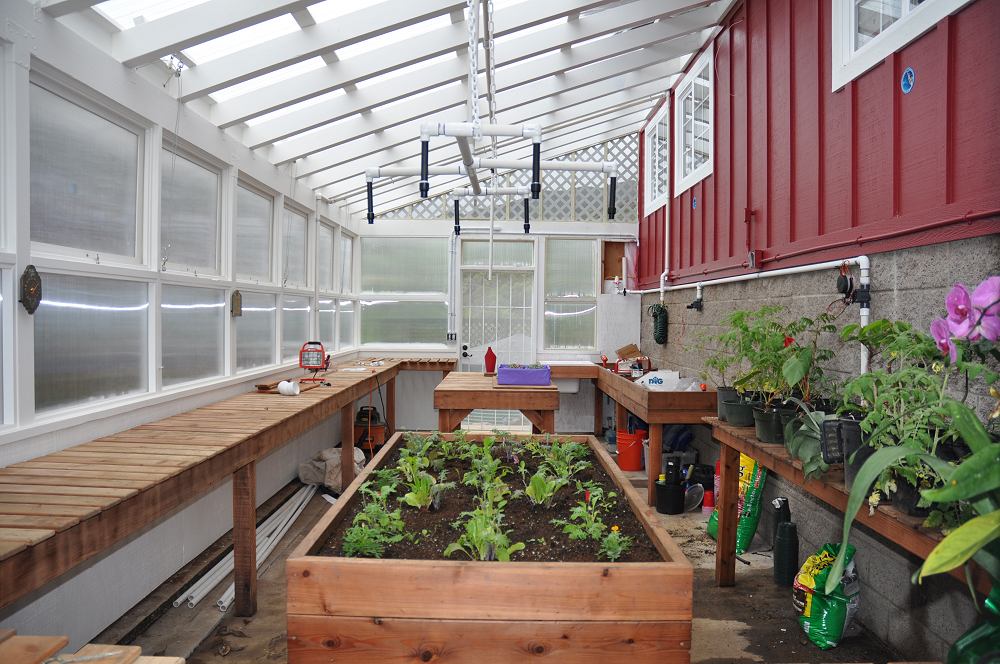
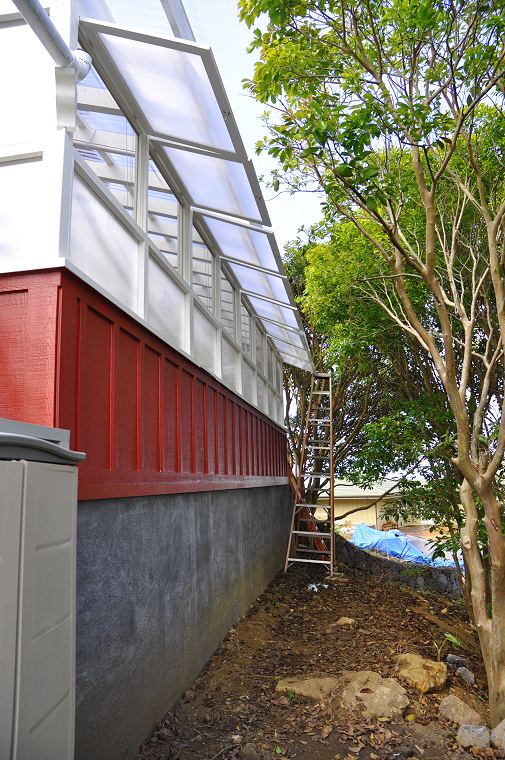
I saw some very cool windows at Mama's Fish House on Maui that hinged from the top and had ropes to open and close them.
I wanted to copy the idea for the greenhouse windows, but the design was complicated by screens, which Mama's Fish House didn't have.
The rope and the latch would have to be on the inside, but since the windows opened outward, the screens would have to be on the inside.
John was up to the challenge and came up with a custom triple-ply polycarbonate greenhouse windows with a
pin latch and pulley arrangement that allowed screens on the windows.
|
|
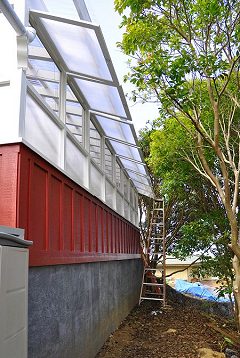 Greenhouse Windows Open
|
I intended on building redwood benches for the greenhouse by myself, but after seeing how quickly John was working with his automatic screw gun,
I decided to pay John to build the benches with the leftover barn window windfall.
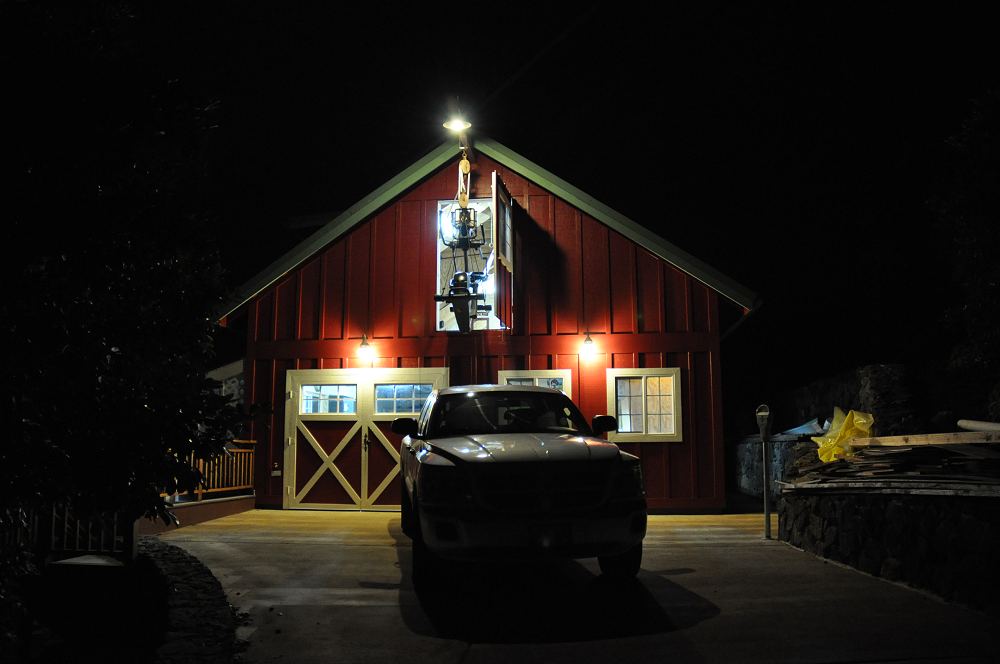
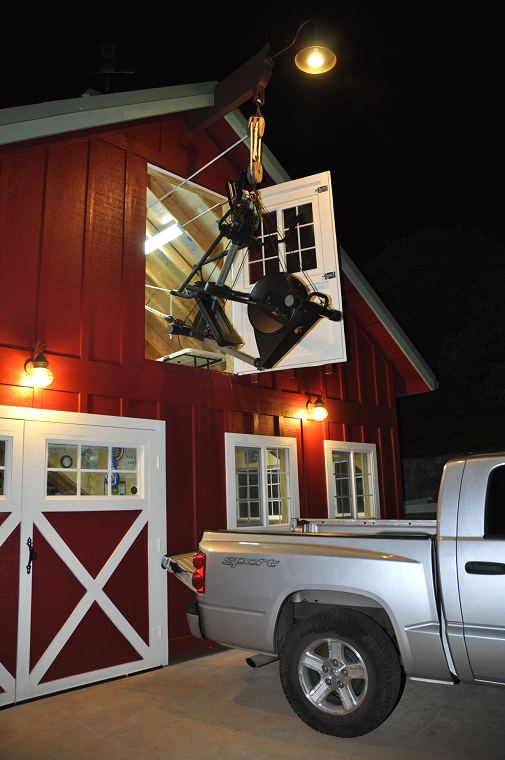
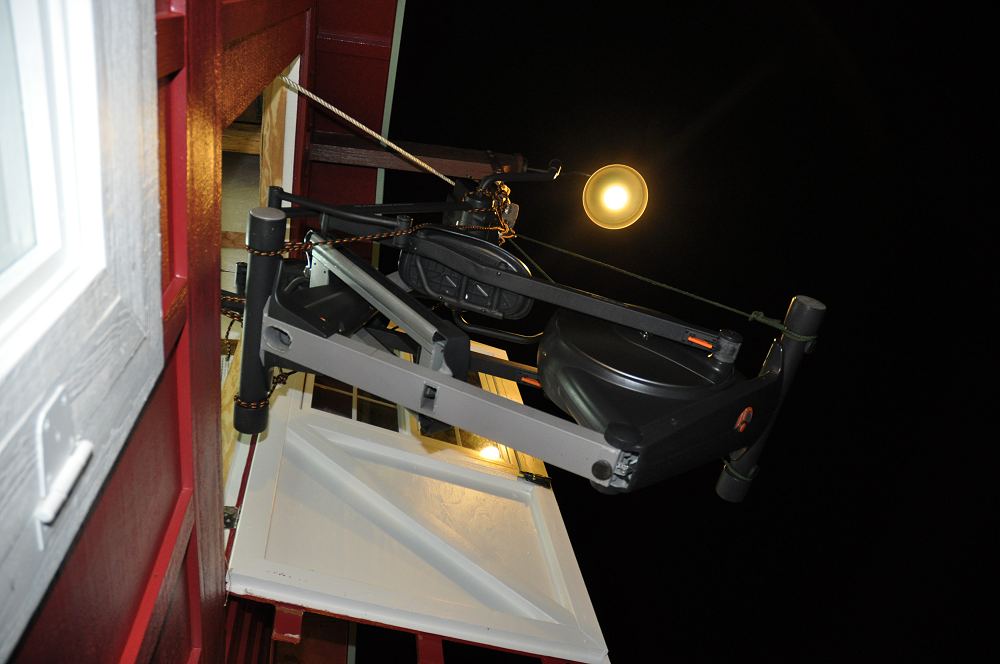
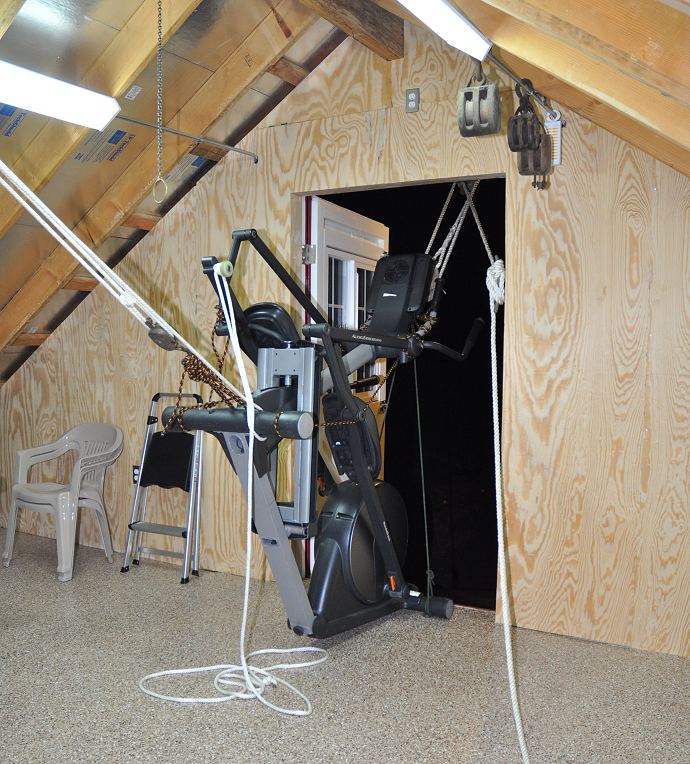
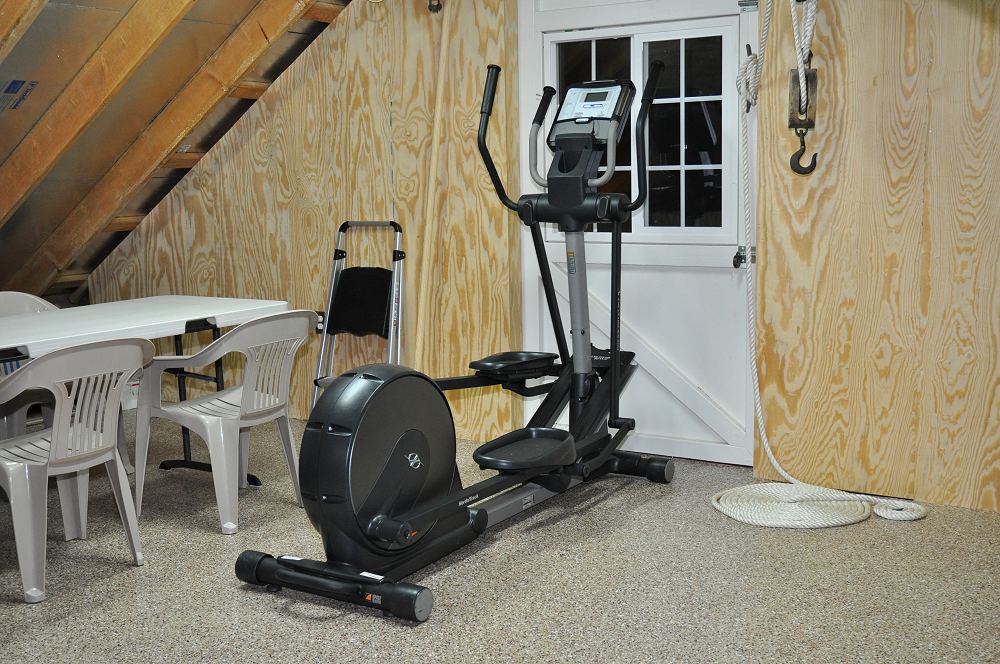
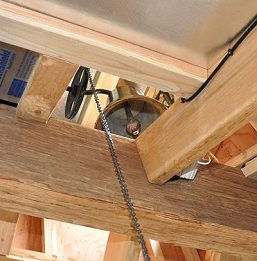
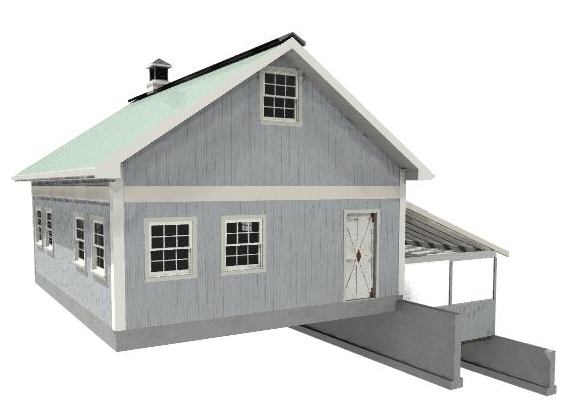
 Hoisting an Elliptical Upstairs
|
|
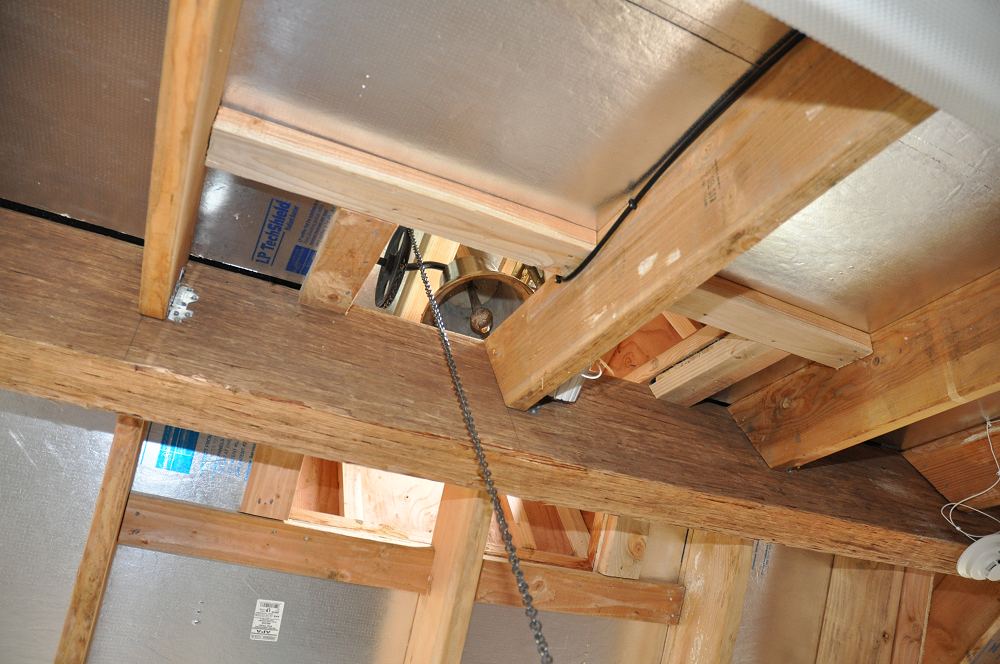
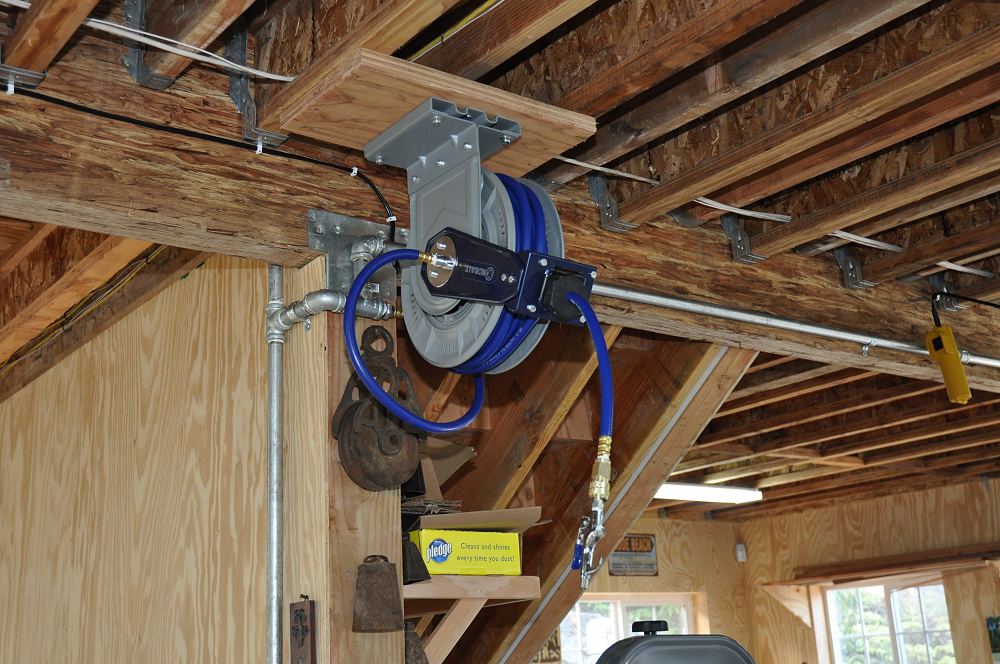
Old fashion barns had hay lofts with a large exterior door upstairs.
A simple block and tackle system was then used to manually hoist up the hay.
While I didn't need hay, I figured that would be a useful method of taking heavy or awkward items upstairs by myself.
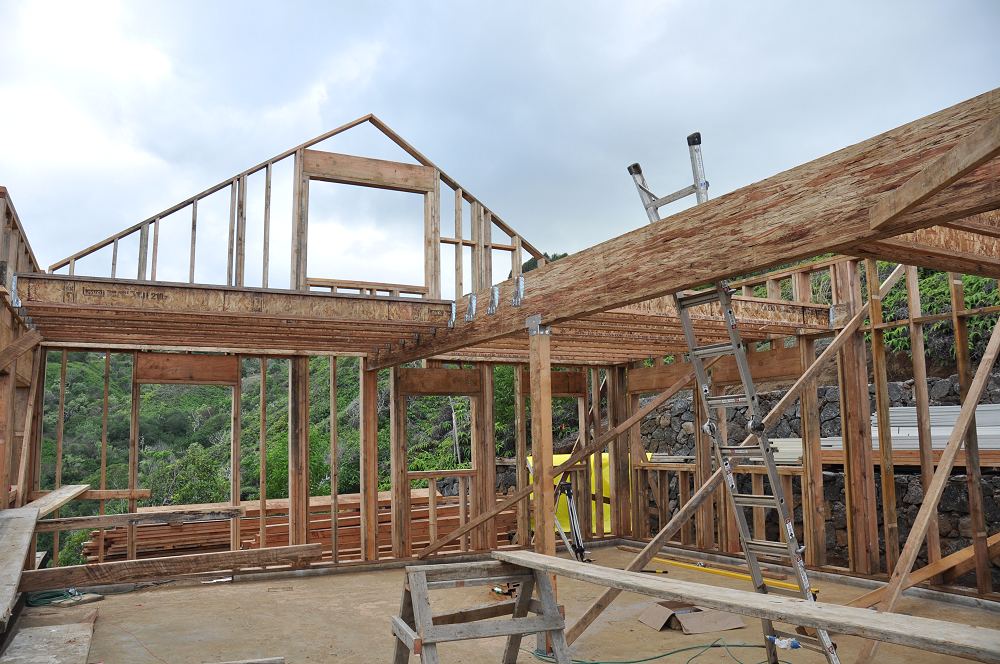
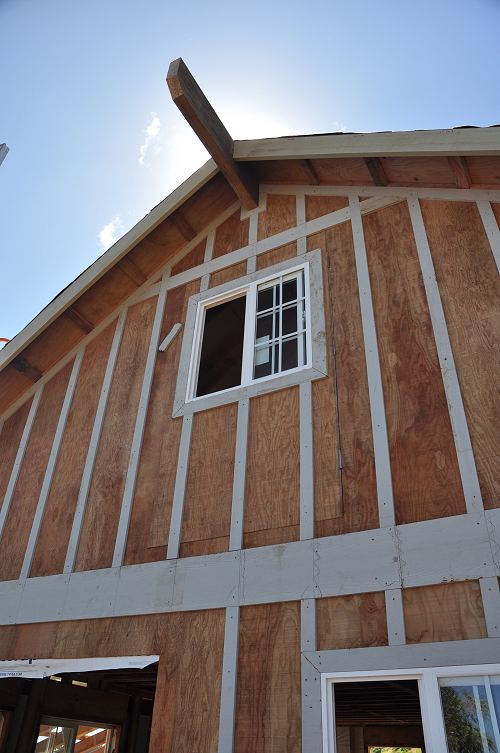
When I saw that the laminated ridge beam was longer than necessary, I asked that it be cut with a four feet length running wild outside.
We through-bolted galvanized steel straps, and I found a large selection of
old antique wood block and tackle sets on ebay.
An old fashion barn-style lamp was fitted to the end of the beam.
Another custom door was made with lockable clasps for safety, and a standard vinyl window was installed within the door.
From outside, you wouldn't even notice there's a door there.
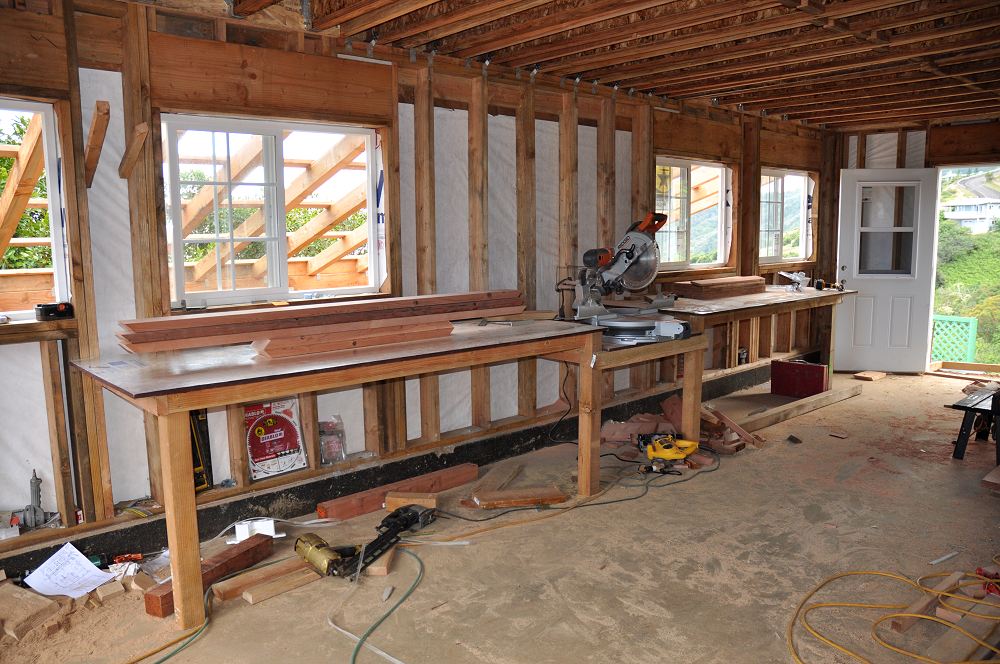
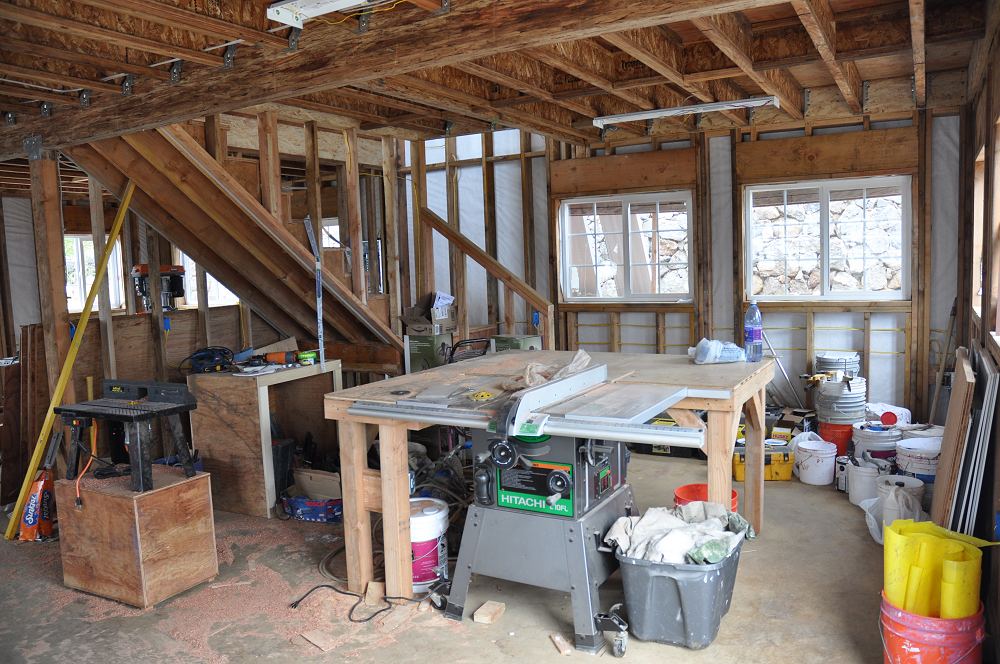
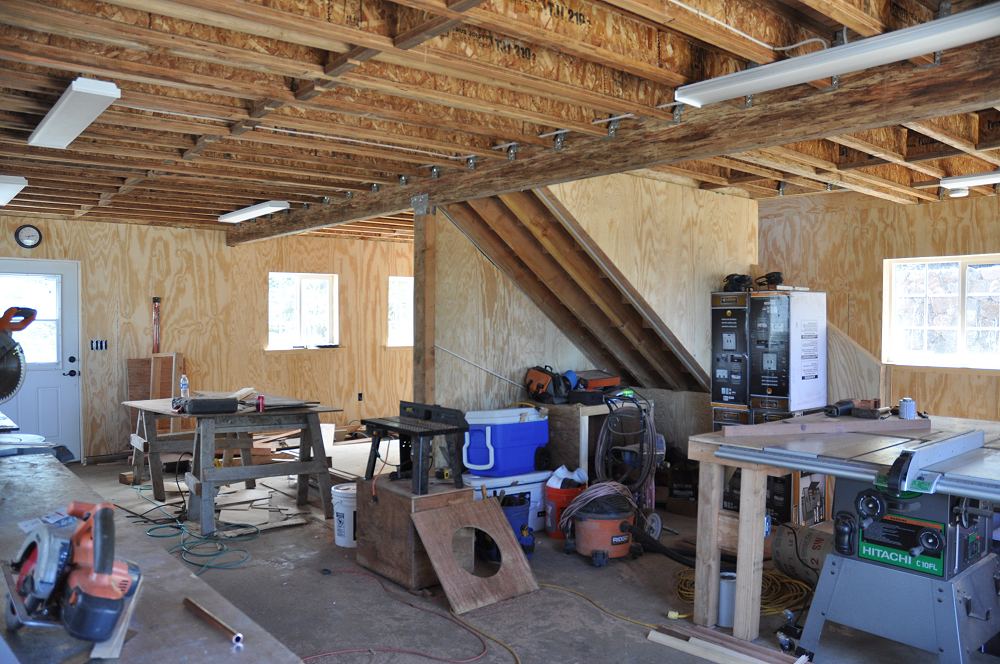
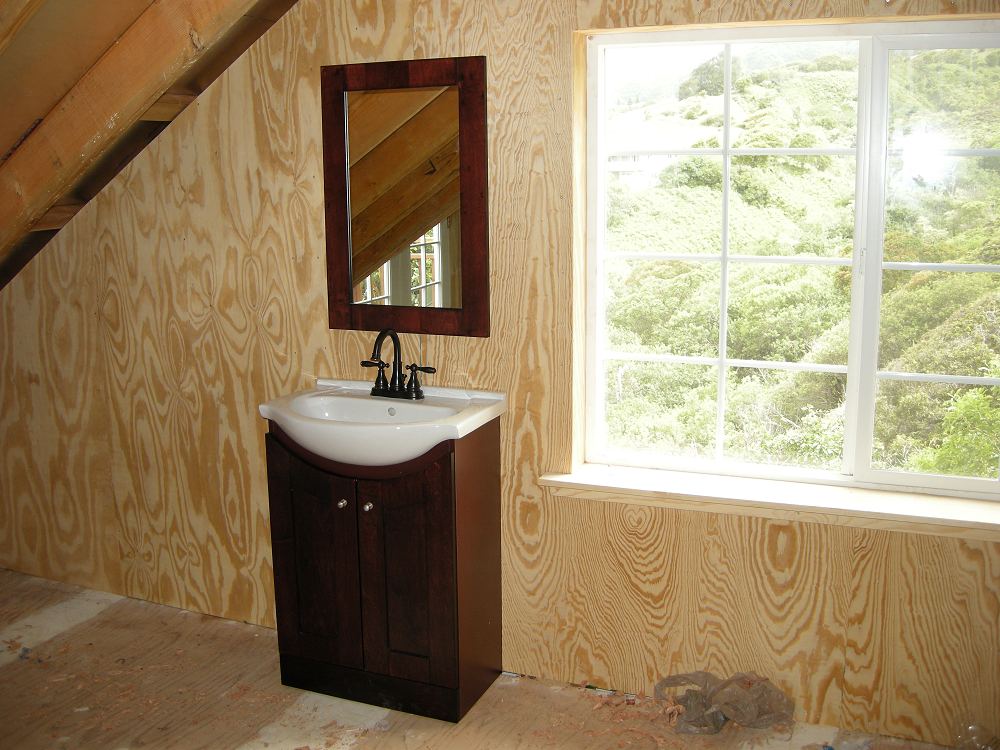
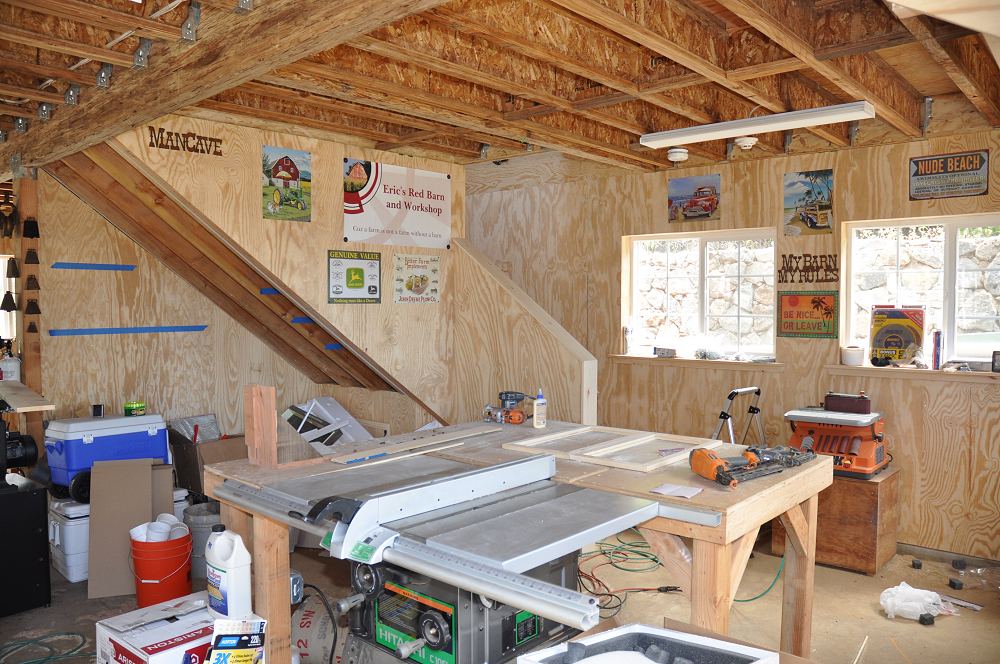
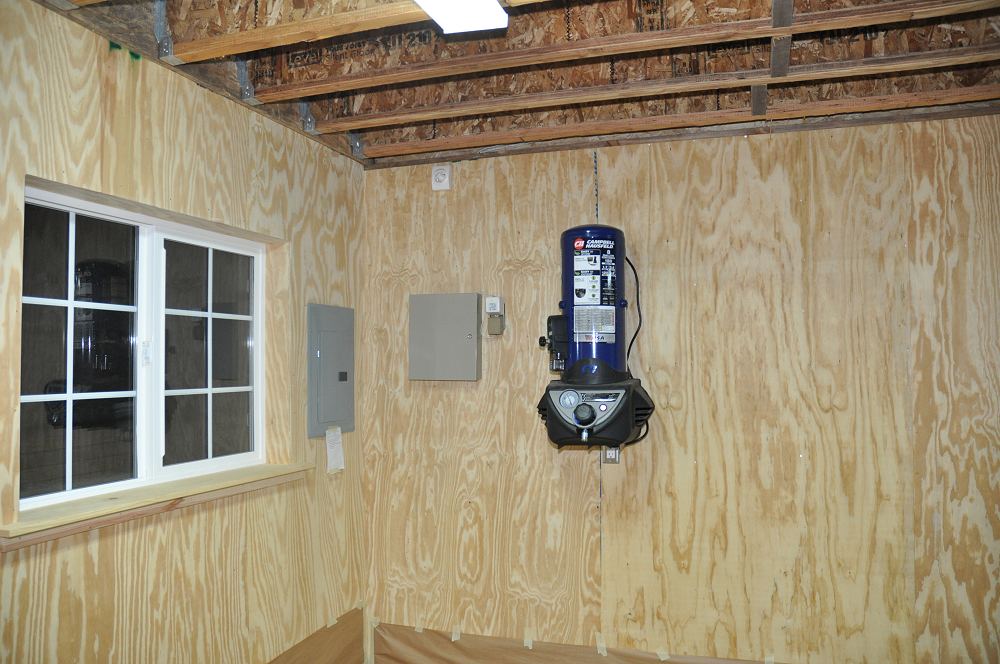
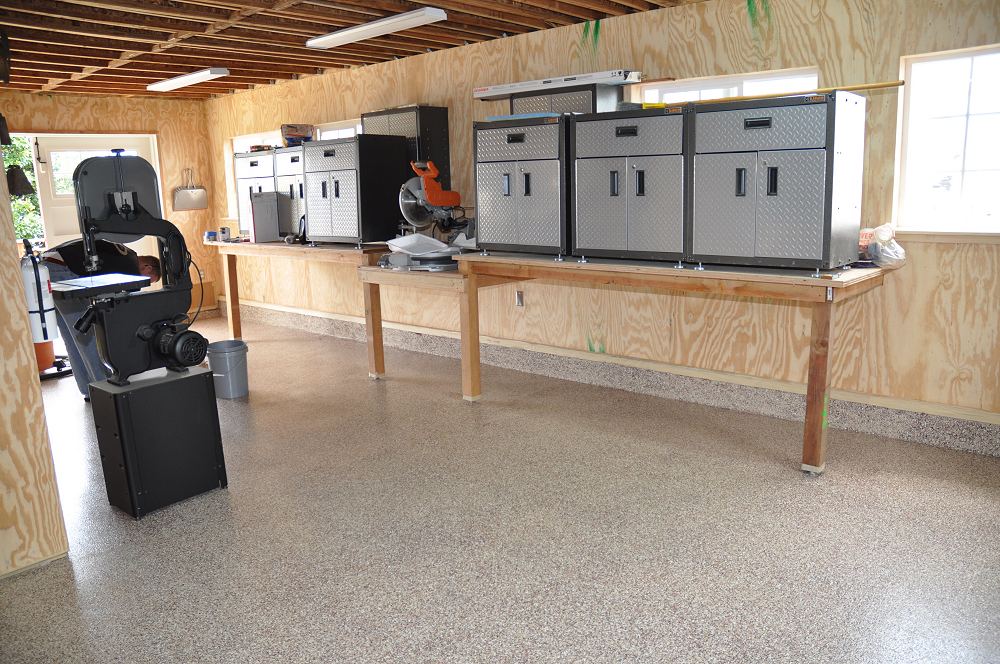
The plans called for single-wall construction because I originally planned on leaving the interior walls open, but the barn was starting to look too nice.
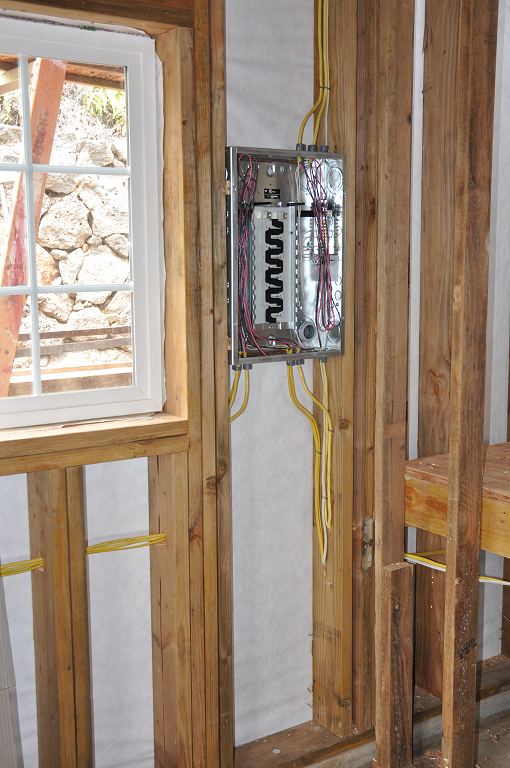
Also, inexpensive Romex electrical wiring must be covered, otherwise more expensive EMT or flexible conduit must be used.
Drywall wouldn't be appropriate for a barn or a workshop, so I decided to have 3/8 inch plywood installed on the interior surfaces.
Since I may need to add future wiring, the plywood was screwed to the 2x6s with finish screws.
The result looked great and the plywood could be easily removed.
|
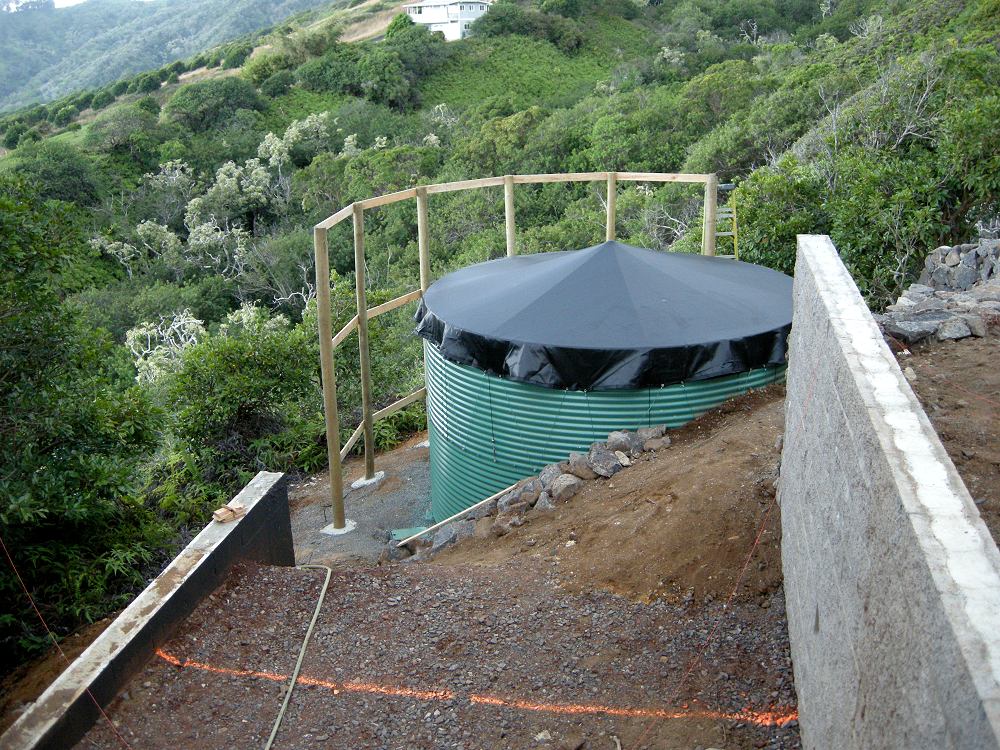
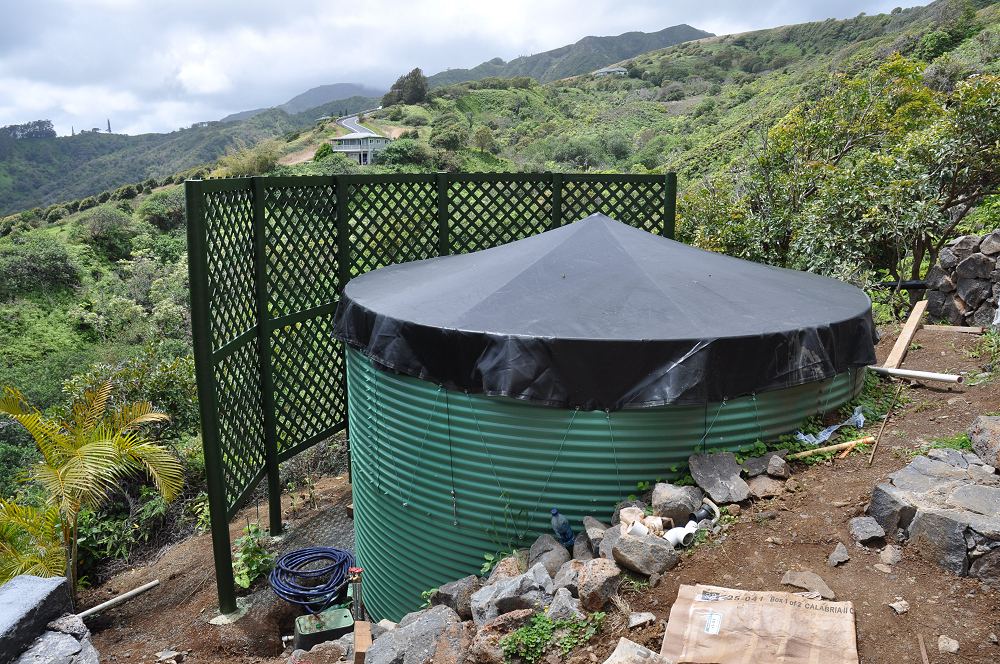
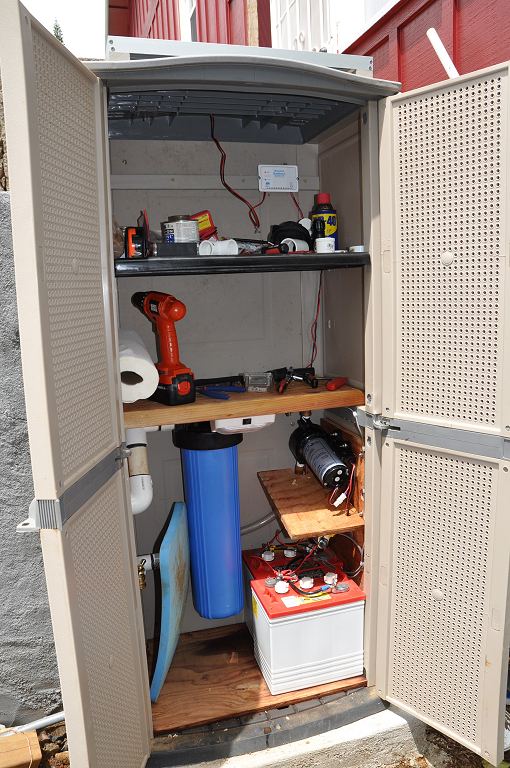
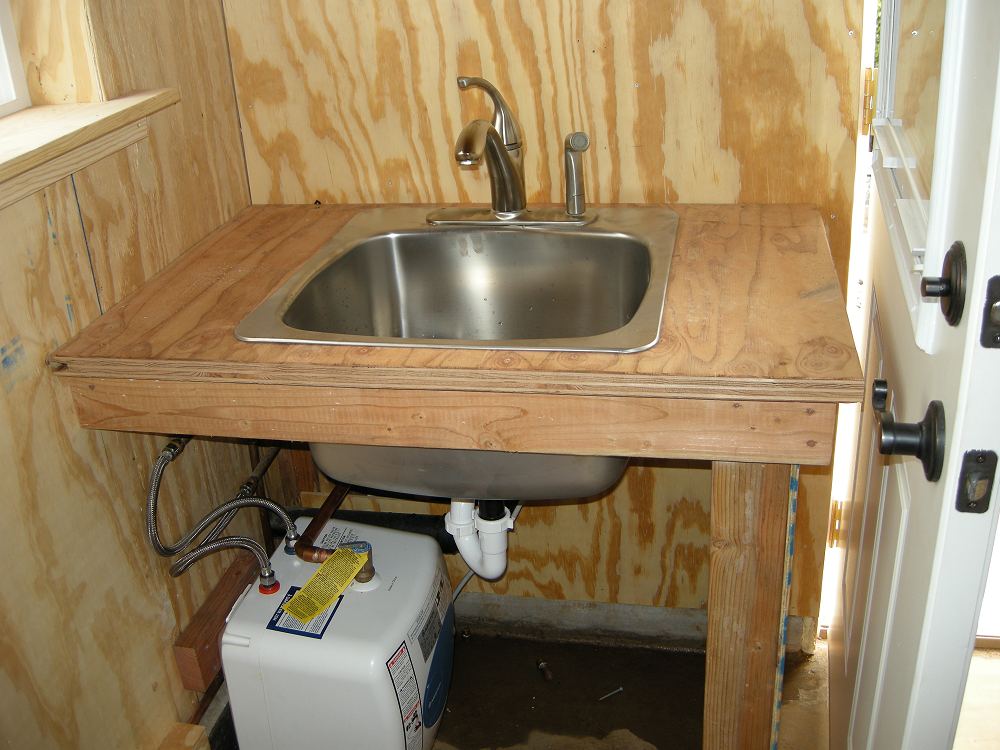
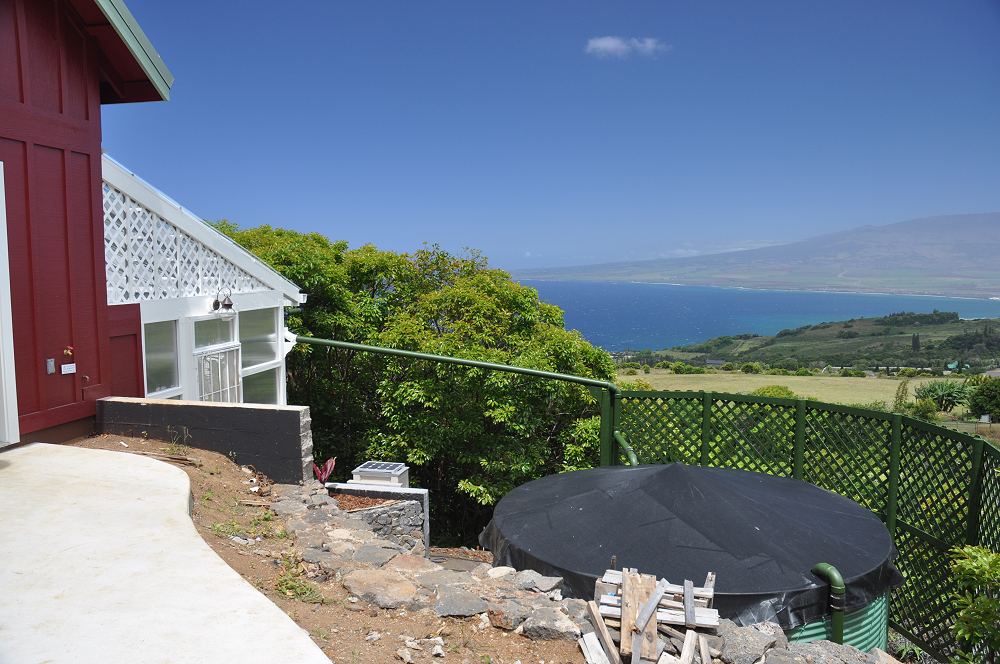
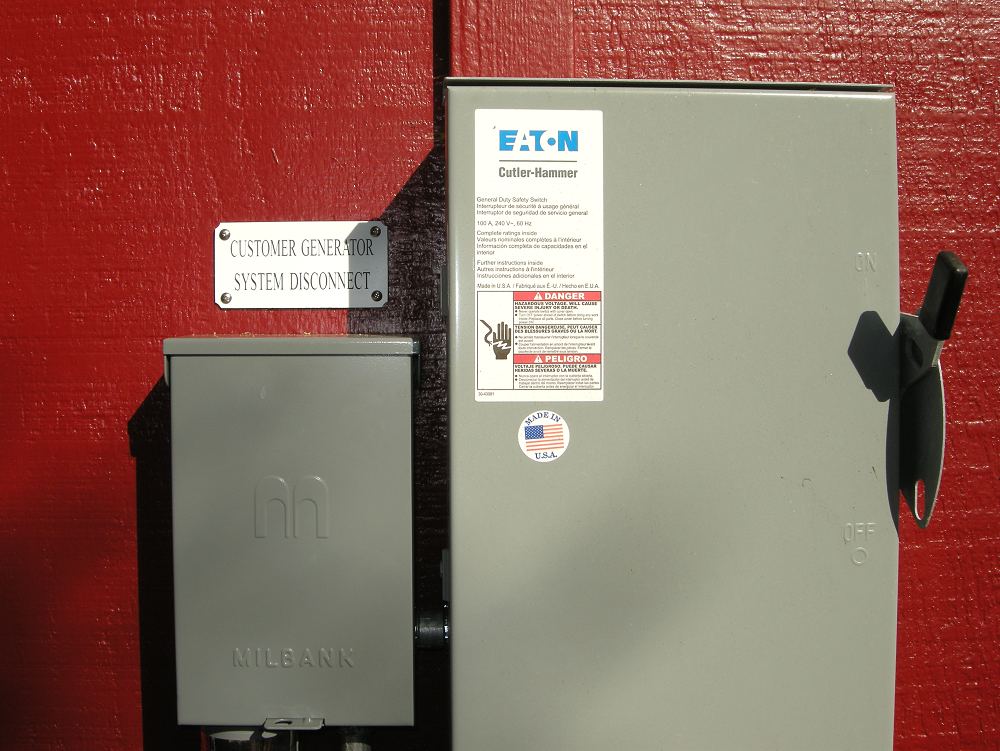
I brought 100 Amp, 220V electrical service to the barn, but I didn't bring water, phone, or internet.
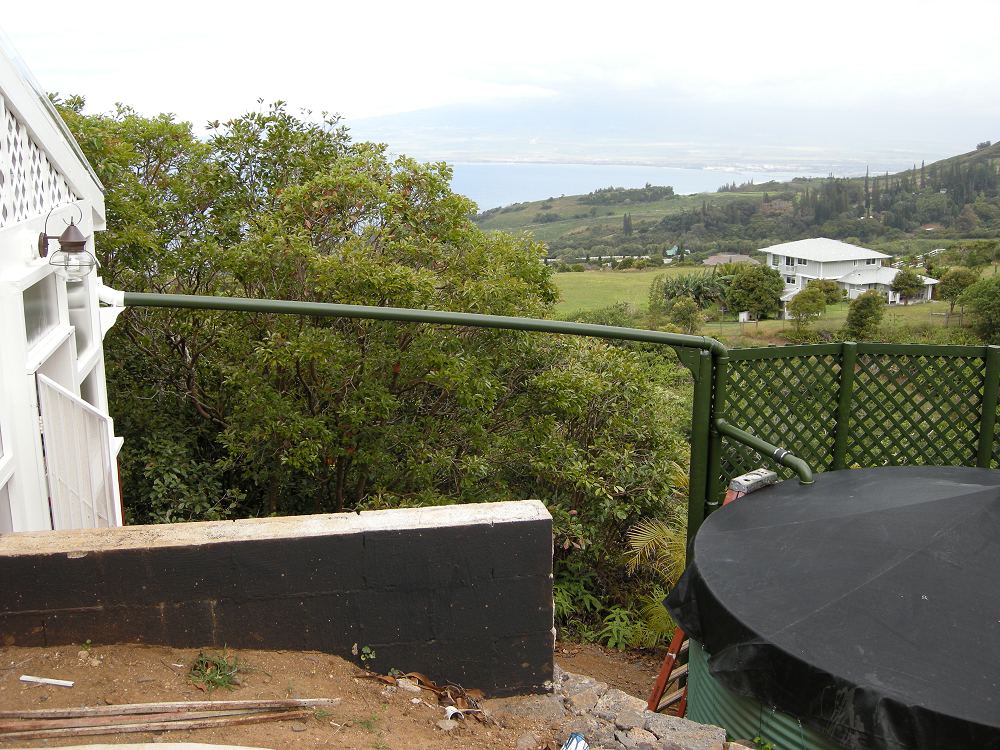
The steel roof on the barn, and the polycarbonate roof on the greenhouse were perfect for catchment,
so I added gutters and a 6,000 gallon water tank behind the greenhouse.
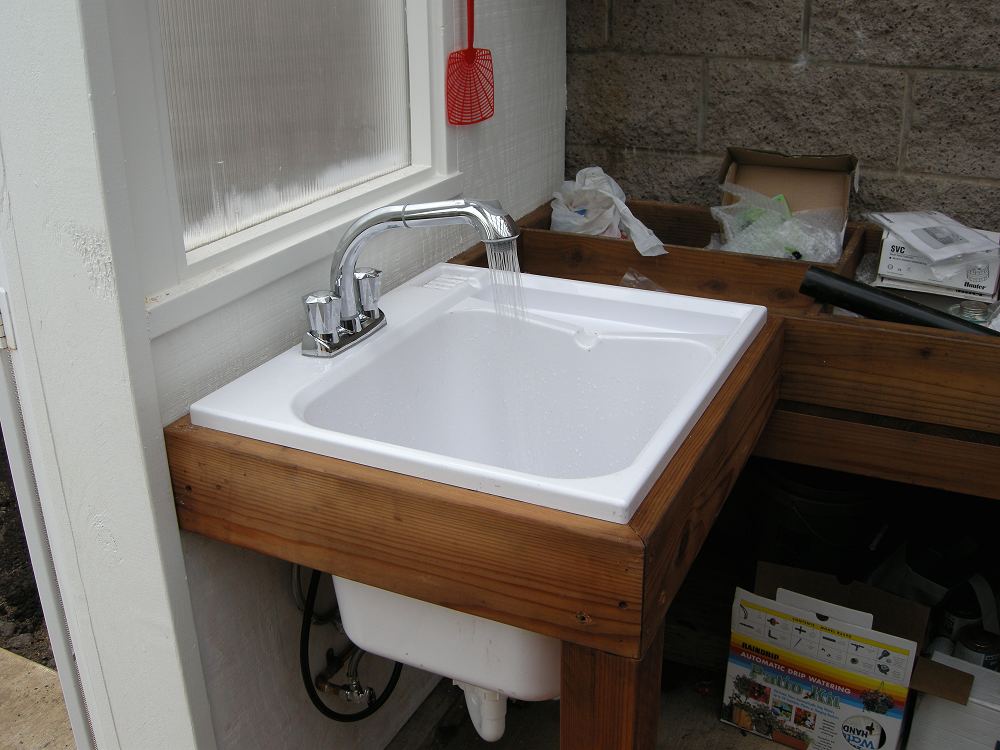
A variable speed 12 volt RV demand pump brought rain water to three hose bibs, a large sink in the greenhouse,
a stainless steel sink downstairs, and a porcelain sink upstairs.
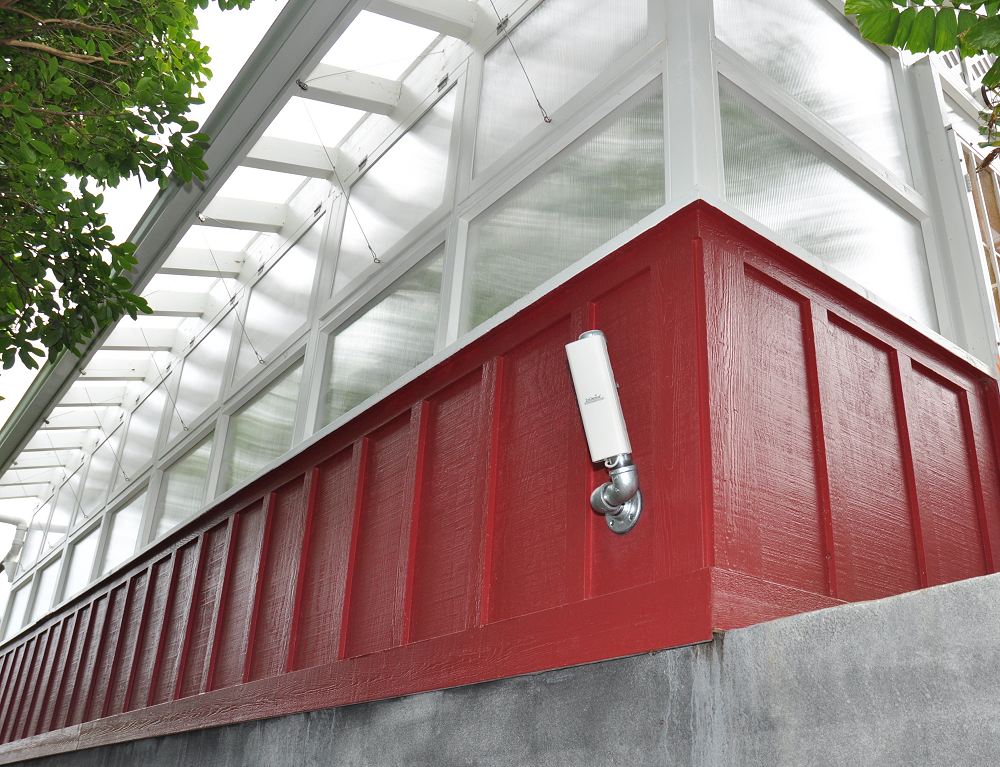
The wireless internet from the house didn't quite reach the barn, due to the thick row of beautiful but invasive
strawberry guava trees
(called waiawi in Hawaii) in the signal path.
Even using a high-gain directional wifi antenna in the barn didn't help.
The corner of the greenhouse below the trees received a healthy signal, so I decided to put a wireless bridge there.
I bought an EnGenius wireless bridge with a 600 mW radio and internal directional antenna in a weatherproof enclosure.
It works like a champ and provides flawless zippy internet to the barn.
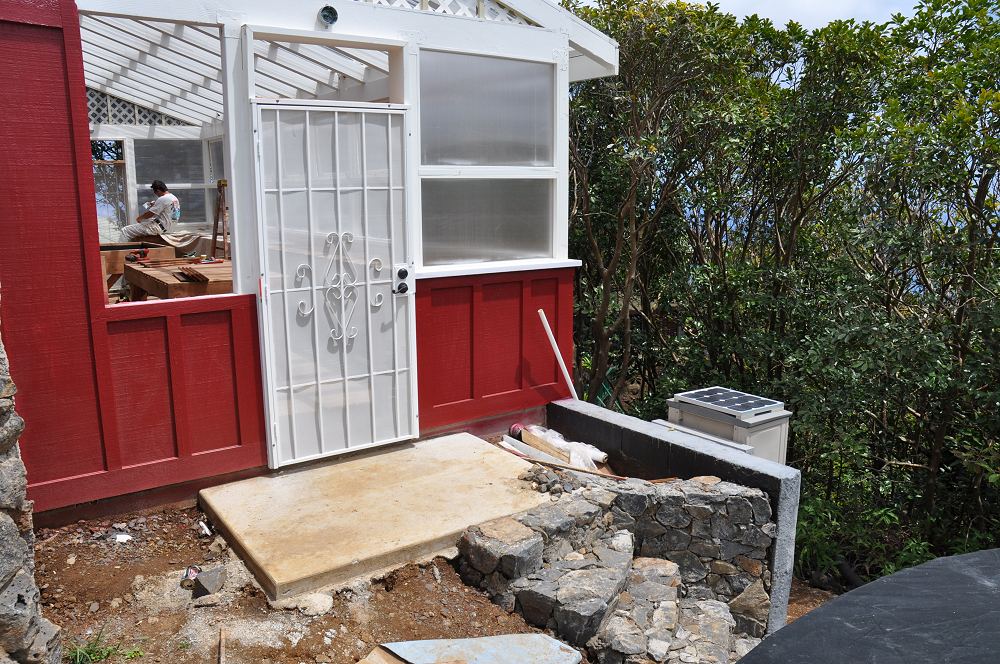
In 2010 and 2011, the combined federal and Hawaii state tax credits for photovoltaic solar totaled 65% of the installed cost (up to a certain cap).
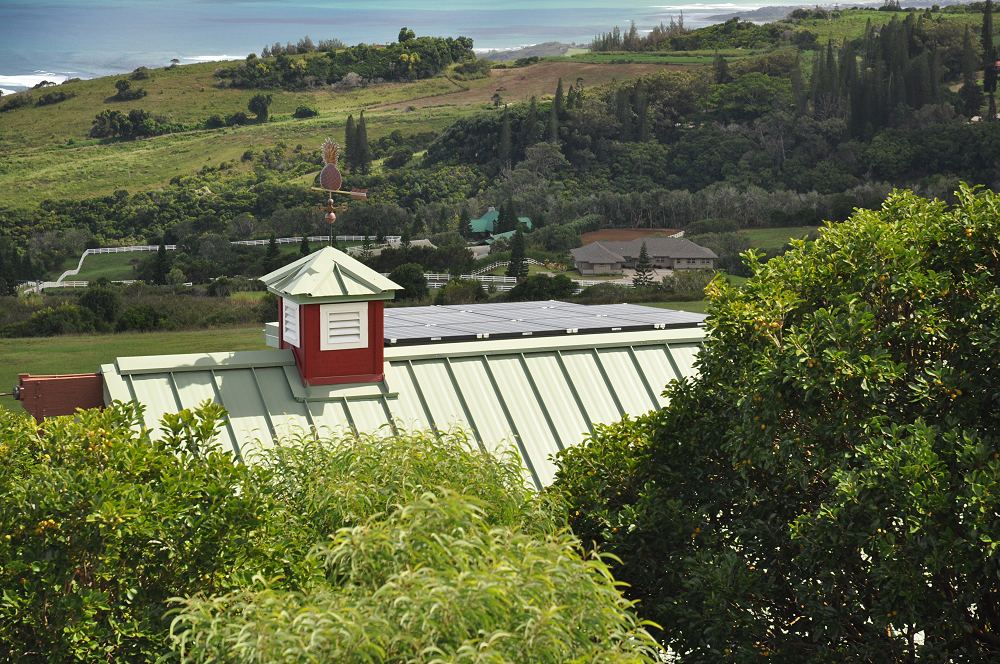
The dormer of the barn roof was a perfect location for solar panels because they couldn't be seen, and the orientation was reasonably good.
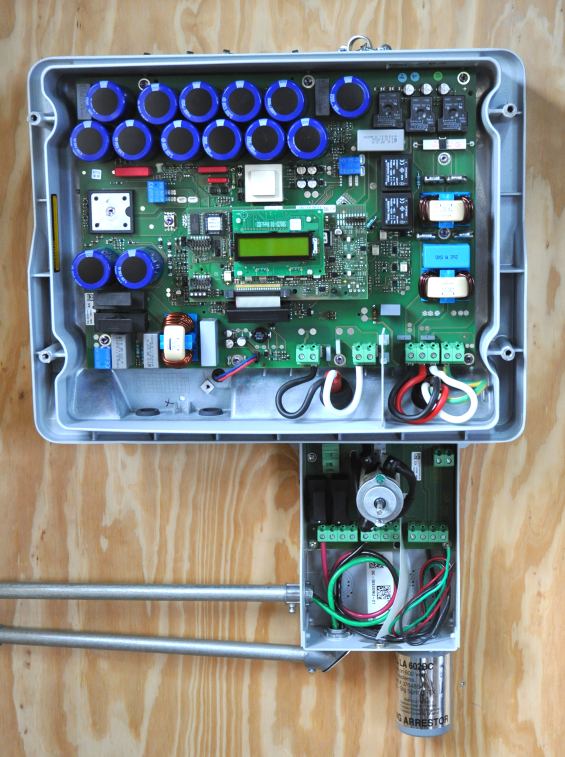
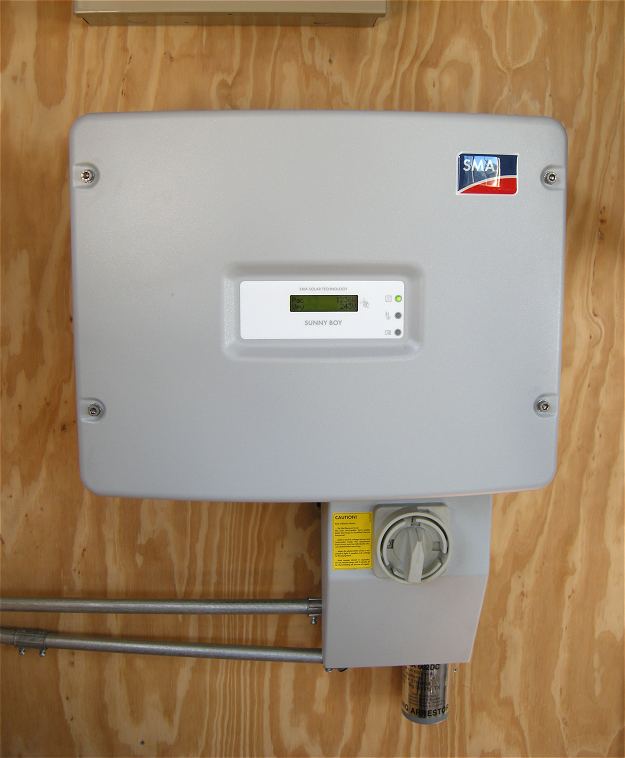
Ten 210 Watt Kyocera
photovoltaic
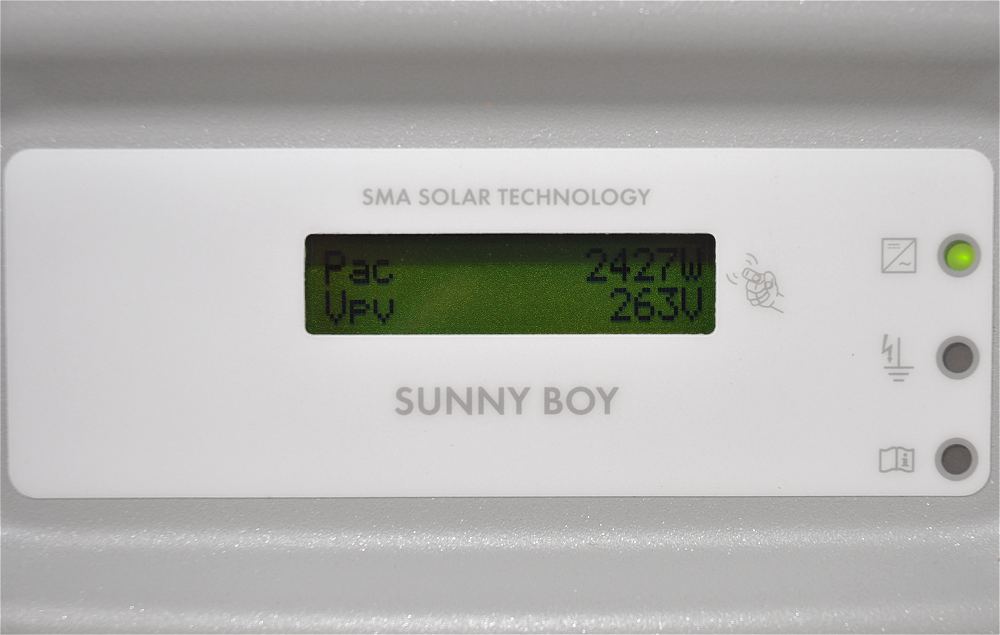
solar panels were installed on the dormer roof and connected to a Sunny Boy grid-tie inverter.
During the daylight hours, 220V AC power is generated and synced to the grid.
The power can either be used by us in the house or barn, or the excess power is put onto the grid for others to use.
In the later case, the electric meter effectively runs backwards, crediting us for the excess electricity generated.
At the present time we generate half the
power
we use, and plan on expanding the system in late 2012.
|
|
 |
Solar Panels on Dormer Roof
|
|
The barn project was an absolute pleasure and a memorable experience.
Building the custom house was serious business, and it was fun to take an informal (and much less expensive) approach to the barn.
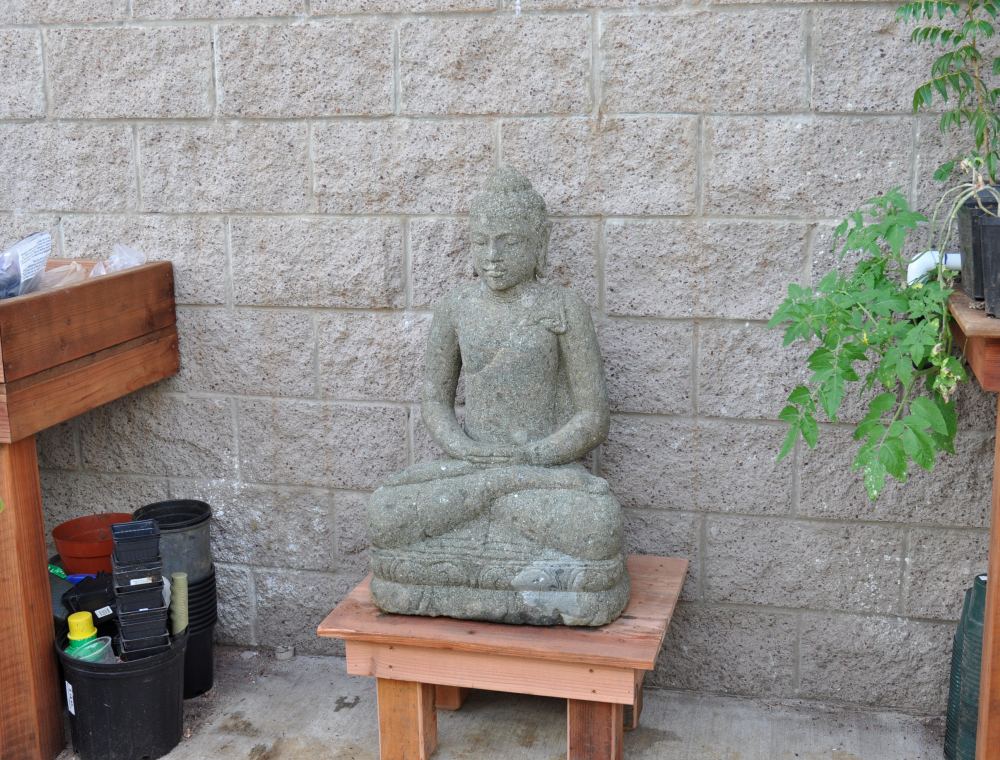
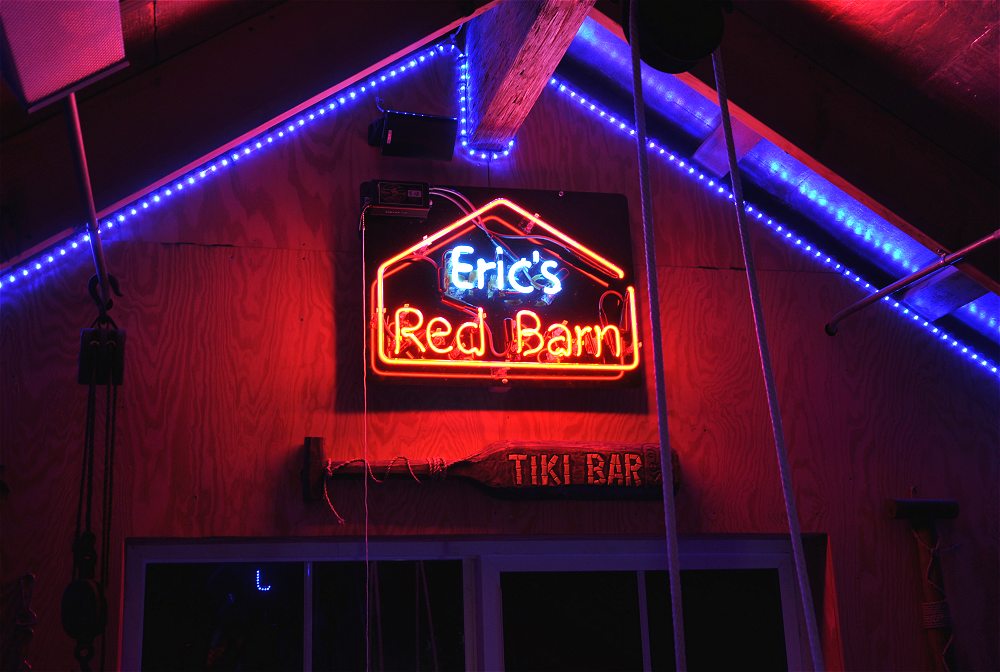
Even more fun was decorating the barn with tacky crap.
The barn's foundation was poured on January 19, 2010, and the final inspection on the barn was signed off on May 10, 2010, less than four months later.
There are a lot of pictures, sketches, and videos, so please take a look below:
 |
Barn with Cupola and Wind Vane
June 8, 2010
|
 |
My Early Barn Workshop Sketch
|
Click Thumbnail for Larger Image
Click Thumbnail to Watch Video
Need a DivX Player?
Need a DivX Player?
Click Thumbnail to Watch Video
 |
Preliminary Cad Rendering of Workshop and Greenhouse
|
 |
Preliminary Cad Rendering of Workshop and Greenhouse
|
 |
Preliminary Cad Rendering of Workshop and Greenhouse
|
 |
Preliminary Cad Rendering of Workshop
|
 |
Preliminary Cross Section of Workshop
|
 |
Topographic Map with Workshop
Each Contour Line is Five Feet
|
 |
Topographic Map with Workshop
Each Contour Line is Two Feet
|
 |
Workshop and 6000 Gallon Water Tank
|
 |
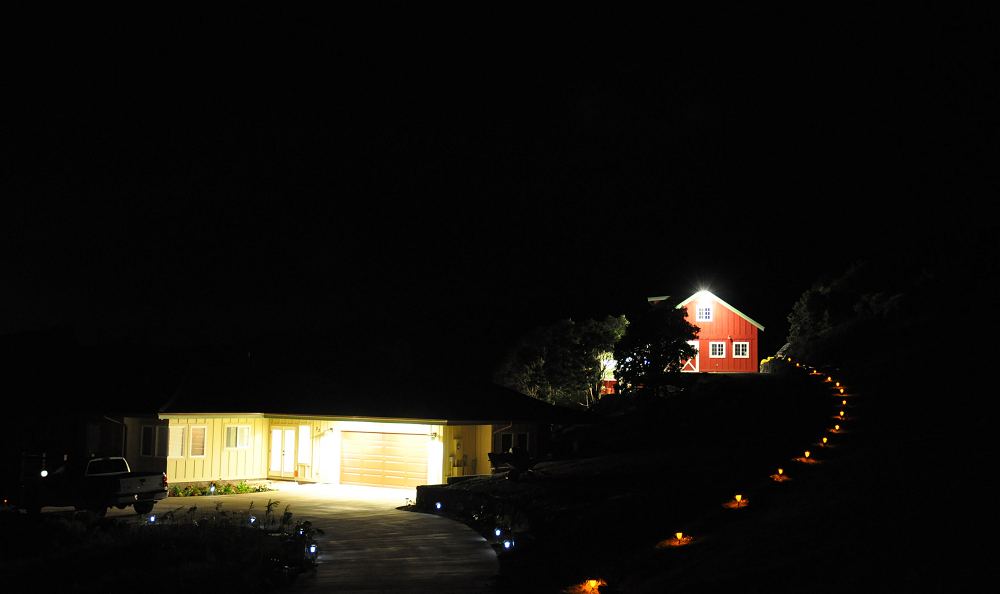
Barn / Workshop Landscaping
|
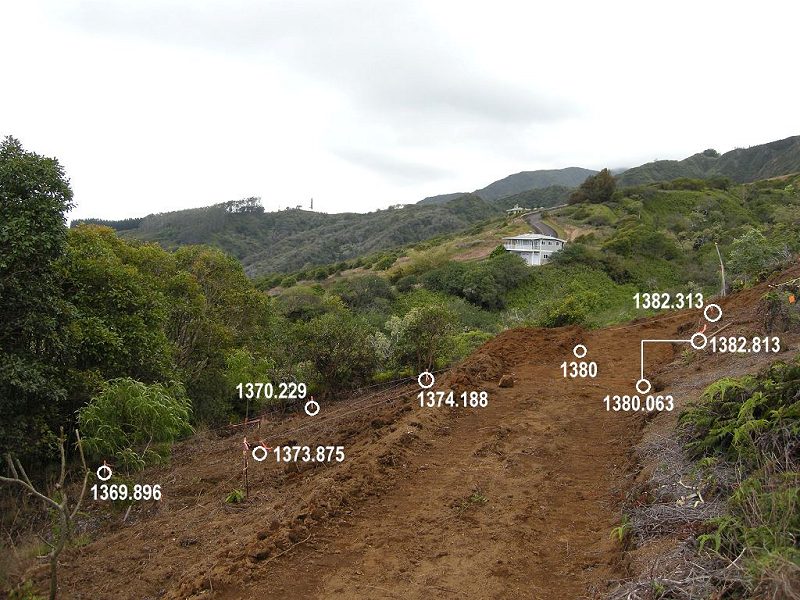 |
Elevation Data for Workshop Site
|
 |
Workshop Sketch
|
 |
Workshop Elevation Sketch
|
 |
Workshop Sketch
|
 |
Workshop Elevations and Floorplan
|
In memory I see the barn
Faded red and weather warn
Inside the hayloft ladder stands
It's rungs worn down from countless hands
From cracks between the sagging walls
The sun slants to the dusty stalls
I hear the barn doors rusty rasp
The summer breeze, the broken clasp
Sweet fragrance of the new moan hay
Still lingers with me yet today
The nail I drove next to the door
Where hung my old rope hackamore
O stay the youthful memory
The barn returns the boy in me
So when I sleep I dream I play
Inside the barn, upon the hay
— Marlin Pine
Copyright © 2011 - 2013 Eric Newman *All rights reserved
|