 |
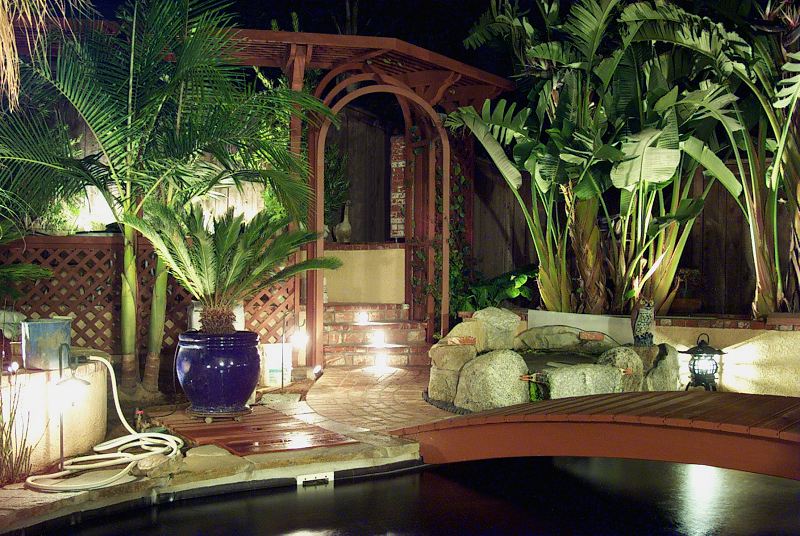
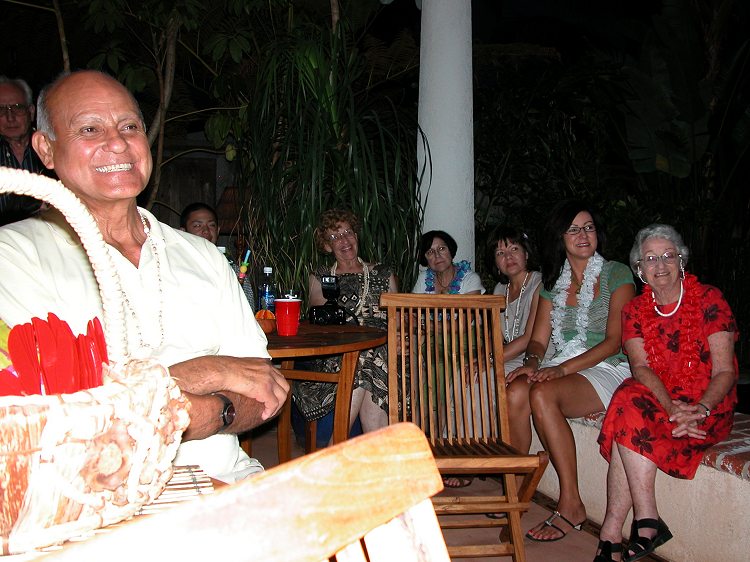
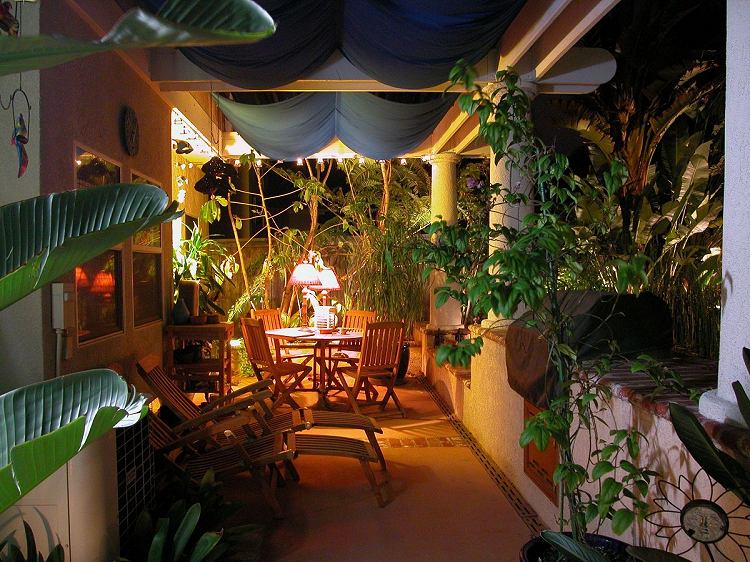
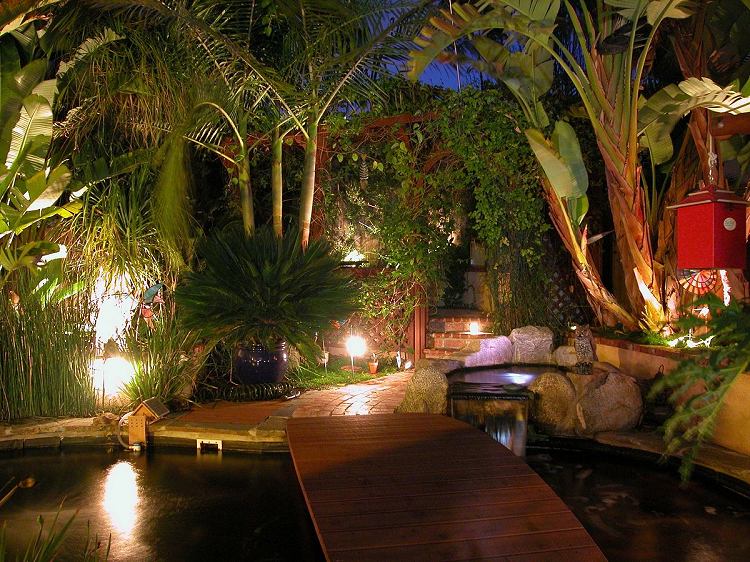
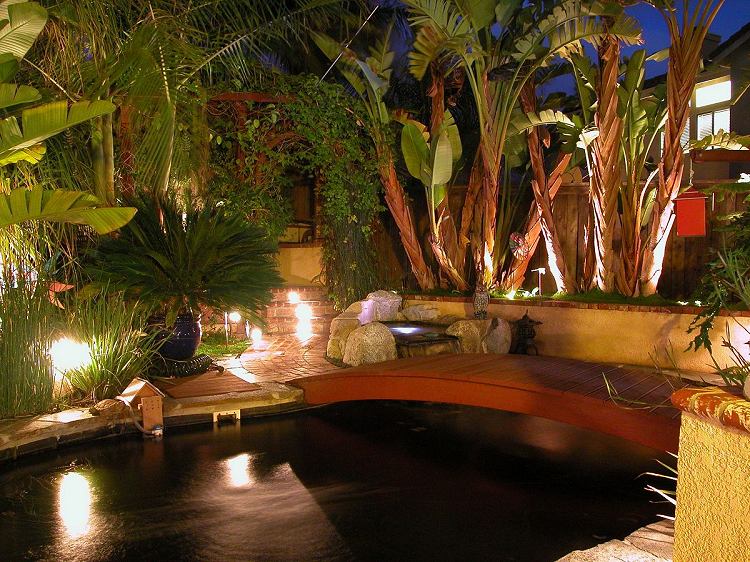
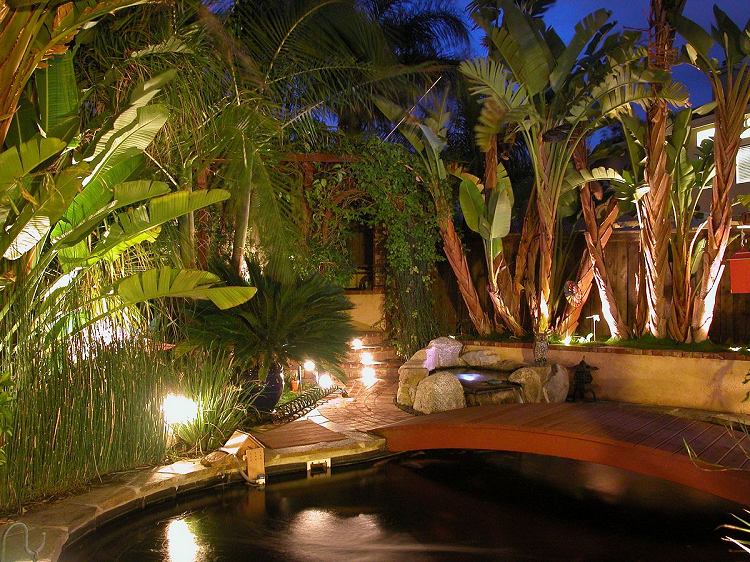
| This is our Backyard at Night |
|---|
|
Our friends keep asking "You've got to have us over so we can see what you've
been doing with your backyard."
I say "No we don't — You can look at our backyard on the Web."
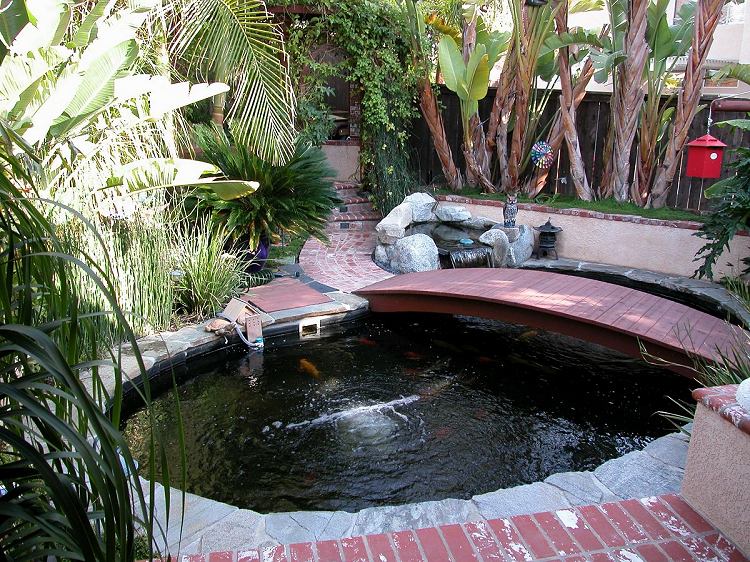
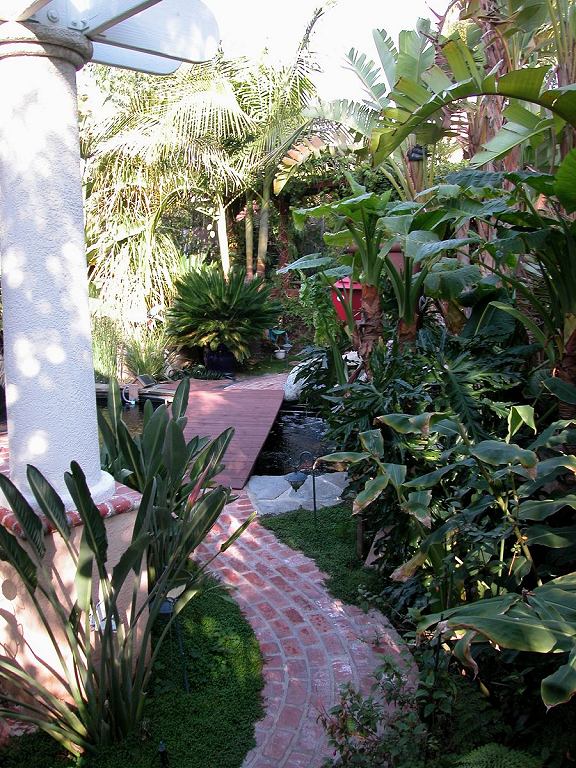
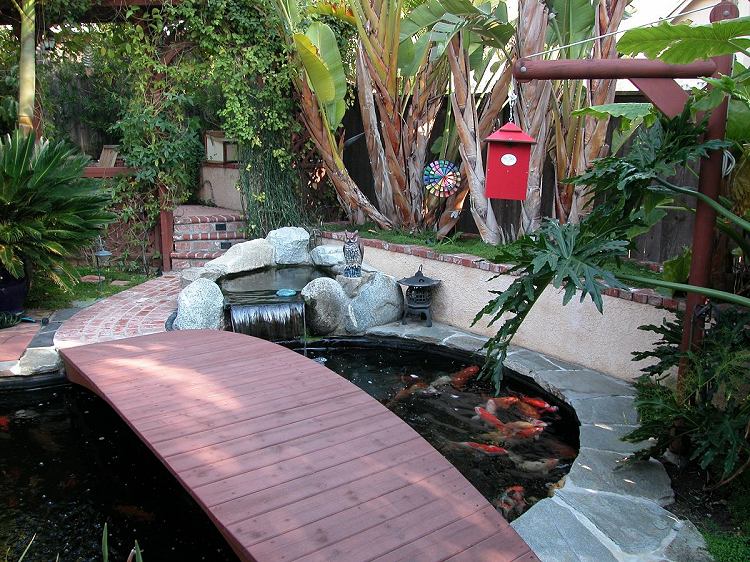
My thoughts in the design of the backyard were first to keep all the neighbors' eyes out of our yard and windows. All the houses in this area are two story and pretty close together. You can see the windows of about five houses from our backyard. What's worse, if you look out our master bedroom or master bath window, you see right into the bedroom and bath of our neighbors to the south. So I had Barbara stand at our bedroom window while I stood at our south fence with a tape measure. I had her yell when the top of the tape measure aligned with the top of the neighbor's window — 16 feet. Giant Bird of Paradise grow 14 - 16 feet tall, and I figured I'd put 'em in a planter to give 'em a boost. So that's the theme — Put tall plants around the perimeter for privacy. I wanted a tropical look and a Koi pond sounded peaceful, so a big pond goes in the middle. The plants and trees near the pond were chosen to be clean, so as not to deposit leaves into the pond. Of course if you have a pond, you need a bridge. If you have a bridge, you need a path. A path has to go somewhere so I lead it to a small plateaued second patio in the extreme rear of the property. The last seven feet of the yard slope upward four feet high so two retaining walls will make for tiny patio, accessed through an arbor, and not providing a well-defined boundary at the back wall of the yard. The other design consideration was no rear lawn to mow. I didn't want a tiny patch of grass so it's all brick, plants, or water. The construction started March, 1997 and the "It's finally done" party was July, 2002. We absolutely love our backayard, and continue to use it to this day. It is beautiful and deeply relaxing. |
 |
| This was the plan for our backyard. It was ambitious but turned out great. |
 |
|
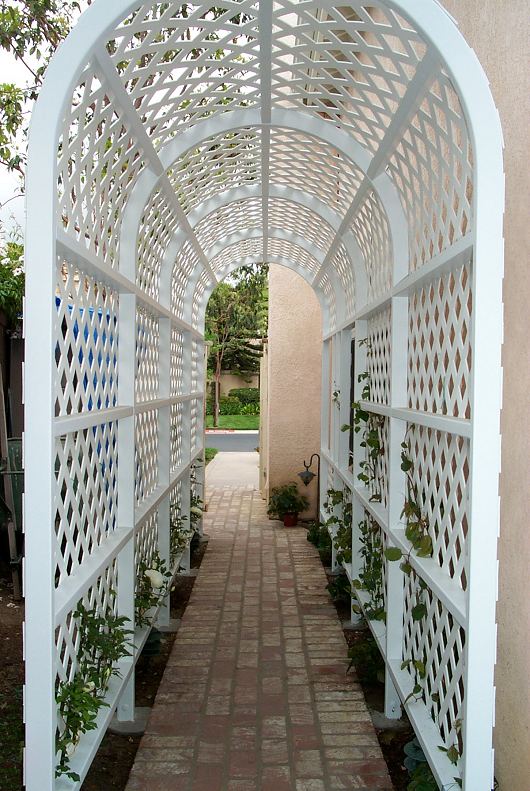
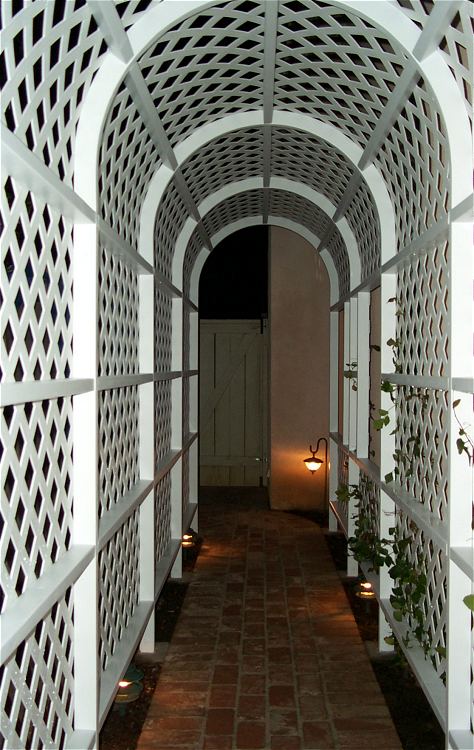
These pictures were taken from Sunset Magazine and are the basis of the
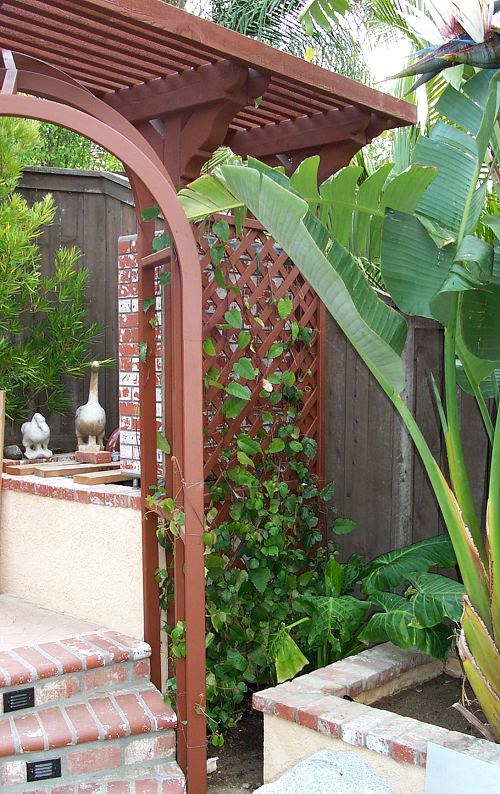
proposed side arbor and the patio cover. The arbor will be located along the
south-west side of the house. It will be covered with white climbing roses
and grape ivy. The path below it will be made from manufactured-used brick.
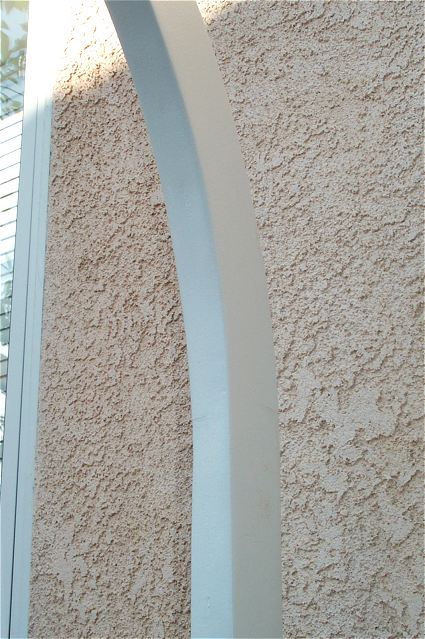
The patio will attach to the house, with three large 15-inch diameter stuccoed pillars. The two-level wall beneath the pillars will be reversed from this picture; with the lower seating area on the far side, and the higher brick area will house a natural gas barbecue. When you consider that there's another planter along the north-east fence, this patio could become a lake in strong rains. A drainage trough with a teak grate will collect rainwater. |
 Click for larger Image |
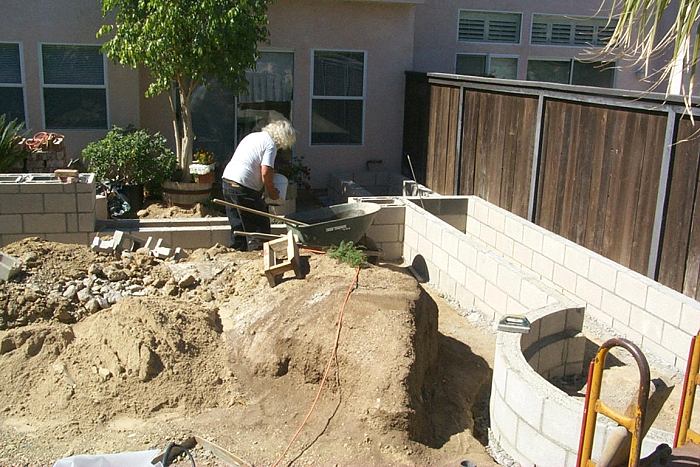
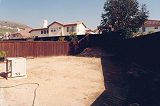
Here's the backyard when we moved in.
A lot of dirt, a few weeds, too many neighbor's windows, and an air conditioner that has to be moved closer to the house.
|
|
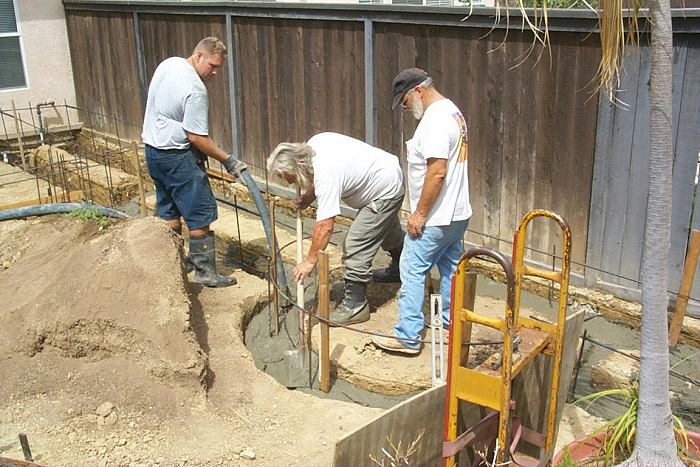
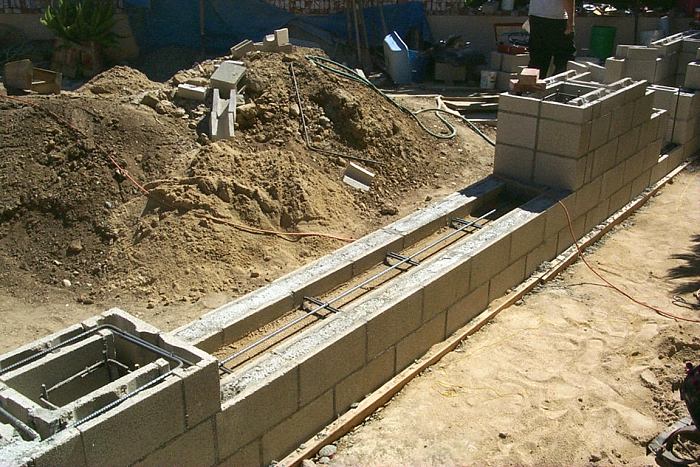
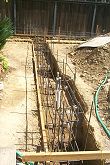
This is the footing for the patio wall.
The wall separates the patio from the Koi pond and will include a barbecue and a seating area.
|
 Click for larger Image |
|
|
|
|
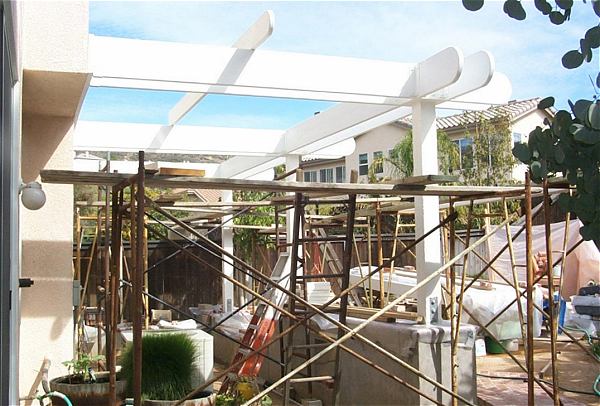 |
| Here's the patio roof going up in February, 2000. It's a very heavy design with 6 x 6 posts and double 2 x 12 beams. |
 Click for larger Image |
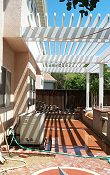
The patio in August, 2000 with the patio roof done and the slab poured.
The air conditioner was moved three feet closer to the house to give more
room on the patio and the pad was just poured.
The foam columns still need to go around the 6x6 posts.
|
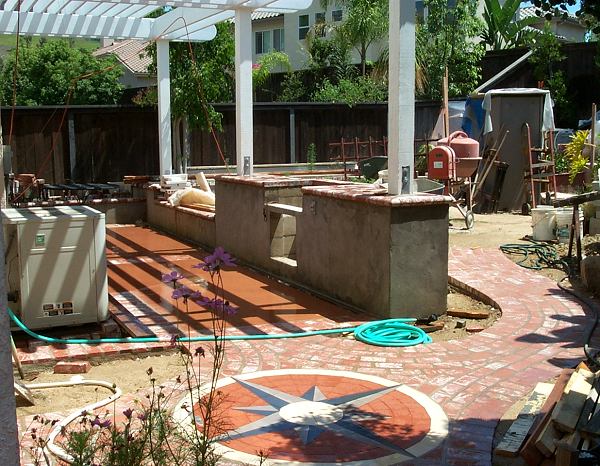 |
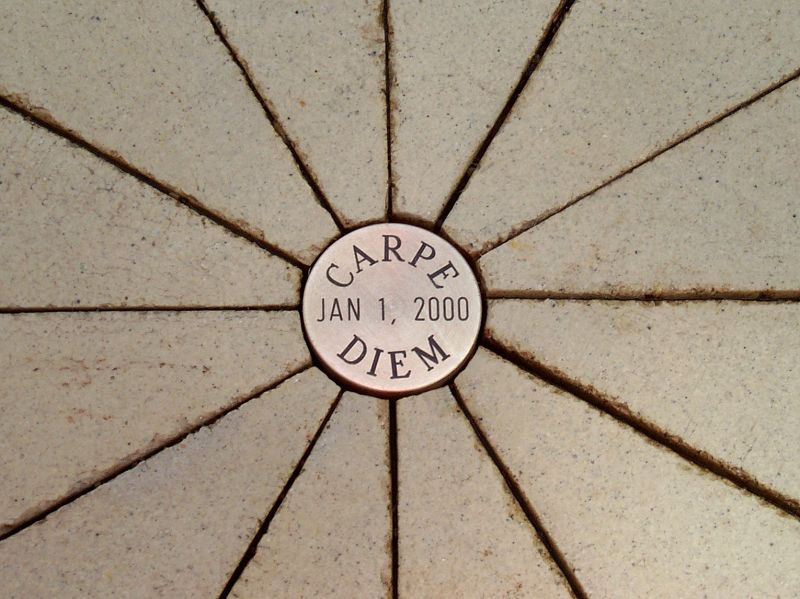
| This is a circa August, 2000 picture of the patio and the general day-to-day construction mess. A compass rose was inlayed with brick where the four brick walkways meet. |
 Click for larger Image |
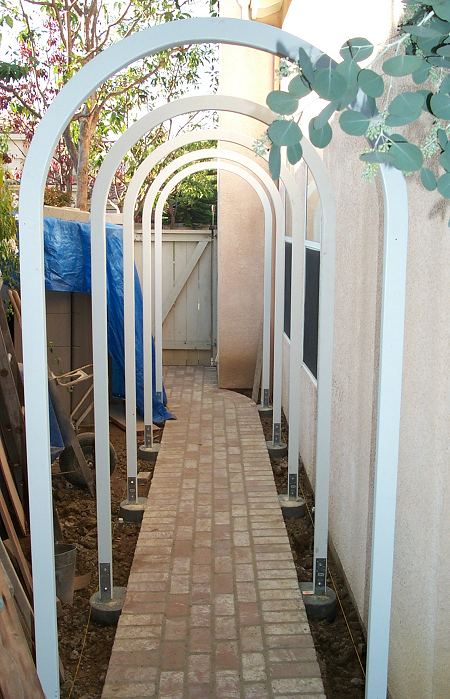
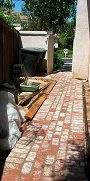
Here's an August, 2000 view of the brick walkway along the side of the house. A long arbor will be placed over the walkway later (see above plans). |
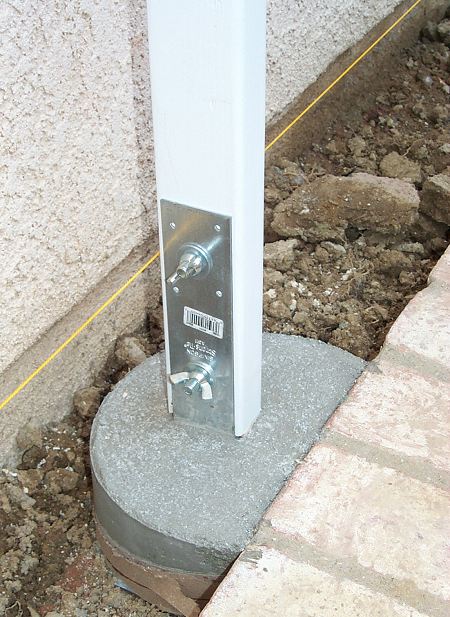
| Here's an September, 2000 view of the foam pillars being installed over the 6 by 6 inch posts. A reinforcing compound and mesh is applied, and then brown-coated and eventually stuccoed. | 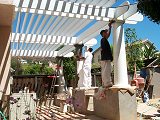 Click for larger Image |
 Click for larger Image |
This is a December, 2000 view of the patio showing completed stucco and barbecue installed. |
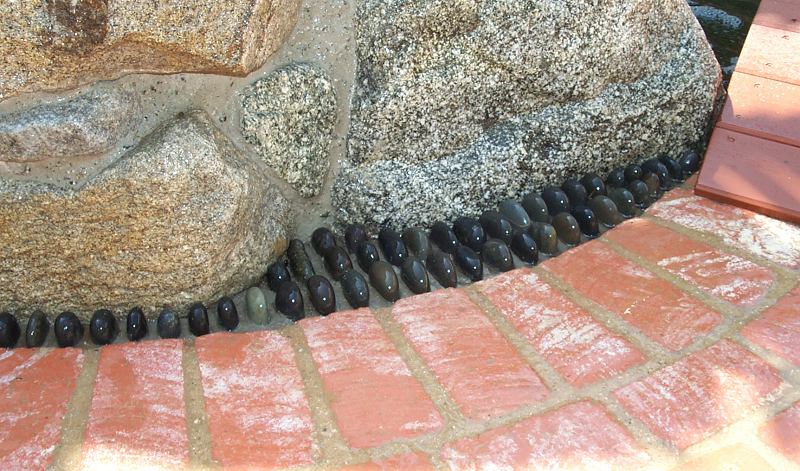
| The Anti-Pond of December, 2000. Digging begun around perimeter of pond and waterfall. | 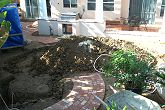 Click for larger Image |
 Click for larger Image |
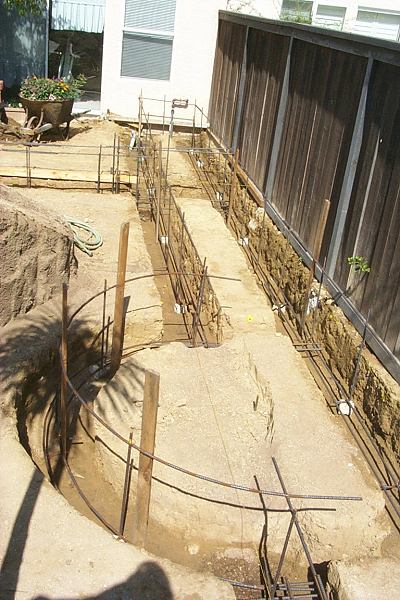
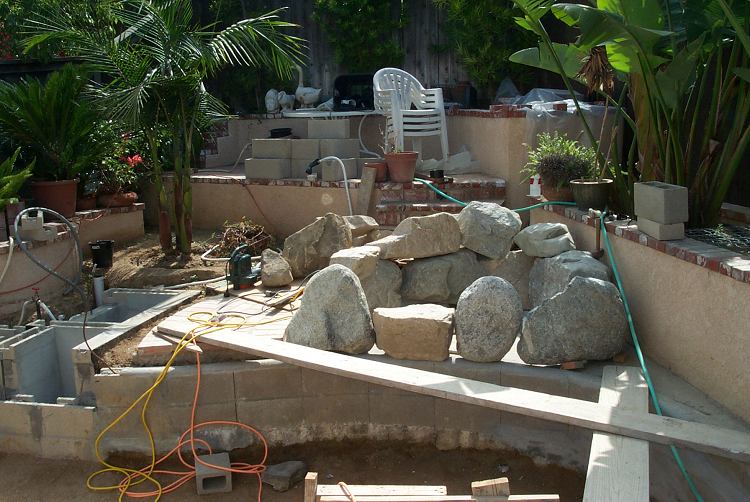
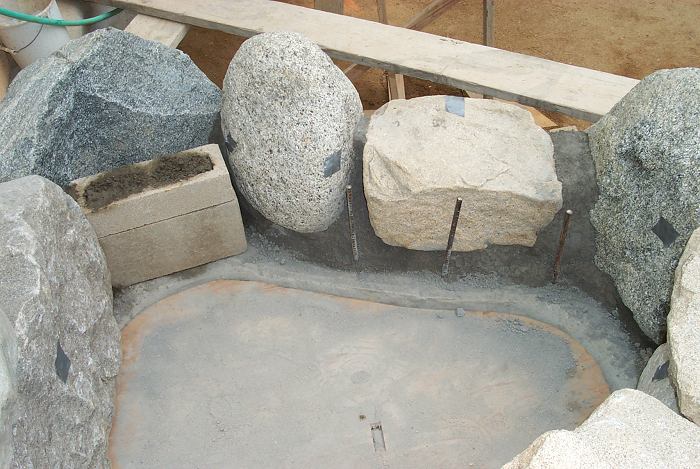
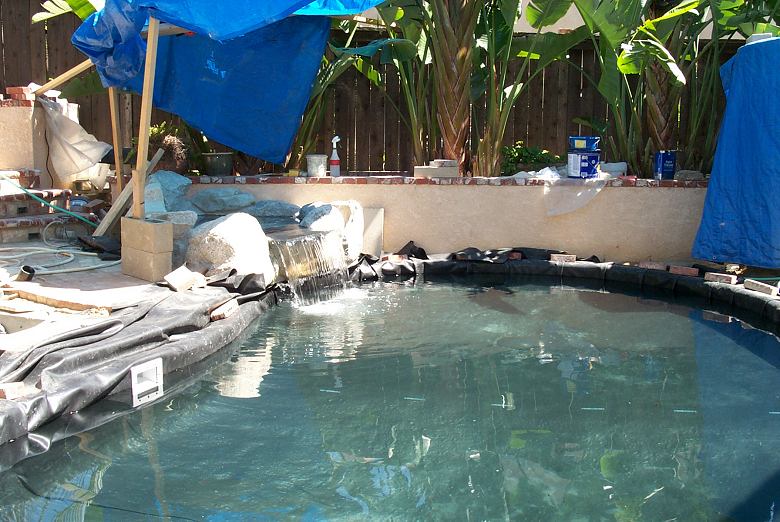
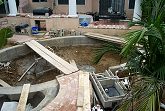
Here is a picture of the pond under construction in March, 2001. Steel-reinforced 6-inch concrete blocks form the perimeter of the pond, the sump for the prefilter brushes and pump cavity (front right), and the waterfall (front left). The bottom of the waterfall will serve as a second biofilter. |
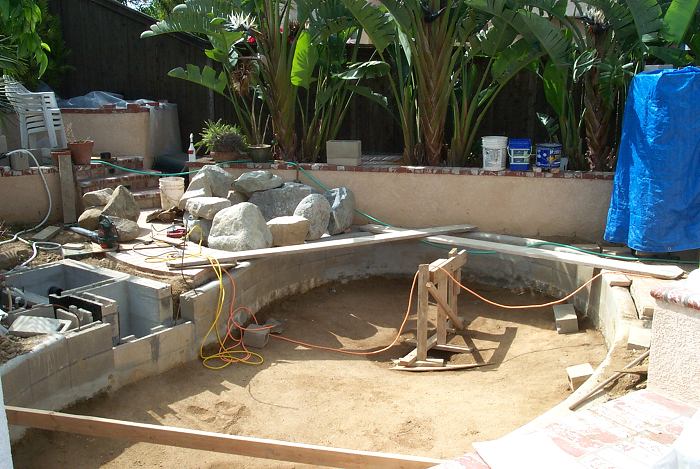
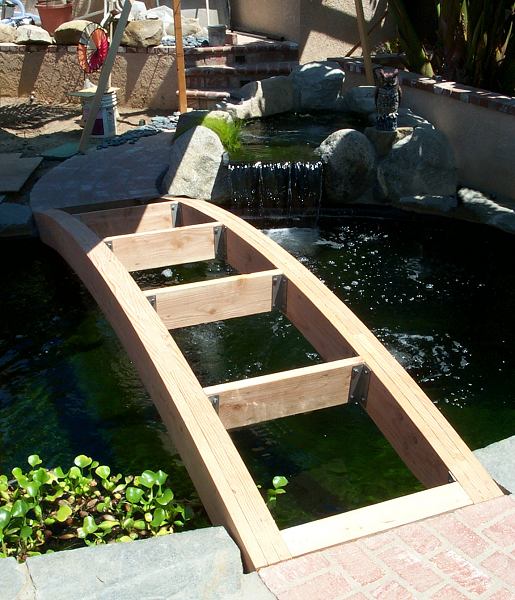
| View from the patio of the pond under construction. A real wood bridge will eventually span the 12-feet between the brick walkways. Reinforced concrete around the edge of the pond will support flagstone. | 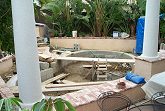 Click for larger Image |
|
|

|
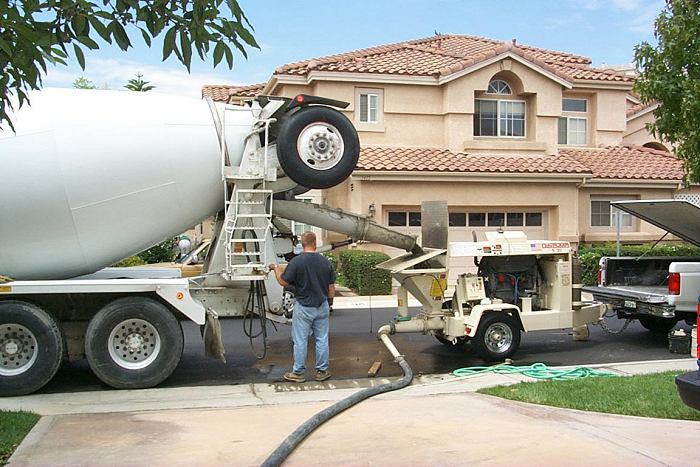
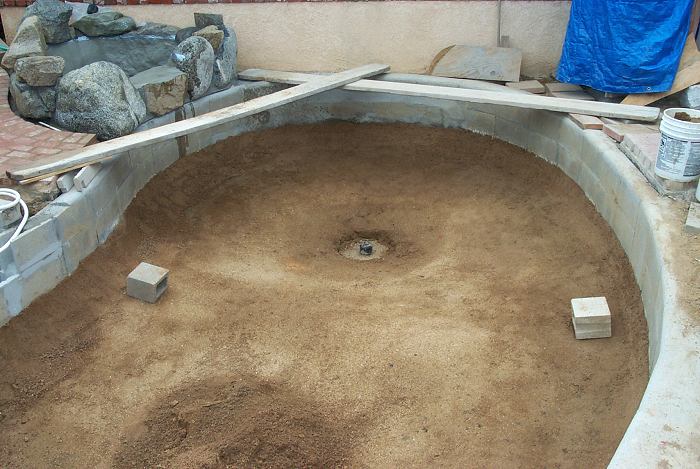
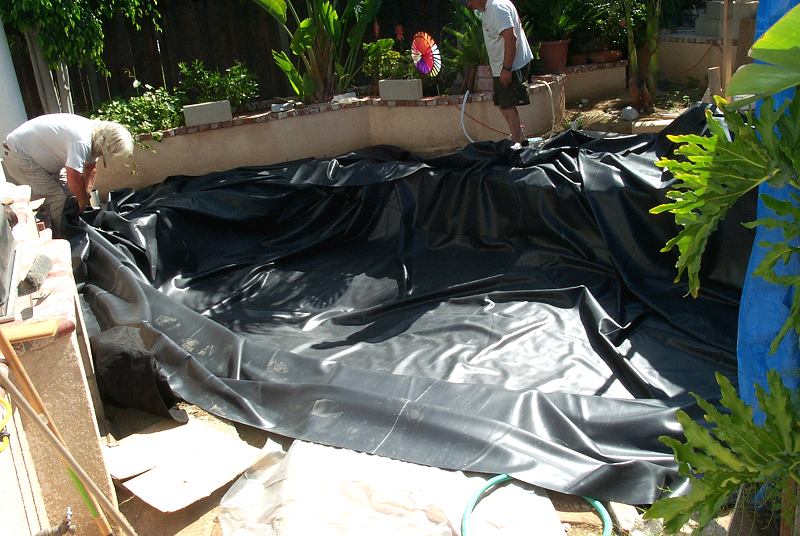
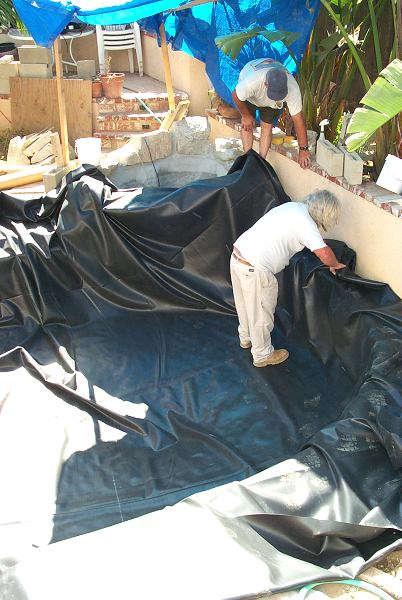
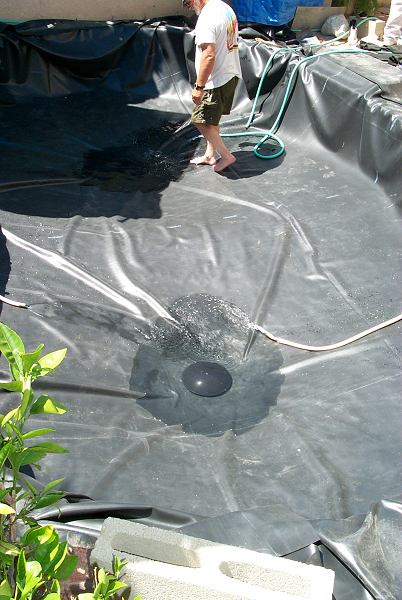
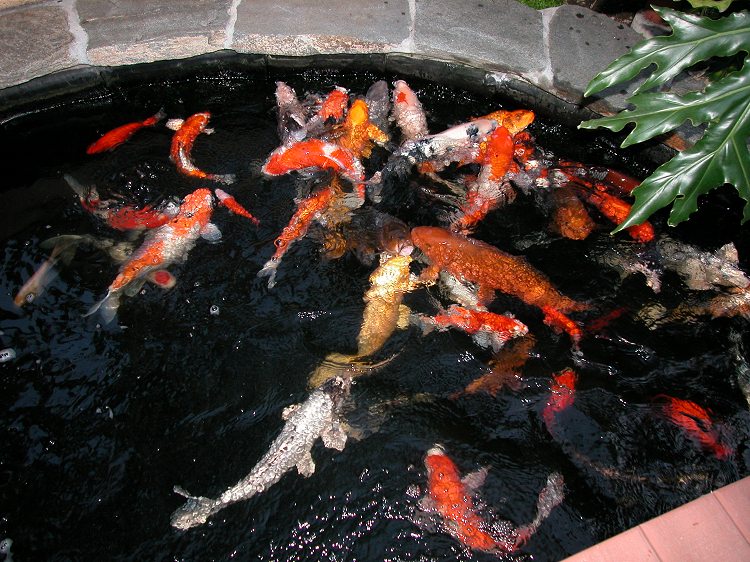
In June of 2001 the 20' x 30' 60-Mil EPDM pond liner arrived from Anjon Pond Liners.
The bottom of the pond had been coated with 1 1/2 inches of decomposed granite,
and the sides were steel reinforced cement block, so no padding was placed down before laying out the EPDM.
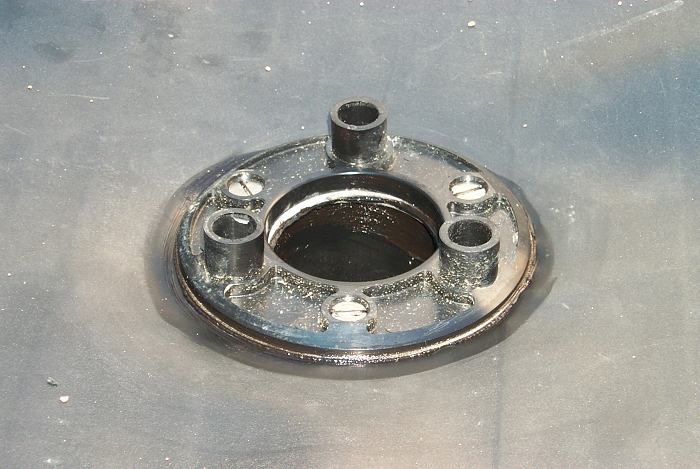
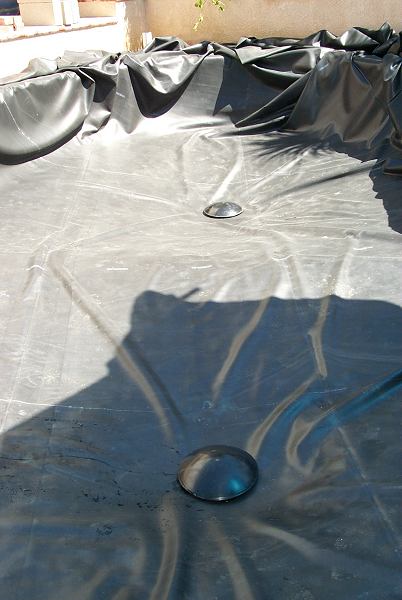
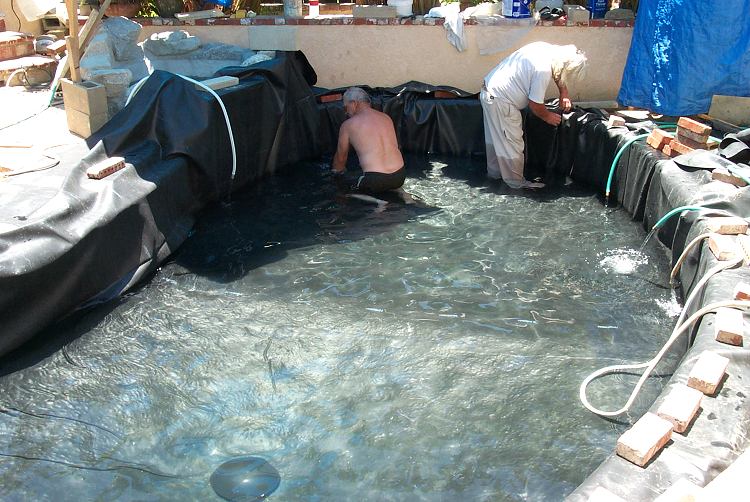
Two bottom drains were installed and after waiting 40 minutes for the silicone to cure, the filling began.
We used five garden hoses including one from the neighbors.
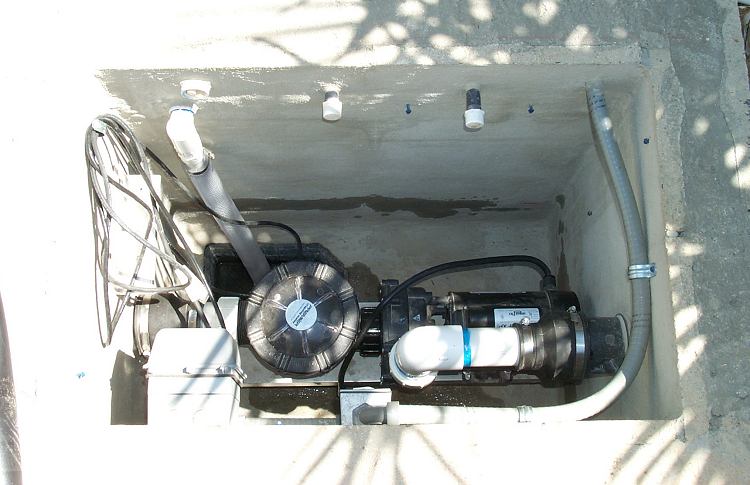
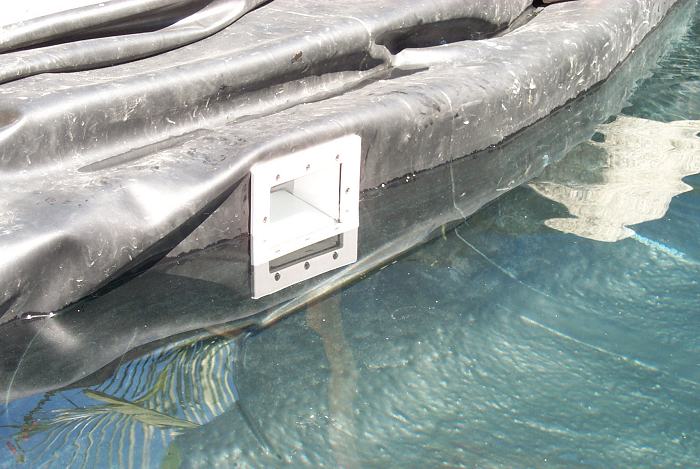
The skimmer that was purchased at a pool supply store was installed in the side adjacent to the brush pre-filter cavity.
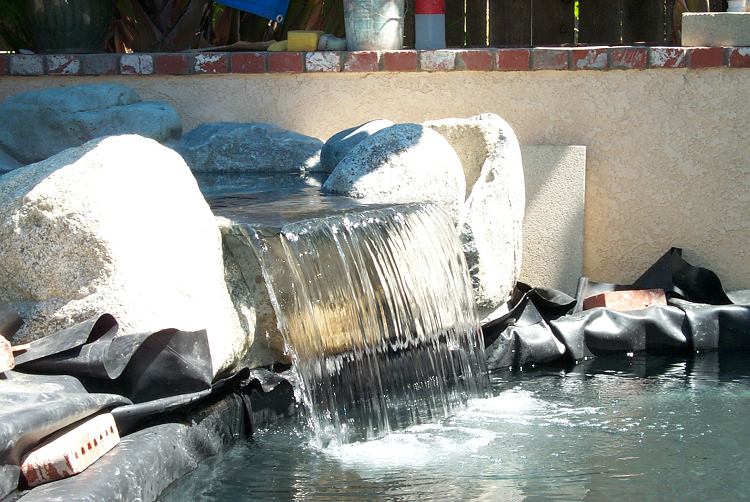
Once the water reached the proper level, power was applied to the 4500 GPH pump and the waterfall came alive.
Usually waterfalls require some tweaking but this one was nearly perfect the first try.
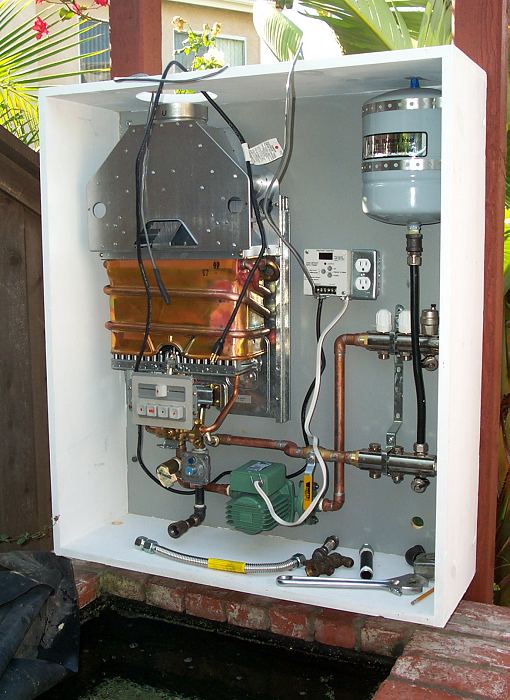
A few notes may reduce confusion for the careful reader: First, there are TWO biofilters. While the pond and patio were being built, the Koi lived in the top biofilter. No Koi were to be added to the pond until the water sat one week and the pond was drained and refilled. A dechlorinating agent was used on the final fill. Not shown in the Pond Schematic, there is a Wye fitting and a valve that diverts the output of the pump into the bottom of the waterfall. This valve was opened so the water circulated without the top biofilter. In case you're wondering why there are two boifilters, it's because two 300 gallon biofilters work considerably better than one large 600+ gallon biofilter. In a stable pond, the biofilter actually uses several times more oxygen than the Koi consume, so providing oxygen-rich water to the biofilter is essential. Both the top and waterfall biofilters are upflow designs and both use homemade PVC ribbon media. The top biofilter provides oxygenation both before and after via two oxygenating towers. The waterfall oxygenates the water for the pond via the 18-inch drop. |
|
|
|
|
|
|
|
|
|
|
|
|

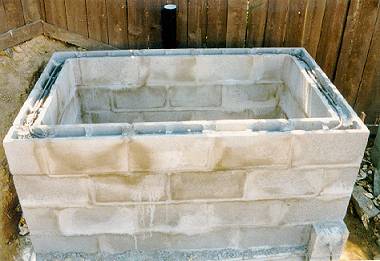 |
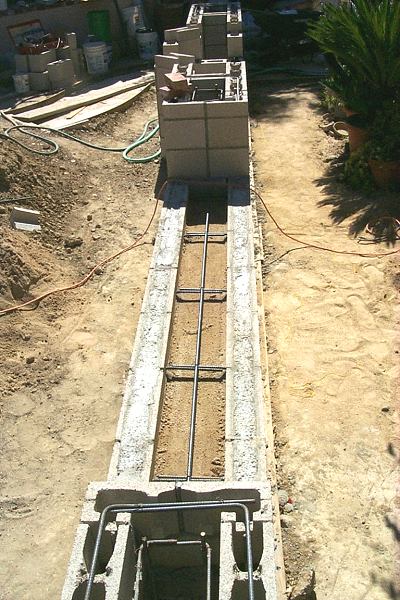
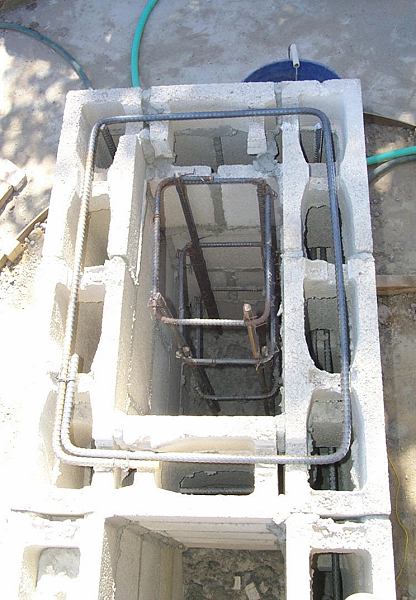
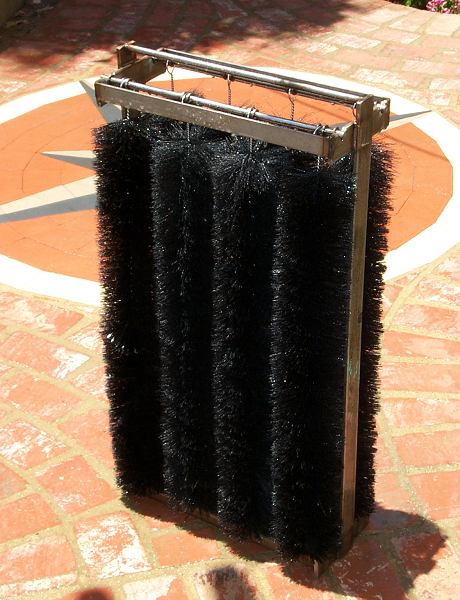
Here's a picture of the combination upflow biofilter / retaining wall prior to
filling the cells with mortar, stuccoing, and sealing. It's made from
steel-reinforced 6" concrete blocks. It currently holds 300 gallons of water and biofilter
material. The top rim of the filter and adjacent retaining has been capped with used brick.
I originally planned to use plastic bio balls but they priced out at $1040 for the 200 gallons required. I thought about lava rock, but recently decided to machine my own PVC ribbon. Look at my Biofilter Page on details of the biofilter and making plastic media. |
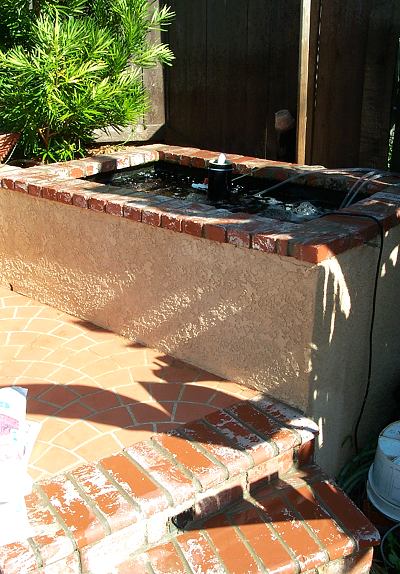 |
| This is the first and primary biofilter after being capped with bricks and after stucco was applied. Before the pond was ready, the Koi lived here. |
|
|